This post contains affiliate links. As an Amazon Associate we earn from qualifying purchases, at no extra cost to you. Read our disclosure.
Safety first: Herbs can be powerful. If you are pregnant, nursing, take medication or have a health condition, check with your doctor or pharmacist first. Please read our herbal & garden safety notes before you start.
Key takeaways
- Dry slices at 200F for 2 to 3 hours, flipping every 30 minutes, or at 250F for about 2.5 hours, flipping once halfway: the lower heat is gentler, the higher heat is faster
- Cut slices 1/8 to 1/4 inch thick and pat every slice dry before it goes in the oven
- A done slice feels dry and firm with no sticky or glossy spots; if you are unsure, give it another 15 minutes
- A fully dried garland can last months in a cool, dry place, but fresh cranberries strung with it shrivel after about a week
- This is a craft, not a recipe: use a sharp knife with care, wear oven mitts, and keep the garland away from candles, fireplaces and curious pets
In this post11 sections
- Dried orange garland at a glance
- What you need for a dried orange garland
- How to make a dried orange garland, step by step
- Oven temperature for dried orange garland: 200F or 250F?
- How to tell a dried orange slice is done
- How long a dried orange garland lasts, and how to store it
- Where to hang a dried orange garland
- No-oven options for a dried orange garland
- Mistakes that spoil a dried orange garland
- Variations: cinnamon, bay and other citrus
- FAQ
Dried orange garland at a glance
Here is the whole project on one card. The details for each row come later in the guide, including the oven temperature question that trips up most first-timers.
| Question | Answer |
|---|---|
| Oranges to start with | 3 oranges is a good first batch |
| Slice thickness | 1/8 to 1/4 inch, patted dry |
| Oven, lower heat | 200F (90C), 2 to 3 hours, flip every 30 minutes |
| Oven, higher heat | 250F, about 2.5 hours, flip halfway |
| Dehydrator | Lowest setting, 12 to 24 hours |
| How it lasts | Months in a cool, dry place |
| Fresh cranberries | Shrivel after about a week |
| Where it hangs | Window, tree, mantel or doorway, away from flames and steam |
What you need for a dried orange garland
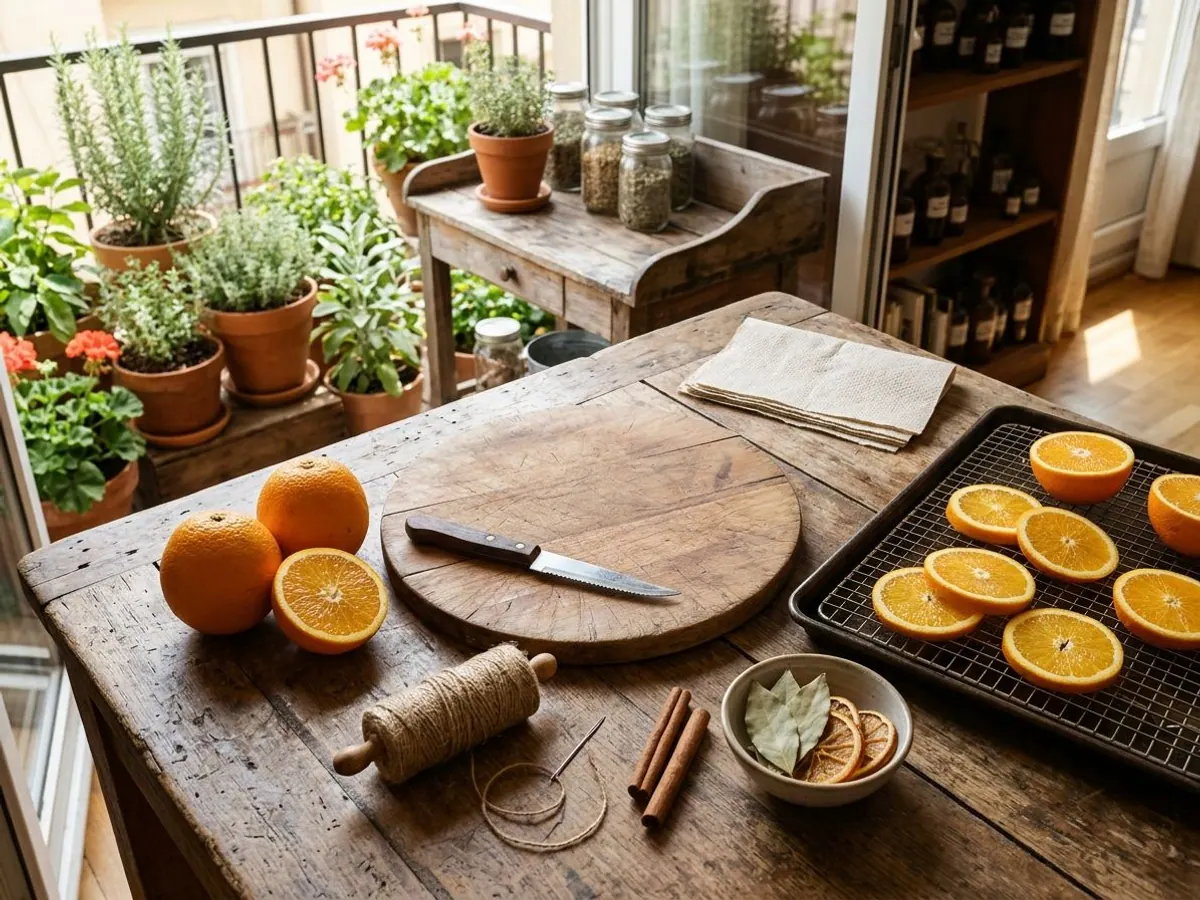
Everything here is cheap and most of it is already in a kitchen. A wire rack is the one item worth buying, because it lets hot air reach both sides of every slice.
Oranges: 3 navel oranges make a good first batch. Firm, thick-skinned oranges slice more cleanly than soft ones.
Cutting tools: a serrated knife and a cutting board.
Drying gear: a baking sheet, a wire cooling rack that fits inside it (or parchment paper), paper towels and oven mitts.
Stringing gear: natural baker's twine and a large-eye needle.
Optional extras: cinnamon sticks, dried bay leaves, fresh pine sprigs, clear removable hooks for hanging.
How to make a dried orange garland, step by step
-
Step 1: Slice the oranges
Wash and dry the oranges, then cut them into rounds 1/8 to 1/4 inch thick. Thinner slices dry faster but tear more easily when you thread them; thicker slices stay damp in the middle for longer. Cut the first slice, measure it against a ruler, and match the rest to it.
-
Step 2: Blot every slice
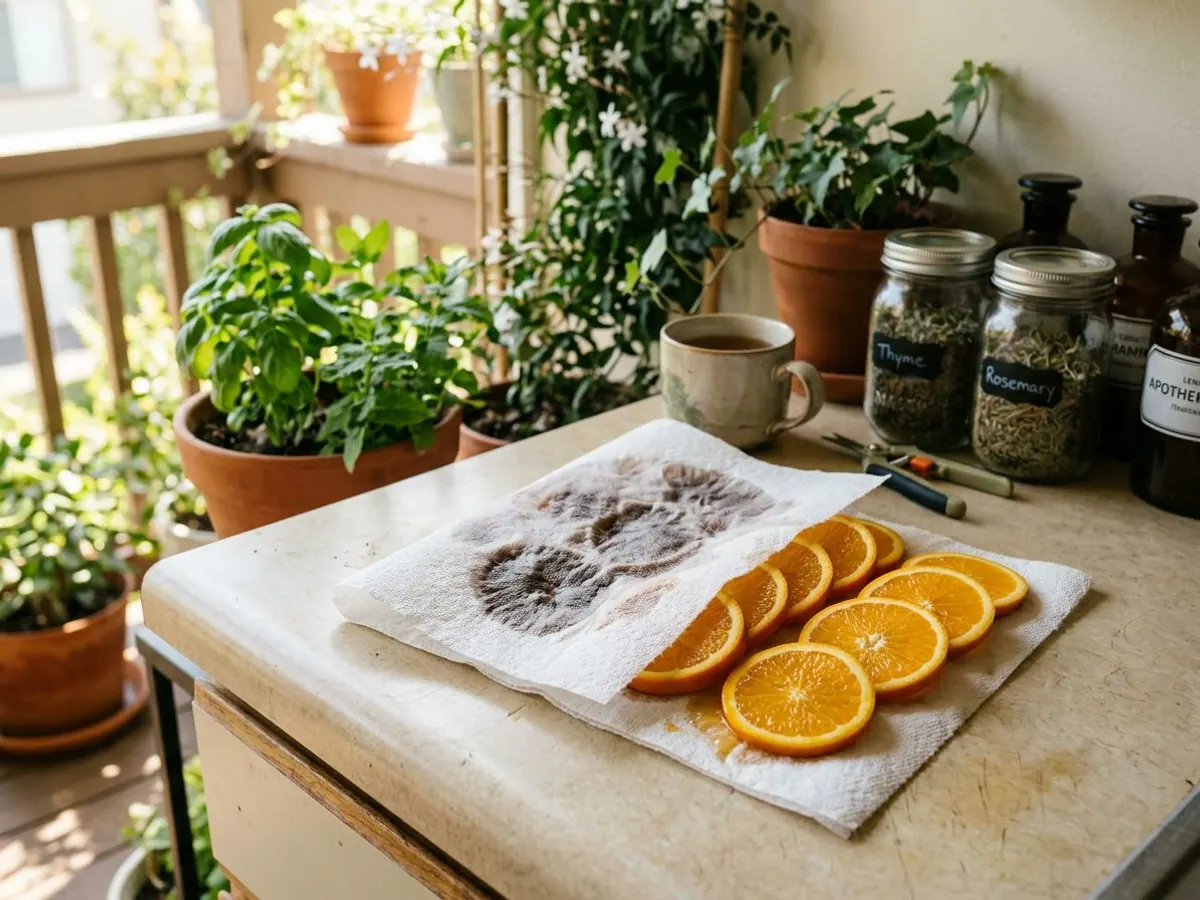
Lay the slices in one layer on paper towels, cover them with more towels and press gently. Pat both sides until the paper stops soaking through. Wet slices steam in the oven instead of drying, so this step saves time later.
-
Step 3: Arrange them on the rack
Set the wire rack inside the baking sheet and space the slices in one layer so none touch. If you do not have a rack, line the sheet with parchment and plan to flip the slices more often. Air needs to reach both sides.
-
Step 4: Dry them in the oven
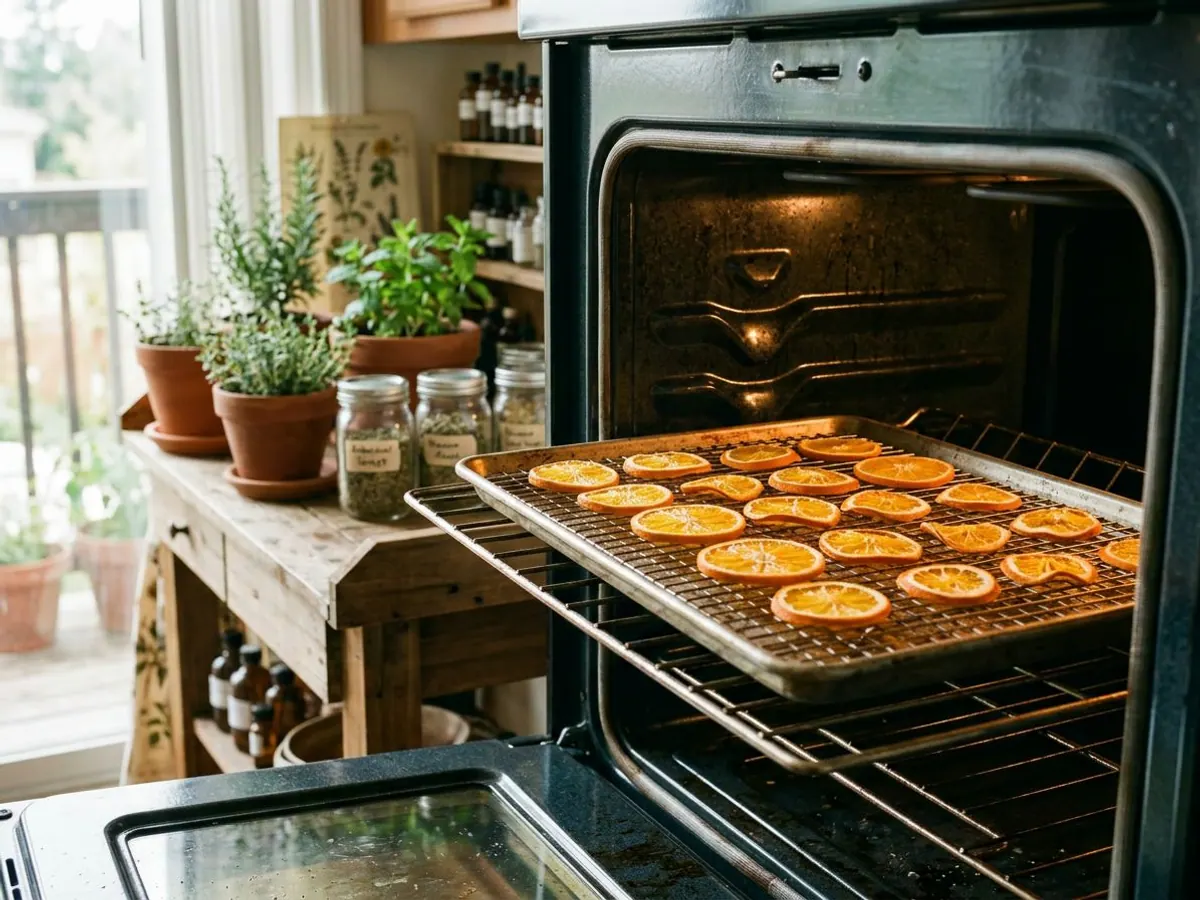
Pick your oven temperature from the next section, then bake and flip on that schedule. Start checking at the early end of the time range, because every oven runs a little differently. Use oven mitts for every flip.
-
Step 5: Check doneness and cool completely
Use the doneness table below. Move finished slices to a rack to cool, because they firm up as they cool and feel softer while hot. Return any slice that still feels tacky to the oven for 15 more minutes.
-
Step 6: String the garland
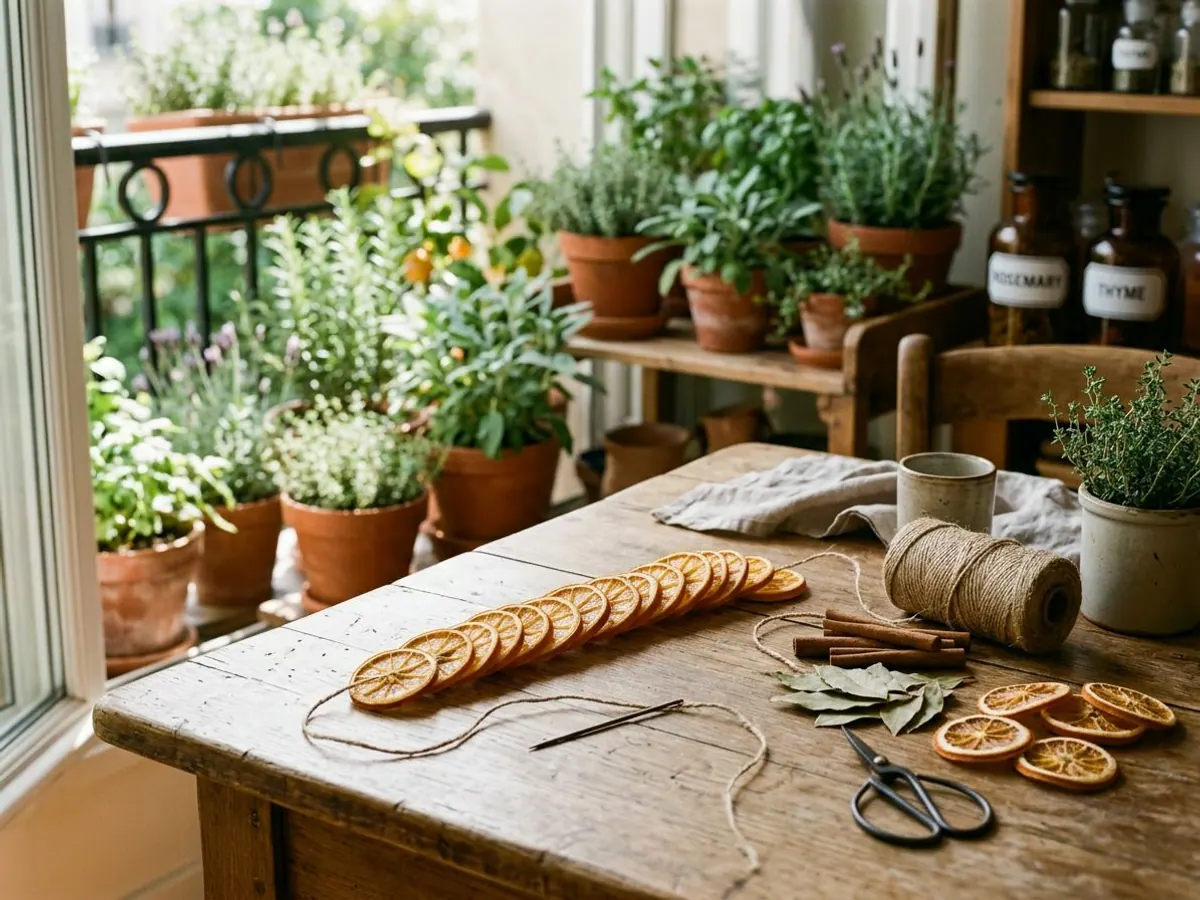
Thread the twine through the needle and pass it through the slices near the peel edge, spacing them evenly and adding a cinnamon stick or bay leaf between some of them. Tie a knot between slices if you want them to stay put. Leave a long tail at each end for hanging.

Oven temperature for dried orange garland: 200F or 250F?
The sources we read do not agree, so here are both. Whole Hearted Eats dries slices at 200F (90C) for 2 to 3 hours and flips them every 30 minutes. The Artful Parent uses 250F for about 2.5 hours and flips them once, halfway.
| Method | Temperature | Time | Flipping | Best for |
|---|---|---|---|---|
| Lower heat | 200F (90C) | 2 to 3 hours | Every 30 minutes | Gentle drying and bright slices, if you can stay nearby |
| Higher heat | 250F | About 2.5 hours | Once, halfway | A faster batch with fewer flips, watched closely at the end |
| Dehydrator | Lowest setting | 12 to 24 hours | As the unit directs | Leaving it overnight without heating the kitchen |
The trade-off is simple. Lower heat dries more gently and leaves less risk of scorched edges, but it needs more flips. Higher heat is faster and needs fewer flips, but slices can brown quickly in the last half hour, so start checking early.
Whichever you choose, never leave the oven unattended for long and set a timer for each flip. For a deeper look at drying with low heat, see our guide to drying herbs at home, which uses the same idea.
How to tell a dried orange slice is done
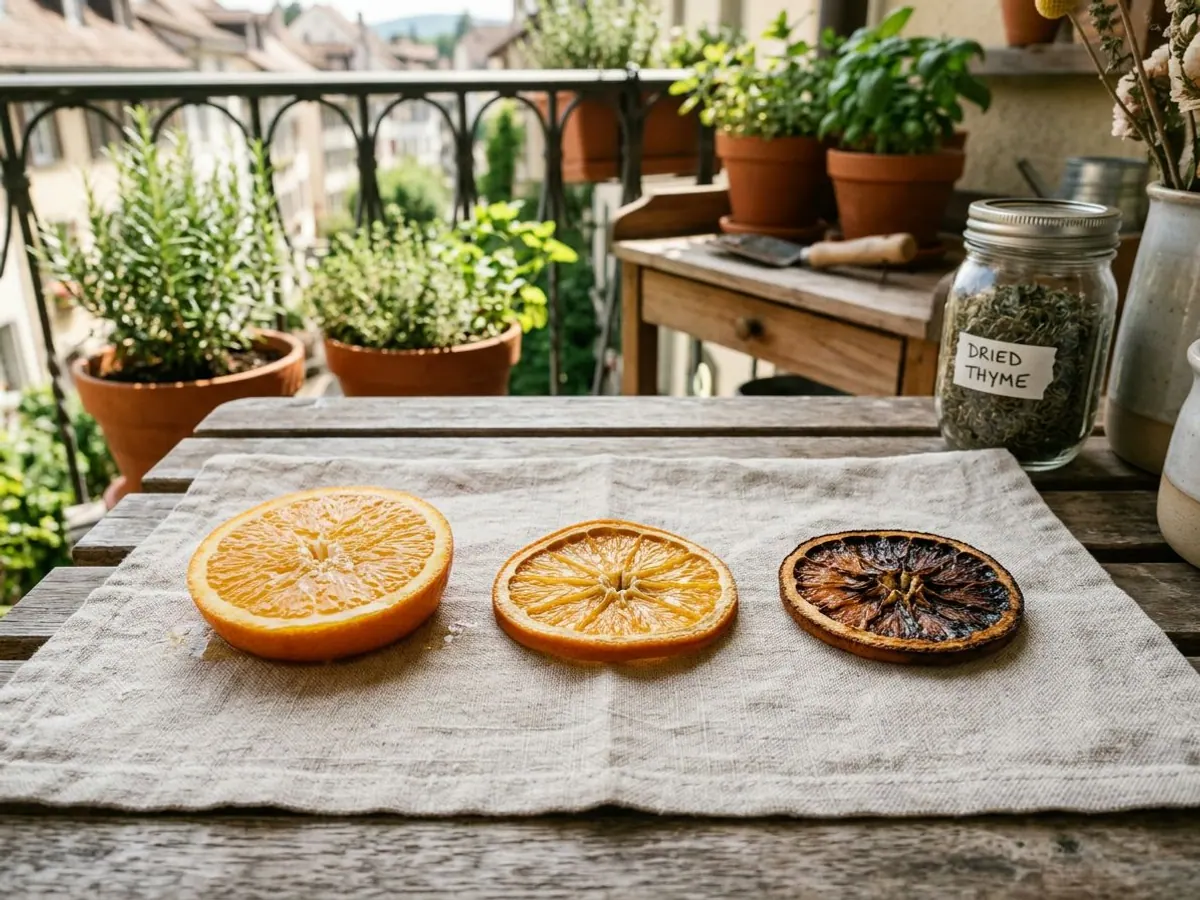
Most pages say to keep checking and never say what to look for. Use this table. The test is the same at either temperature.
| Stage | Looks like | Feels like | What to do |
|---|---|---|---|
| Underdone | Glossy or wet in the middle, flesh still plump | Tacky, soft, bends like wet leather | Bake 15 more minutes and flip |
| Done | Matte and slightly translucent, edges curled a little | Dry and firm, no sticky spots, lifts off the rack cleanly | Cool completely, then string |
| Overdone | Dark brown or scorched at the edges | Brittle, crumbles at the rim | Use for a mantel bundle, or lower the heat next time |
Doneness check before you string
How long a dried orange garland lasts, and how to store it
Whole Hearted Eats says a garland like this lasts months in a cool, dry place. That is a range and not a promise: a humid kitchen or a room with a running humidifier will shorten it, and any slice that was not fully dry to begin with is the first to go soft. Fresh cranberries are the exception, since The Artful Parent notes they shrivel after about a week when strung with the slices.
To store the garland in January, coil it loosely and set it in a shallow box lined with tissue paper. Keep the box on a dry closet shelf, not in a basement or a sealed plastic bin where moisture collects. Check the garland once before next Christmas, and throw out any slice that smells musty or has fuzzy spots.
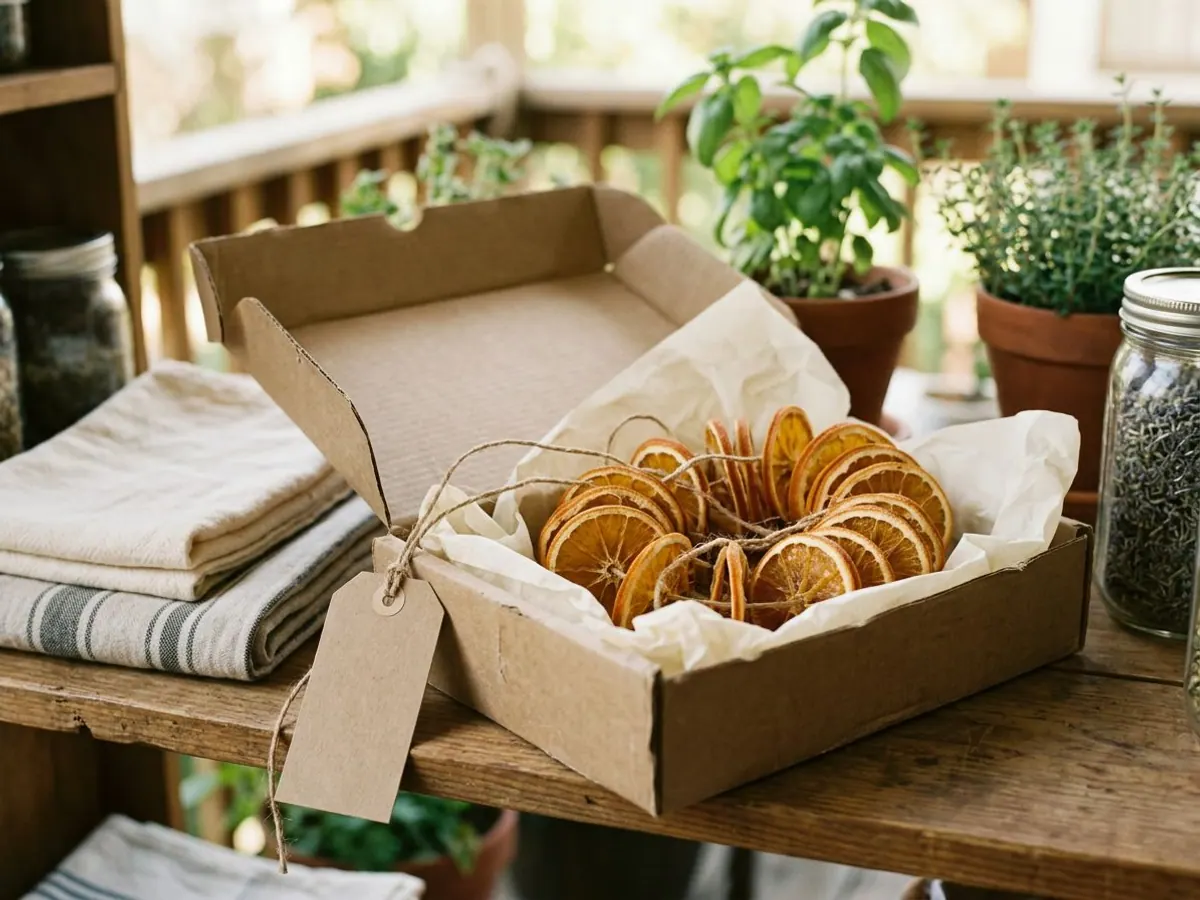
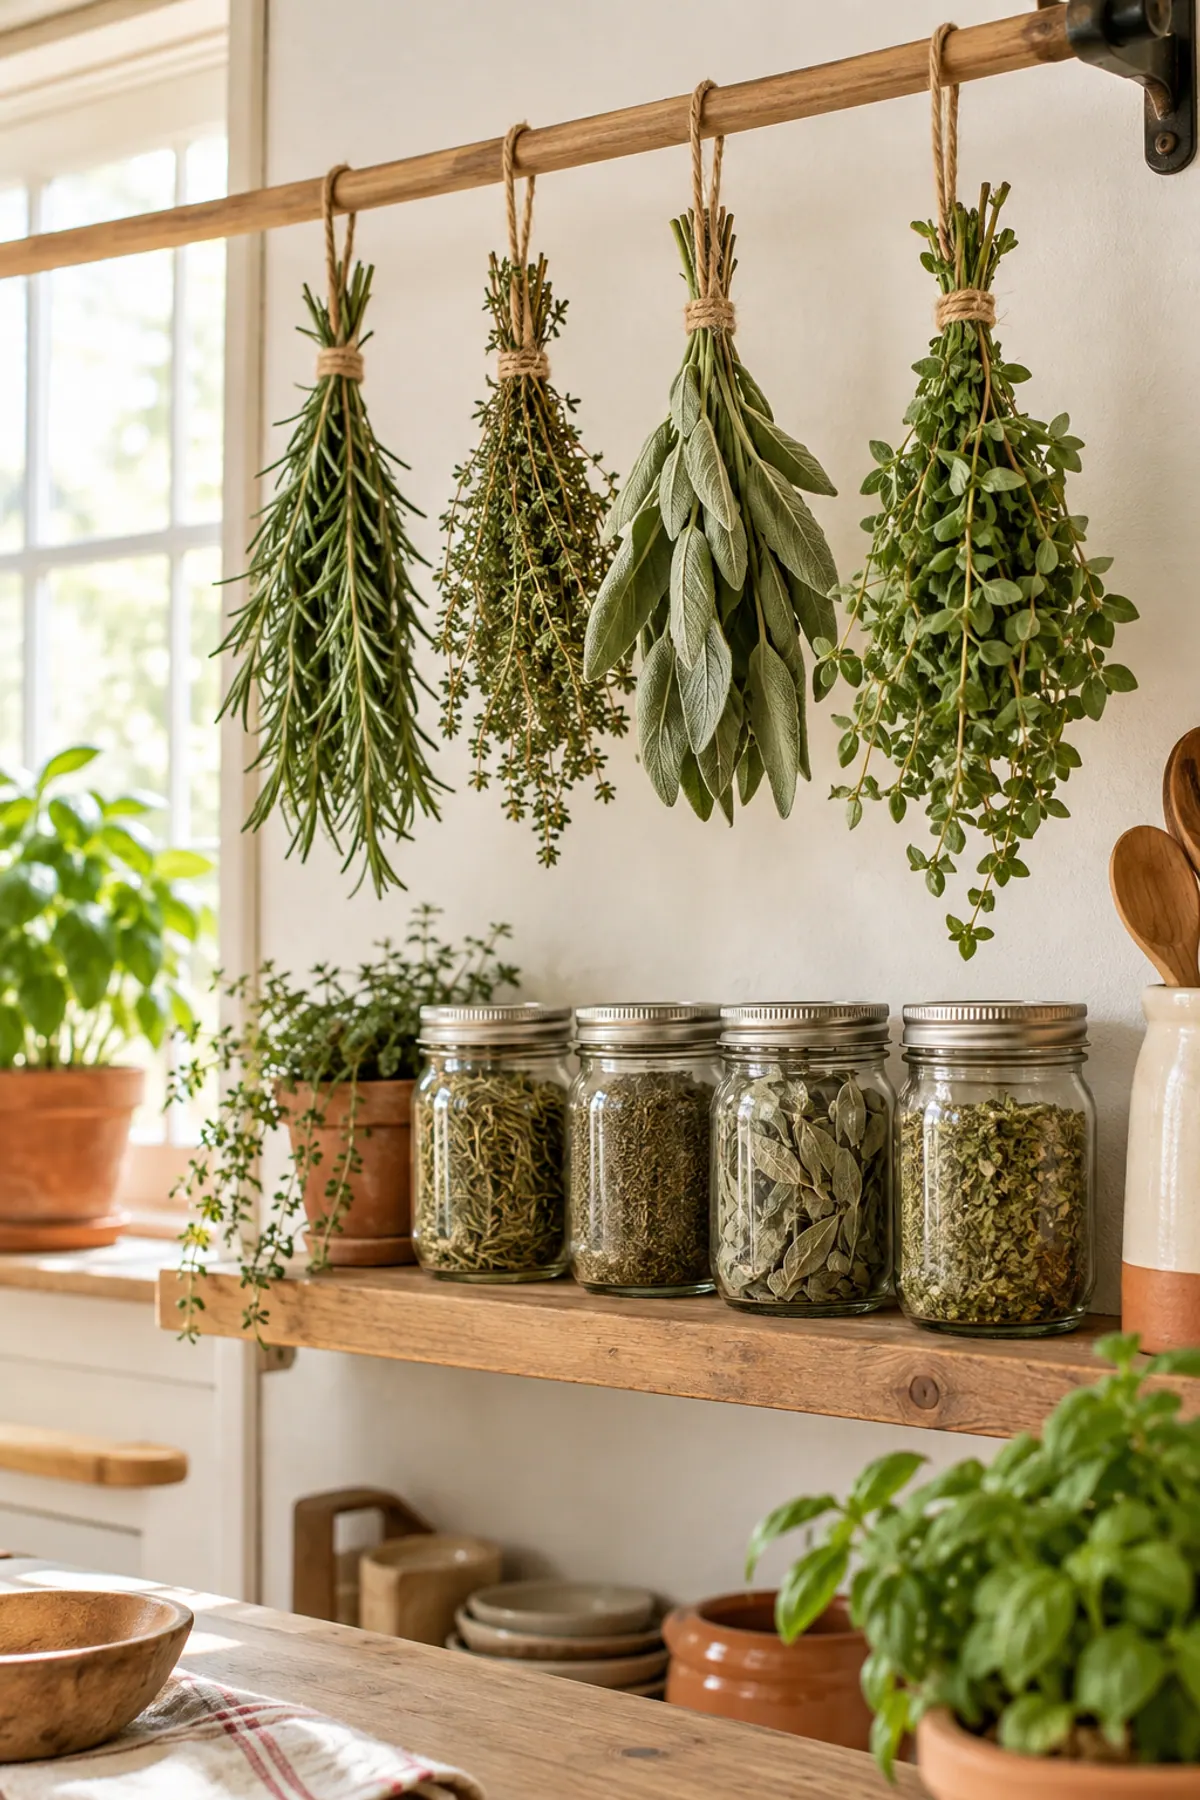
Spare slices store well in a box too. A set of printable dried herb labels keeps the box named and dated, so you know which year's batch you are pulling out.
Where to hang a dried orange garland
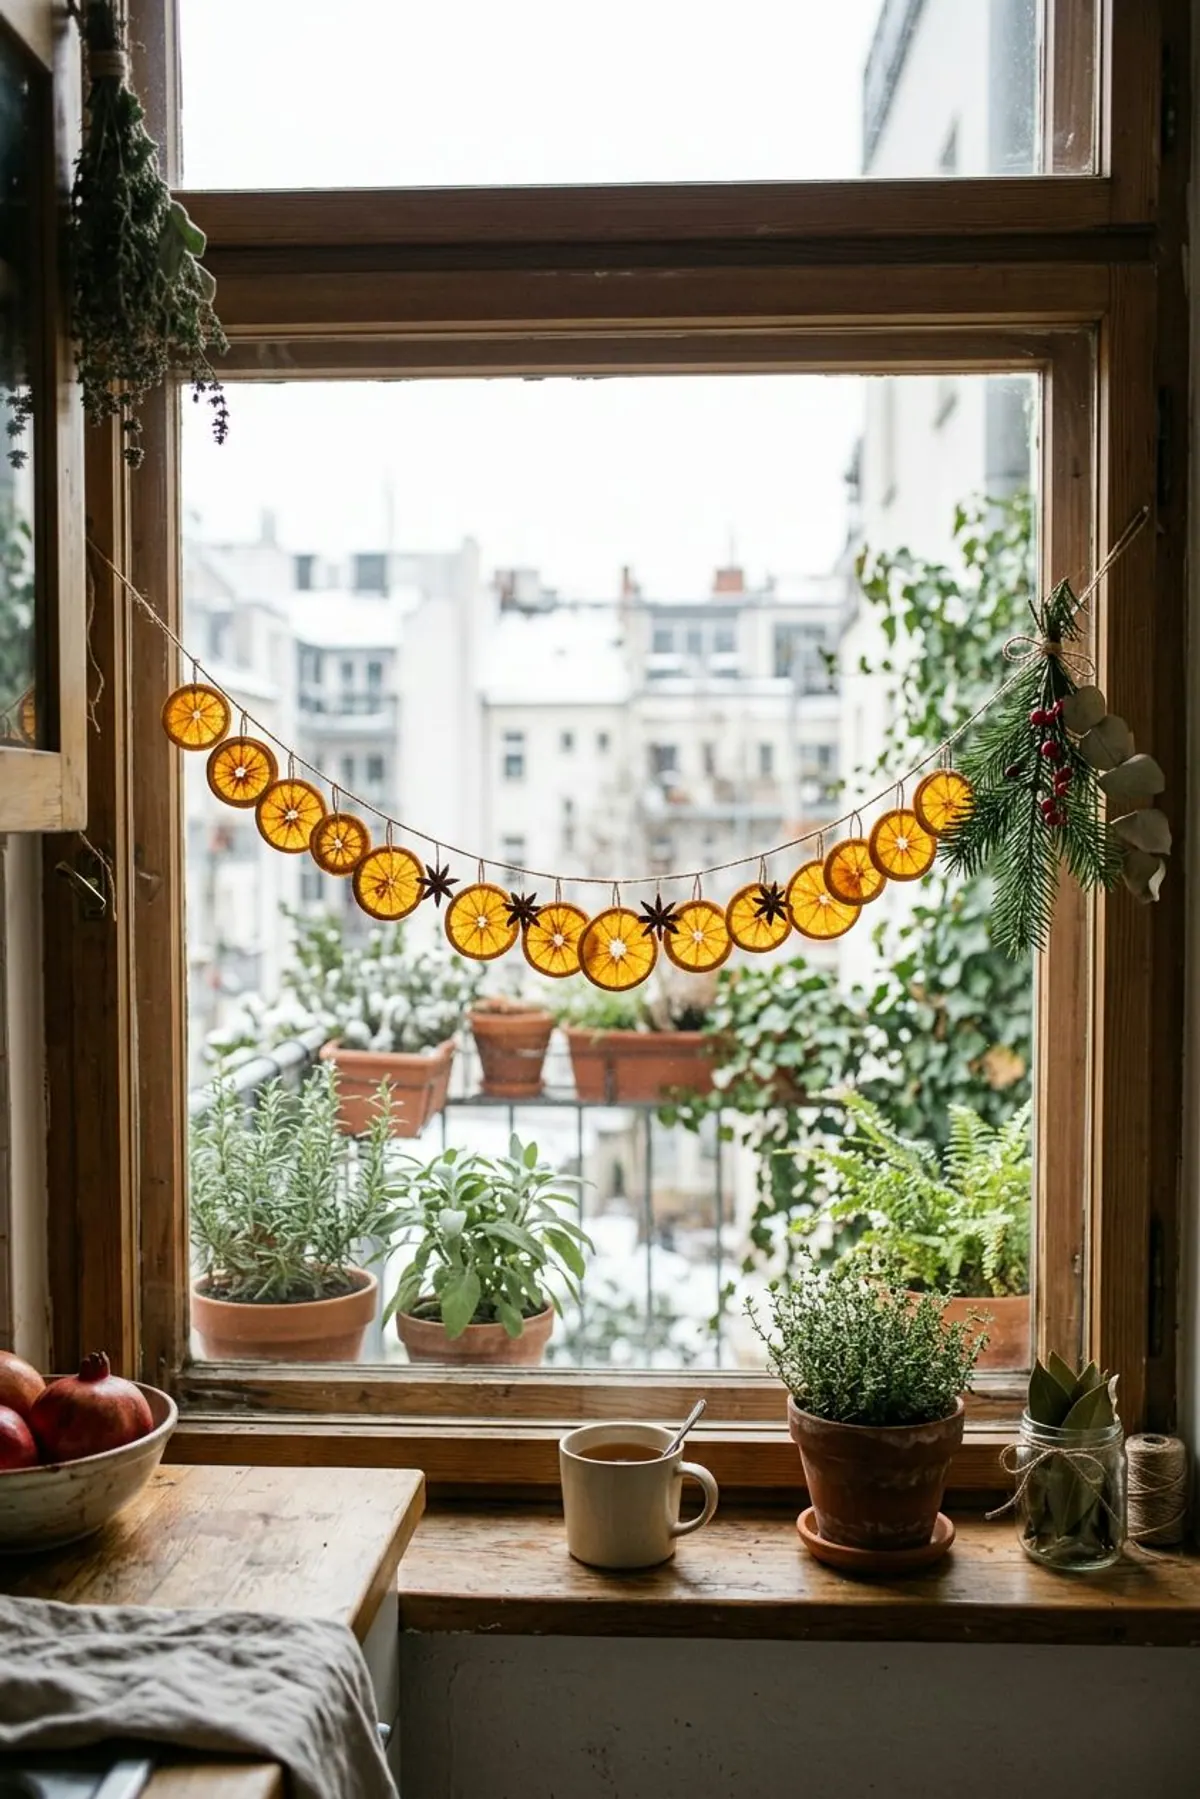
A window is the best first spot, because light shining through the slices shows off the color. Use clear removable hooks on the frame so you do not drill or leave marks, which suits a rental. Keep it away from a stove, a steamy bathroom and heating vents.
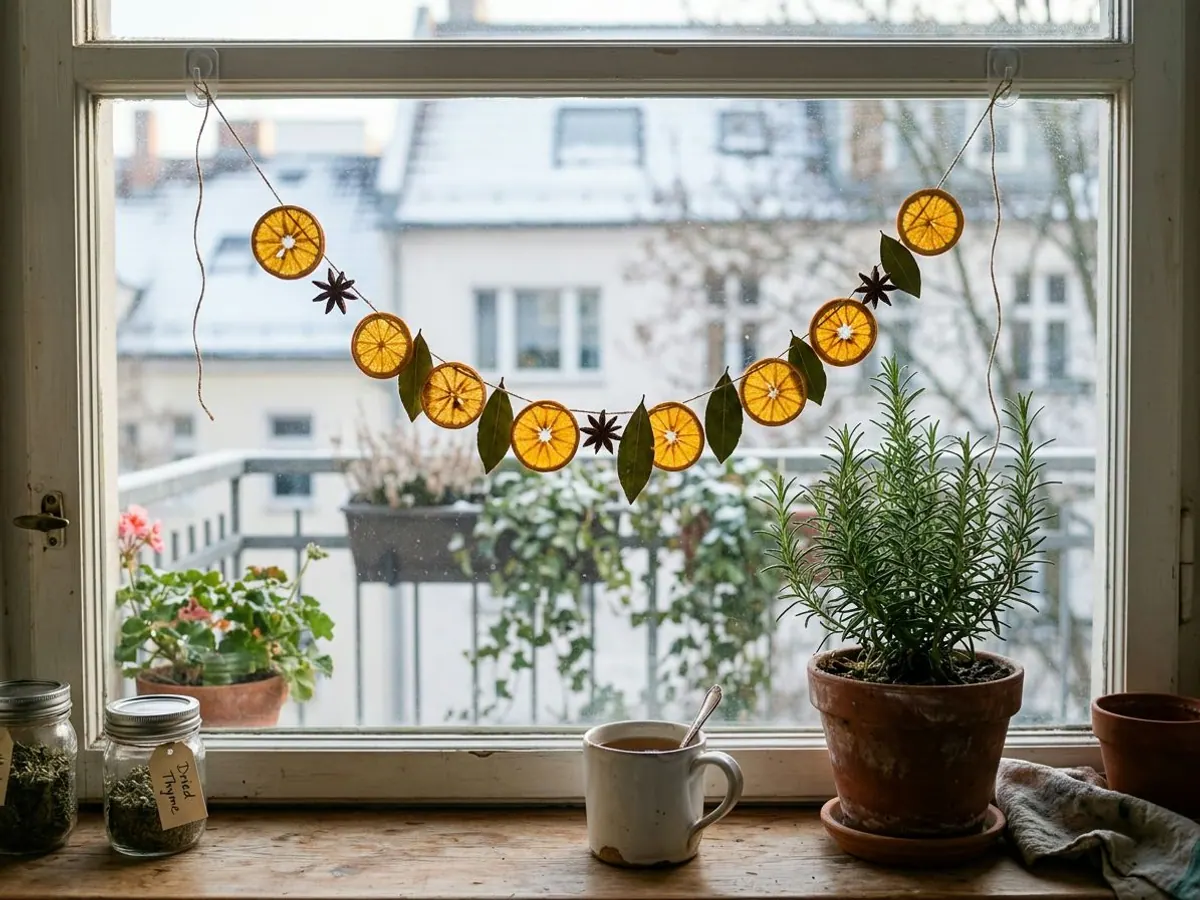
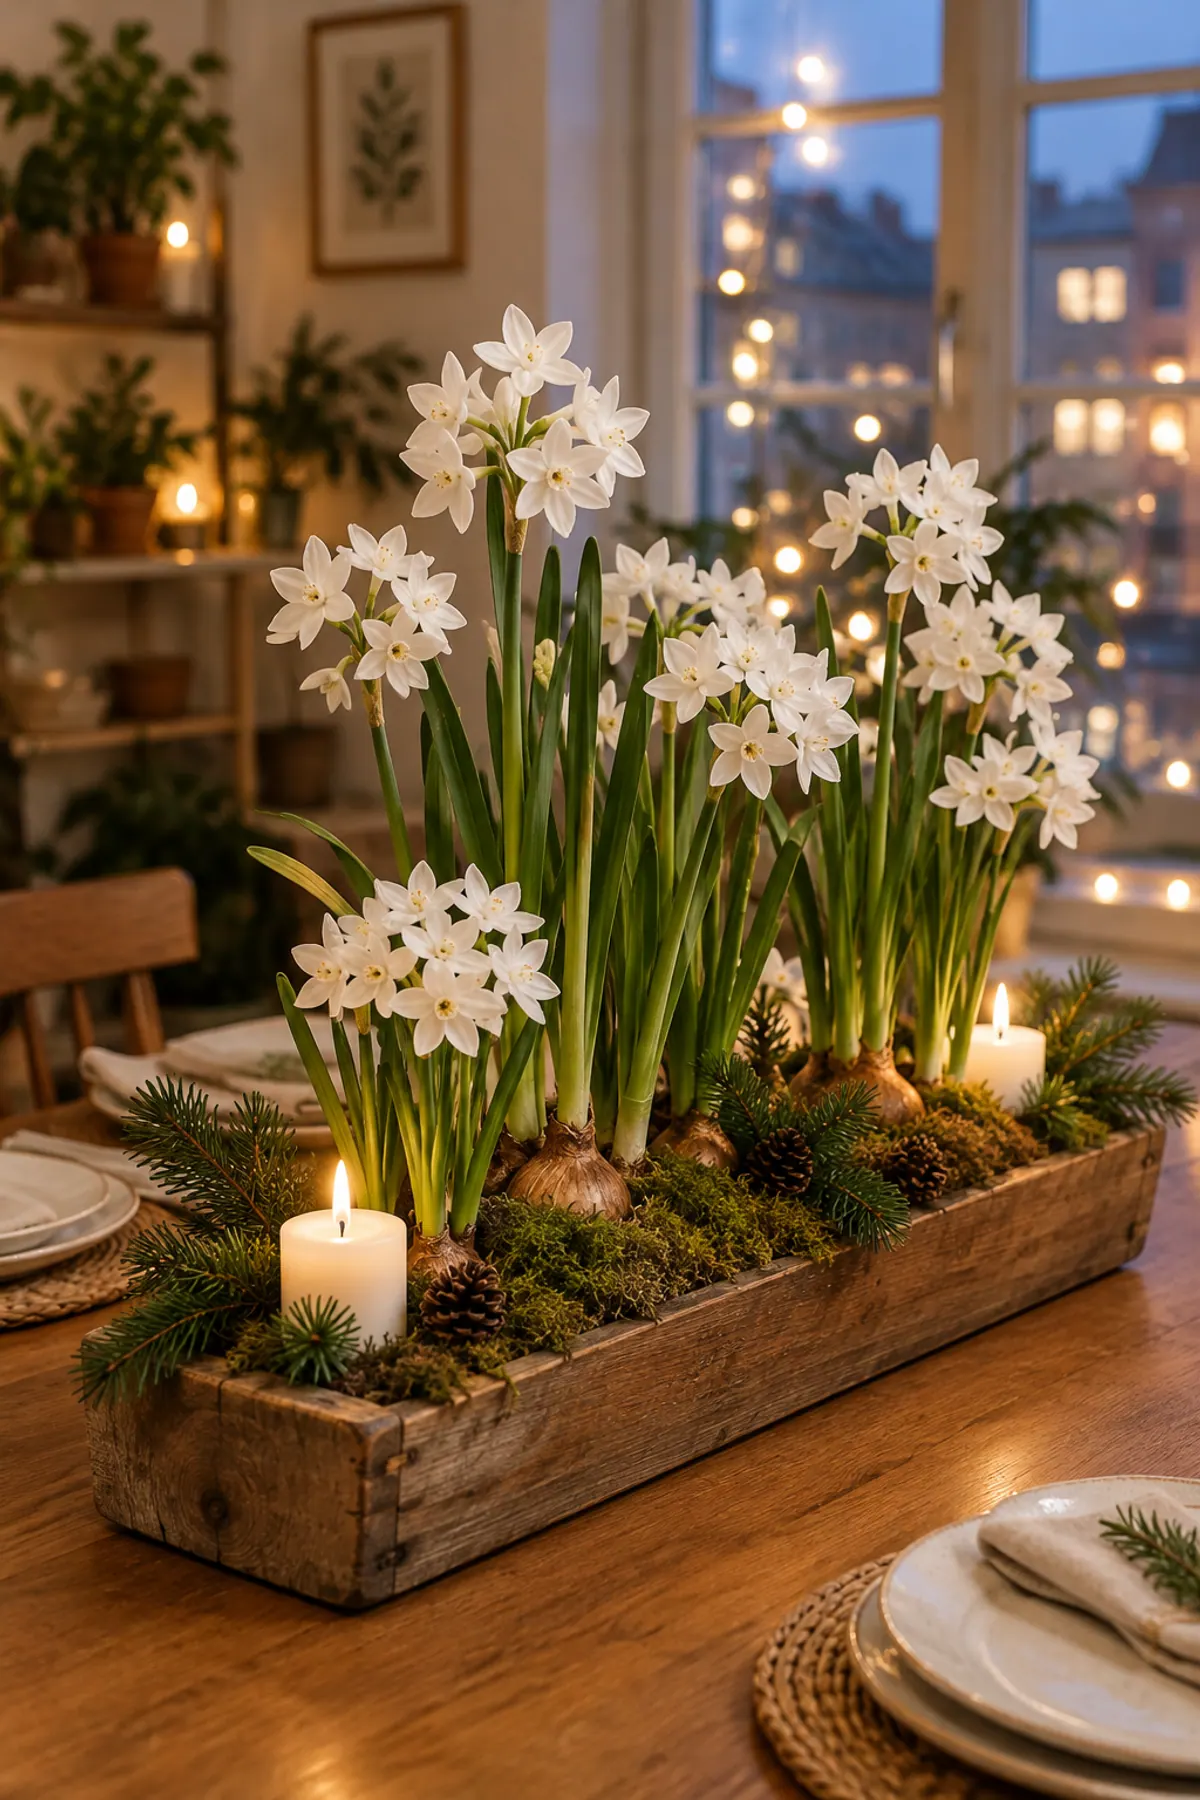
On a small tree, wrap the garland loosely from the top down and tuck cinnamon sticks between the branches. On a mantel, keep it well back from any flame, because dried fruit and twine burn. It also looks good next to living holiday plants like a Christmas cactus or a bowl of paperwhites.

No-oven options for a dried orange garland
A dehydrator on its lowest setting works for 12 to 24 hours, and it is a good choice if you would rather not run the oven all afternoon. Air drying on a rack in a warm, dry room also works for some people, but no source we read gives a reliable time, so we do not give one. Check air-drying slices daily and throw out any that look damp or smell musty.
Mistakes that spoil a dried orange garland
Common mistakes
Variations: cinnamon, bay and other citrus
Add cinnamon sticks, dried bay leaves or fresh pine sprigs between the slices for color and scent. Slices of other citrus, such as lemon, grapefruit or blood orange, can be dried the same way, but check them early because their thickness and juiciness differ. Single slices on ribbon make simple ornaments or gift toppers, especially tied with a sprig from a rosemary Christmas tree. For more ways to use dried plant material, try our herb wreath ideas.
Supplies for a dried orange garland
-
Wire cooling racks that fit a half sheet pan
Typically $8 to $18
Lets hot air reach both sides of each slice
Check price on Amazon for Wire cooling racks that fit a half sheet pan -
Serrated bread knife
Typically $10 to $30
Cuts even rounds without crushing the fruit
Check price on Amazon for Serrated bread knife -
Natural baker's twine
Typically $5 to $10
Strong, plain and easy to knot between slices
Check price on Amazon for Natural baker's twine -
Large-eye needles
Typically $4 to $8
Pass through the peel without tearing the slice
Check price on Amazon for Large-eye needles -
Clear removable hooks
Typically $6 to $12
Hang a window swag without drilling
Check price on Amazon for Clear removable hooks -
Food dehydrator
Typically $40 to $90
An overnight option that keeps the oven free
Check price on Amazon for Food dehydrator
Frequently asked questions
What temperature do you dry orange slices at for a garland?
Two common choices are 200F (90C) for 2 to 3 hours, flipping every 30 minutes, and 250F for about 2.5 hours, flipping halfway. Lower heat is gentler and higher heat is faster, so start checking early at either one.
How long does a dried orange garland last?
A fully dried garland can last months in a cool, dry place. Humid rooms shorten that, and fresh cranberries strung with it shrivel after about a week.
Can I make a dried orange garland without an oven?
Yes. A dehydrator on its lowest setting takes 12 to 24 hours. Air drying on a rack can work in a warm, dry room, but it takes longer and the slices need daily checks for damp spots.
How thick should the orange slices be?
Cut them 1/8 to 1/4 inch thick and pat them dry. Thinner slices dry faster but tear when threaded, and thicker ones stay wet in the middle.
How do I hang a dried orange garland on a window?
Use clear removable hooks on the frame and drape the garland in a swag. Keep it away from steam and heat sources, and leave tails long enough to tie off.
Are dried orange garlands safe around pets and children?
Treat the garland as a decoration and not as food. Hang it out of reach, keep it away from open flames, and remove any slice that falls and gets chewed.

Save it for later
Pin this to your Garden DIY board so it's there when you need it.
Save to Pinterest