This post contains affiliate links. As an Amazon Associate we earn from qualifying purchases, at no extra cost to you. Read our disclosure.
Safety first: Herbs can be powerful. If you are pregnant, nursing, take medication or have a health condition, check with your doctor or pharmacist first. Please read our herbal & garden safety notes before you start.
Key takeaways
- Harvest just before flowers open, in the morning after the dew dries, for the most flavor.
- Air dry sturdy herbs in small bundles in a dark, airy spot. It usually takes 5 to 10 days.
- A dehydrator at 95 to 115°F dries most herbs in 1 to 4 hours (up to 125°F in humid areas).
- The oven works at the lowest setting, no higher than 180°F with the door open, but costs more flavor.
- Herbs are dry when leaves crumble and stems snap. Store them whole in airtight jars away from heat and light, and use within about a year.
In this post12 sections
- Which drying method should you use?
- Before you start: harvest and prep
- How to air dry herbs
- How to dry herbs in the oven
- How to dry herbs in a dehydrator
- Microwave drying for a small handful
- How to tell when herbs are dry
- How to store dried herbs
- Herb drying mistakes that cause mold or bland herbs
- Variations: flowers, seeds and herbs better frozen
- Herb drying supplies
- FAQ
Which drying method should you use?
Each method trades time for flavor. Slow, cool drying keeps more of the oils that give herbs their scent, while fast, hot drying saves time but loses some of it. Pick the method that fits your herbs and your kitchen.
| Method | Temperature | Time | Best for |
|---|---|---|---|
| Air drying, bundles | Room temperature, dark and airy | About 5 to 10 days | Rosemary, thyme, sage, oregano, lavender |
| Air drying, paper bag | Room temperature | About 1 to 2 weeks | Mint, lemon balm, basil, herbs that drop seeds |
| Dehydrator | 95 to 115°F (up to 125°F if humid) | 1 to 4 hours | Tender leaves, big batches, humid climates |
| Oven | Lowest setting, not above 180°F, door open | 3 to 4 hours, checked often | Small batches when you are short on time |
| Microwave | High, in short bursts | 1 to 2 minutes for a cup | A handful of leaves |
Temperatures and times above come from Penn State Extension, Oregon State University Extension and the National Center for Home Food Preservation. Times vary with humidity and leaf size, so always use the crumble test.
Before you start: harvest and prep
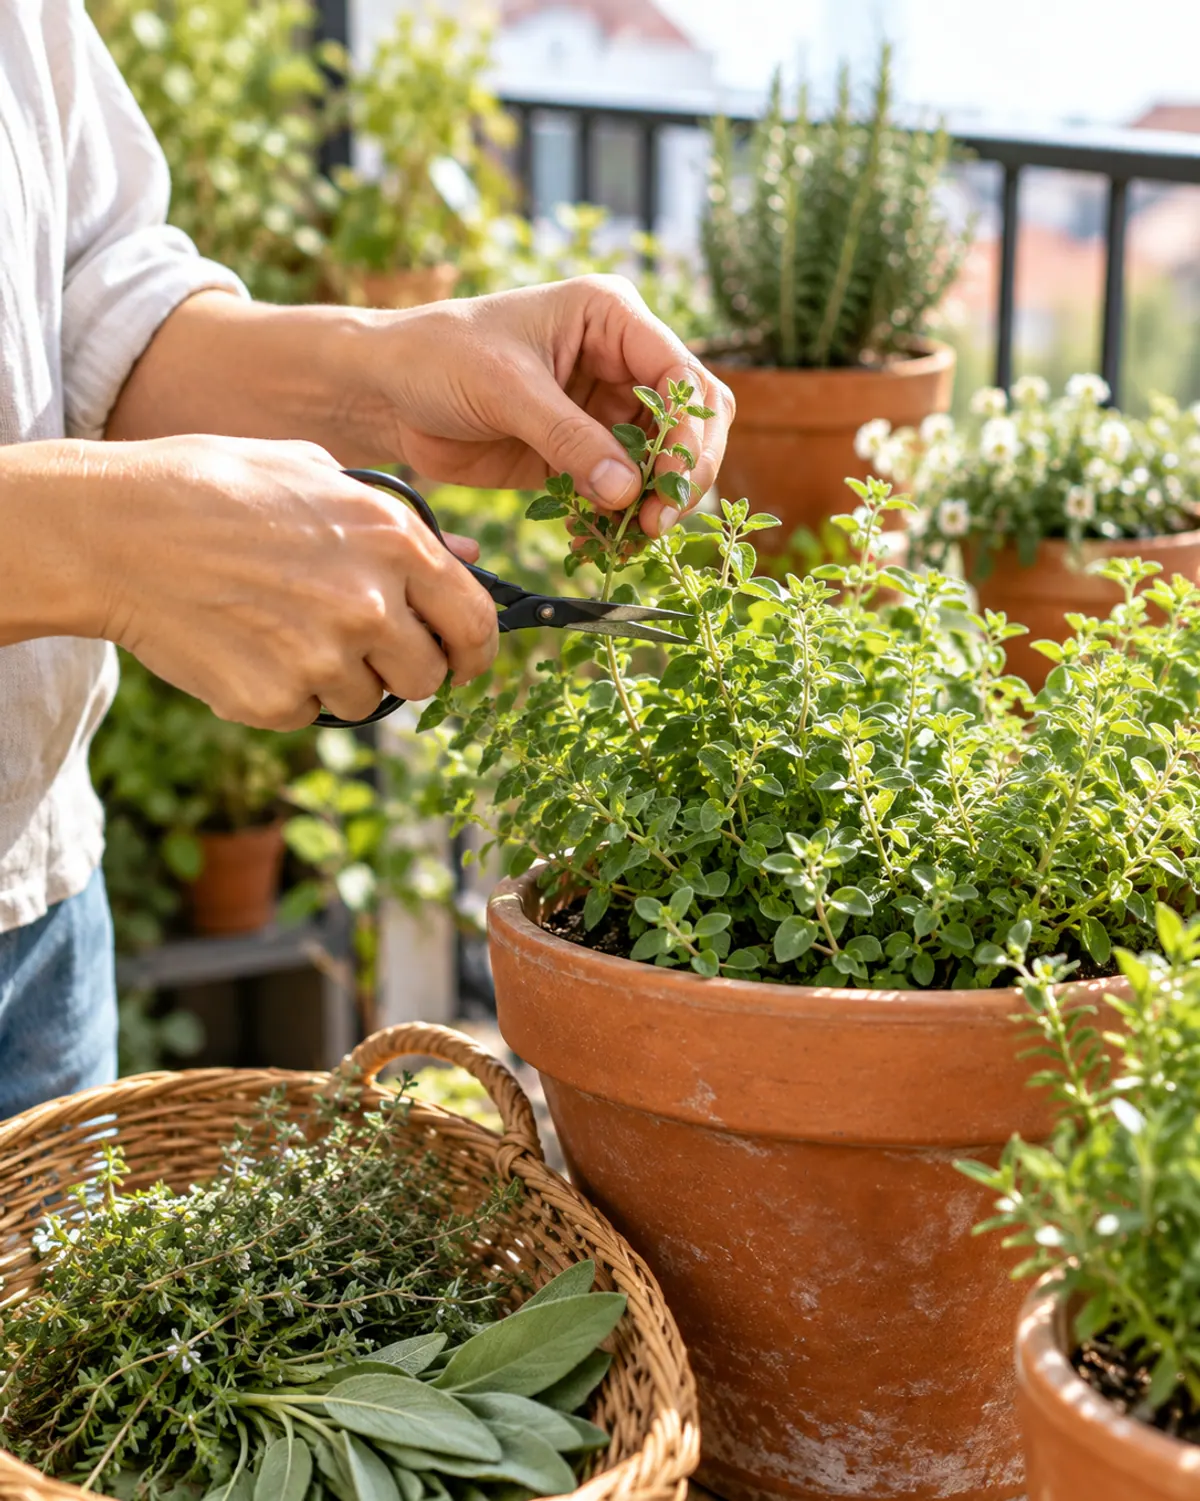
Herbs have the most flavor just before their flowers open. Cut them in the morning, after the dew has dried but before the afternoon heat. Wet leaves mold, so this timing matters.
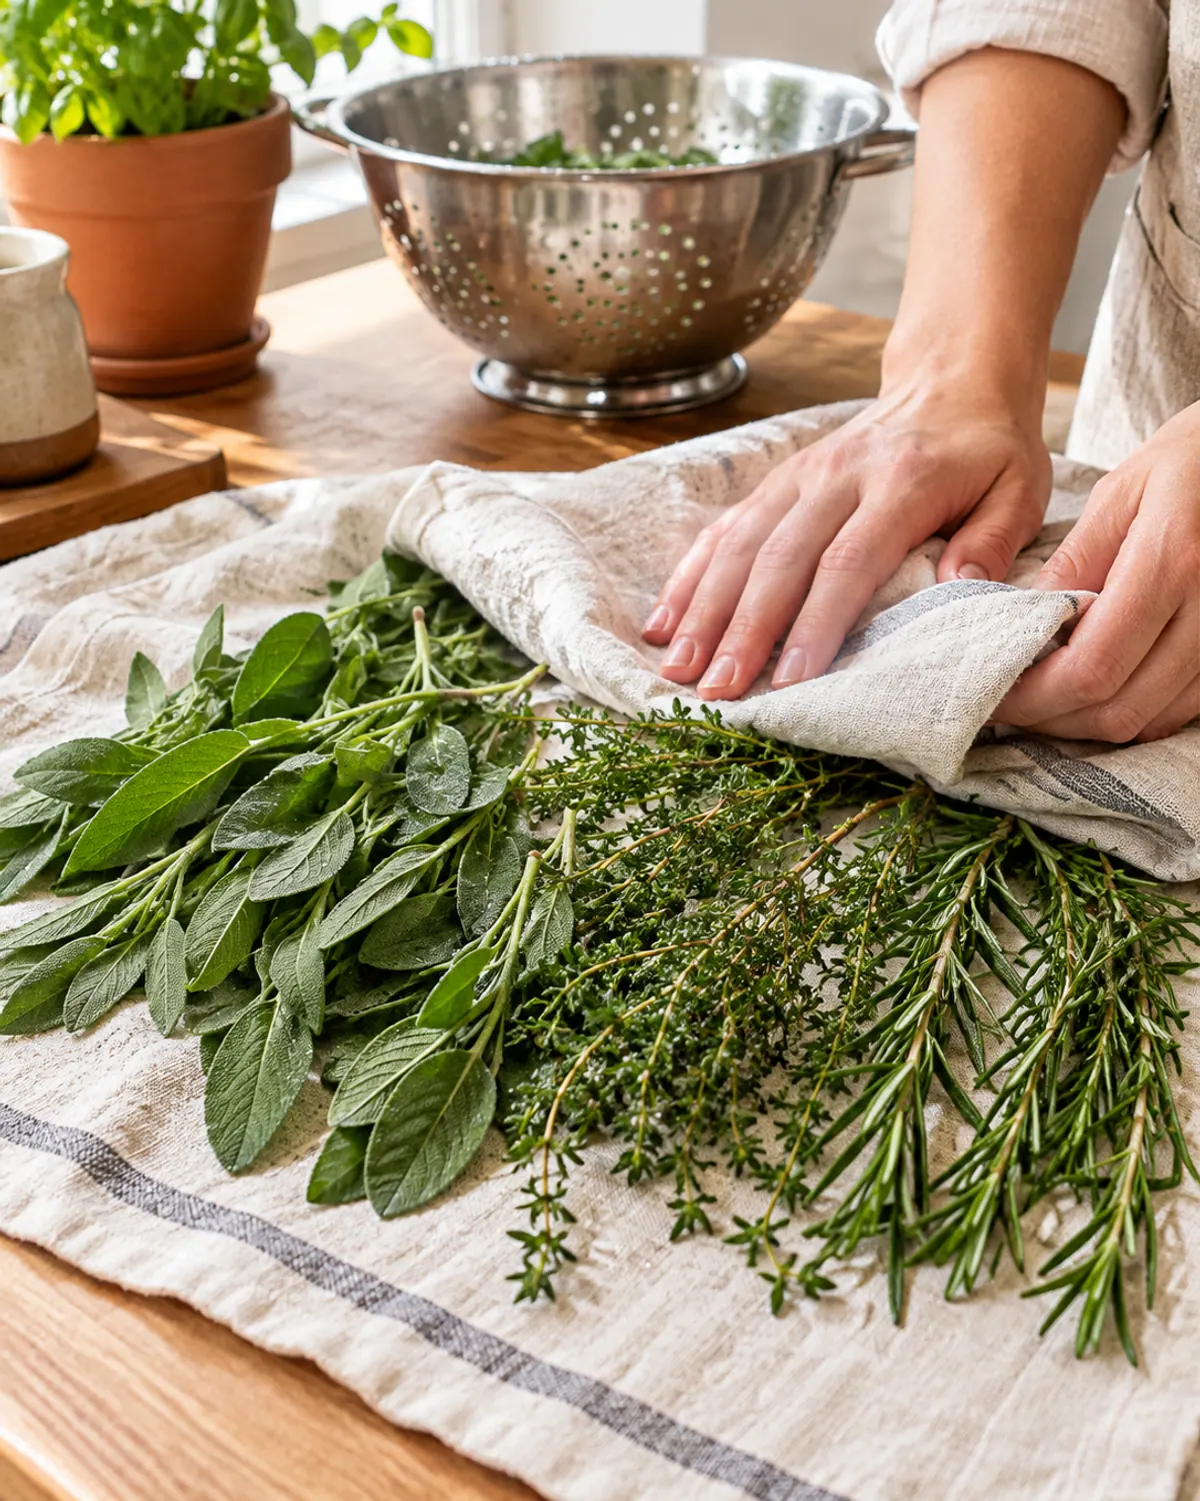
Shake off dust and remove any yellow or damaged leaves. Rinse only if the herbs are dirty, then pat them completely dry with a clean towel. Any water left on the leaves slows drying and invites mold.
How to air dry herbs
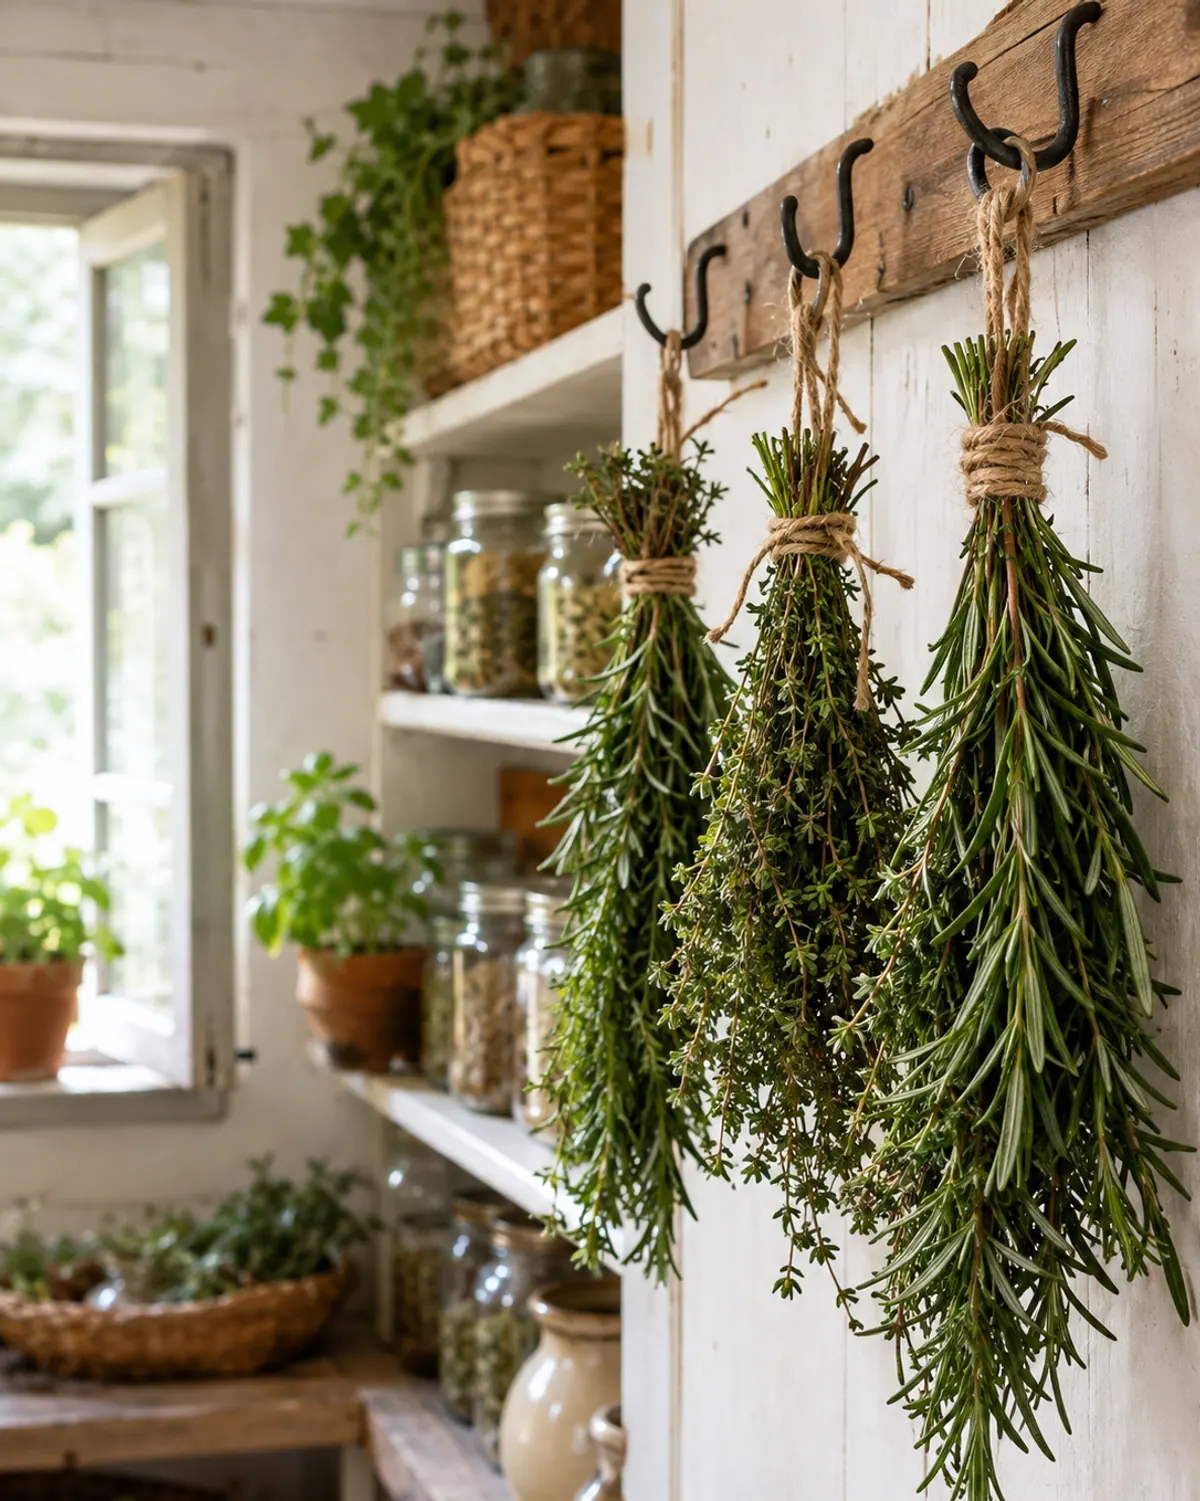
Air drying is the gentlest way to dry herbs at home, and it costs nothing. You need a warm, dark, dry spot with good air flow, out of direct sun, which fades color and flavor.
-
Step 1: Make small bundles
Gather 5 to 10 stems of a sturdy herb like rosemary, thyme or sage. Small bundles dry evenly; thick ones can mold in the middle. A rubber band holds better than string, because stems shrink as they dry.
-
Step 2: Hang them upside down
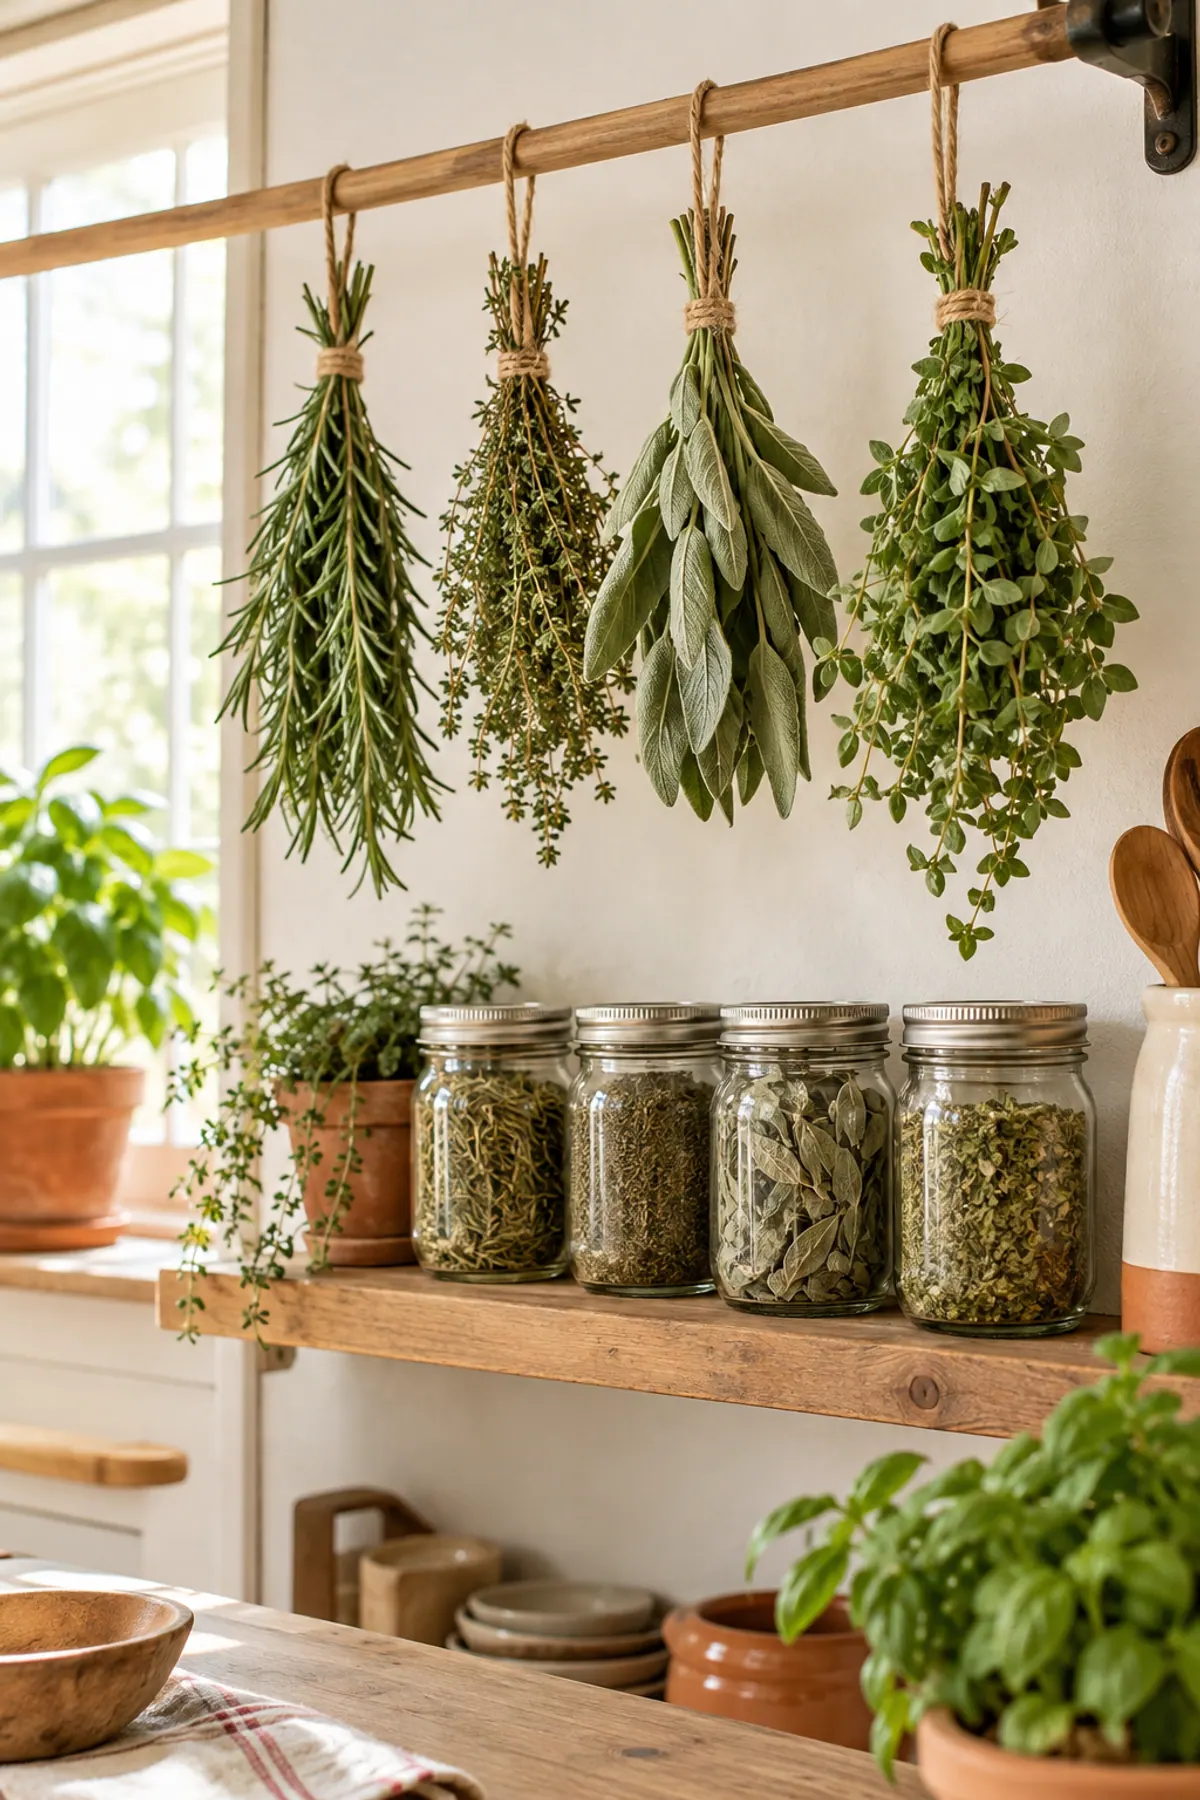
Hang bundles from a hook, a rod or a drying rack in an airy room away from the stove. A pantry, a spare room or a shaded corner of the kitchen all work.
-
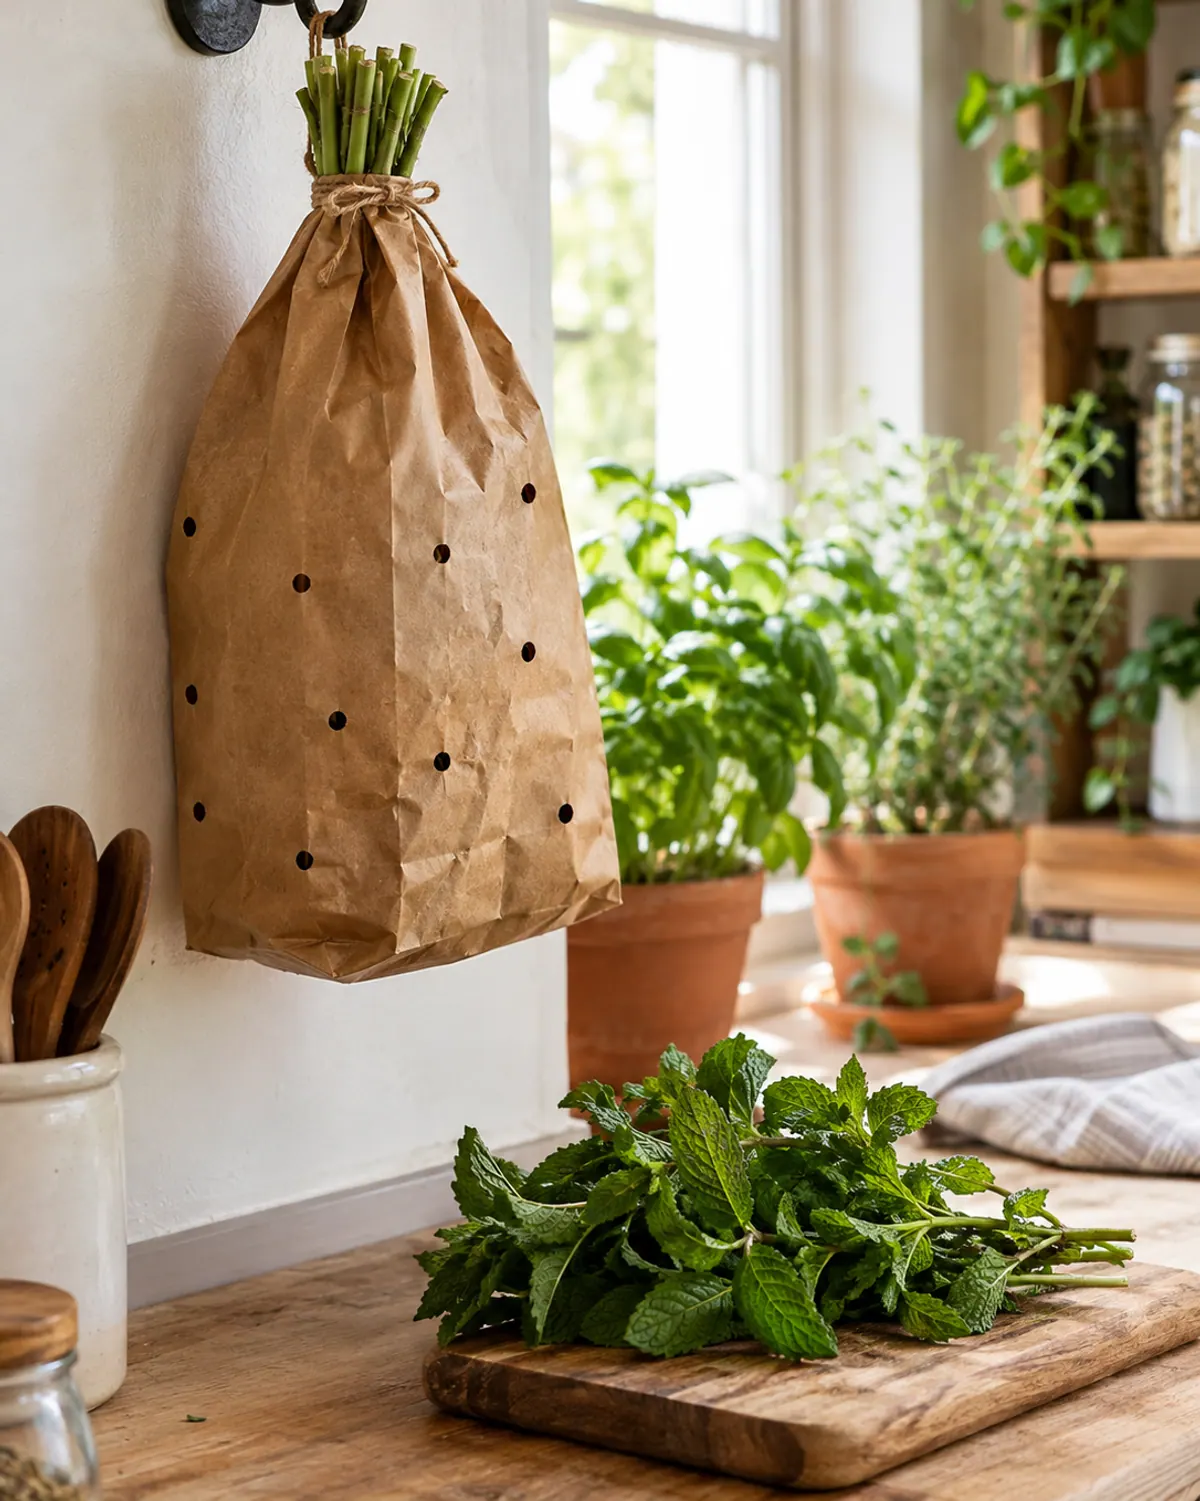
Step 3: Use a paper bag for tender or seedy herbs
Put stems of mint, lemon balm or basil head-down in a paper bag with holes punched in the sides, then close the top around the stems. The bag keeps off dust and catches falling leaves and seeds.
-
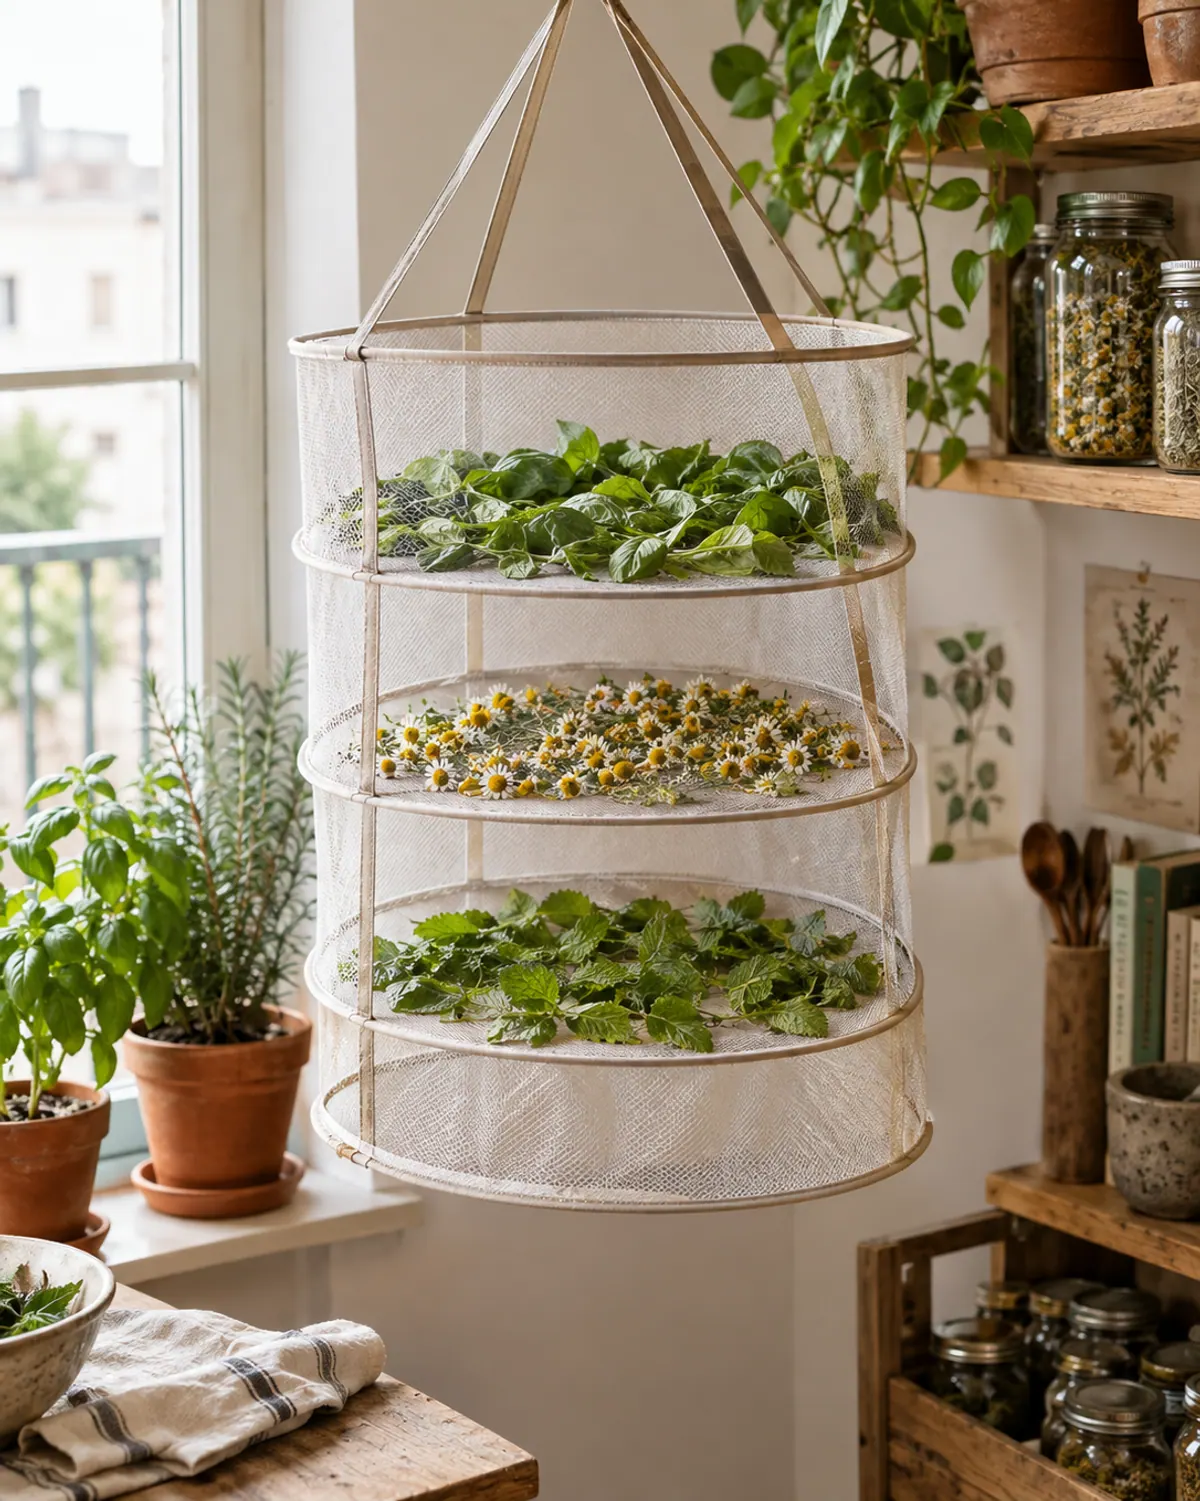
Step 4: Or lay loose leaves on a rack
A hanging mesh rack is handy for single leaves and flowers like basil, chamomile and lemon balm. Spread them in one layer and turn them every day or two.
-
Step 5: Check after 5 days
Most bundles dry in 5 to 10 days, and longer in humid weather. If you see dark spots or smell mustiness, the spot is too damp; move the herbs to a dehydrator to finish.
How to dry herbs in the oven
The oven is the least gentle option. Penn State Extension notes that even the lowest setting destroys much of an herb's flavor, oils and color, so it is a backup rather than a first choice. Still, it works when rain is coming and the basil needs cutting.
-
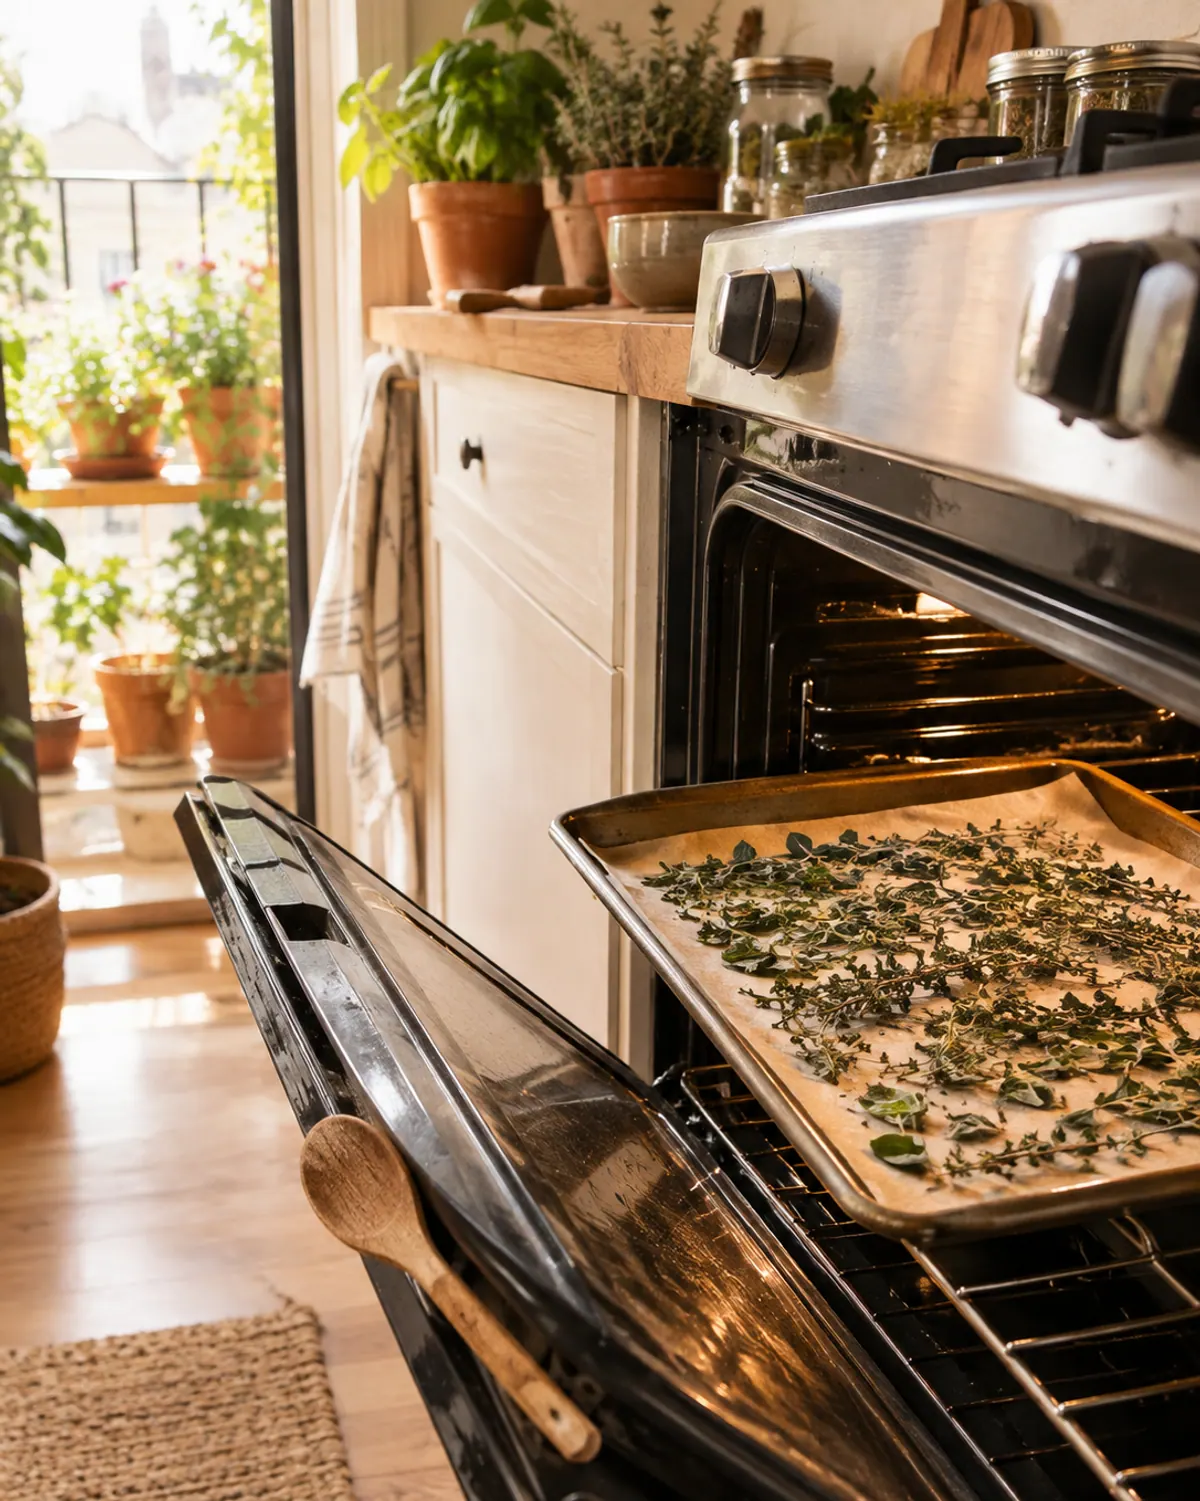
Step 1: Strip and spread the leaves
Pull leaves off the stems and spread them in a single layer on a parchment-lined baking sheet.
-
Step 2: Set the lowest temperature
Use your oven's lowest setting, no higher than 180°F. Prop the door open a few inches so moisture can escape.
-
Step 3: Check every 20 to 30 minutes
Drying usually takes 3 to 4 hours, but small leaves can be done much sooner. Pull them as soon as they crumble, before they brown.
Another option from the National Center for Home Food Preservation: spread leaves between paper towels and leave them overnight in an oven with only the light on. Do not leave an oven running unattended, and keep the door prop clear of the heating element.
How to dry herbs in a dehydrator
A dehydrator is the most reliable method, especially in humid climates. Preheat it to 95 to 115°F, or up to 125°F if your air is very humid. Spread leaves or short sprigs in one layer on the trays without overlapping.
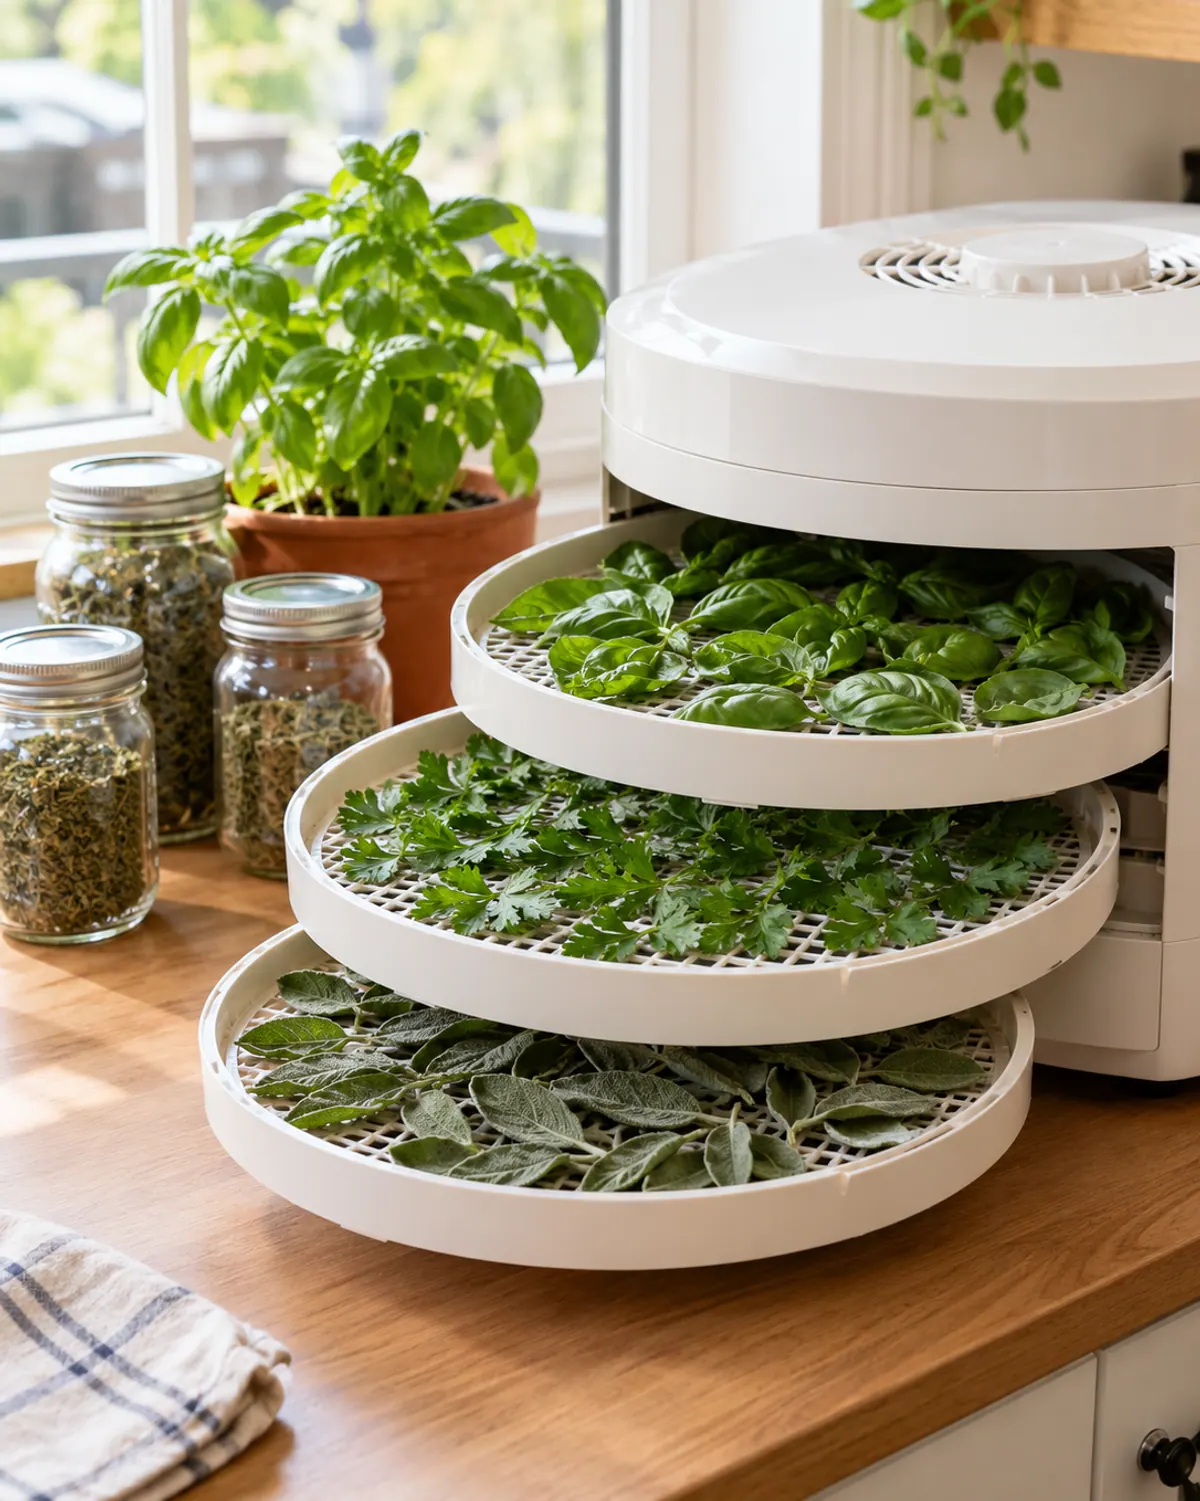
Most herbs dry in 1 to 4 hours. Check them every half hour after the first hour, and put a mesh screen on the tray for tiny leaves like thyme so they don't fall through.
For a cup of leaves or less, Oregon State University Extension describes microwaving between plain paper towels on high for 1 to 2 minutes, checking every 30 seconds after the first minute. Never use recycled paper towels, which can contain metal bits that spark. Follow your microwave's instructions, and stay with it the whole time.
How to tell when herbs are dry
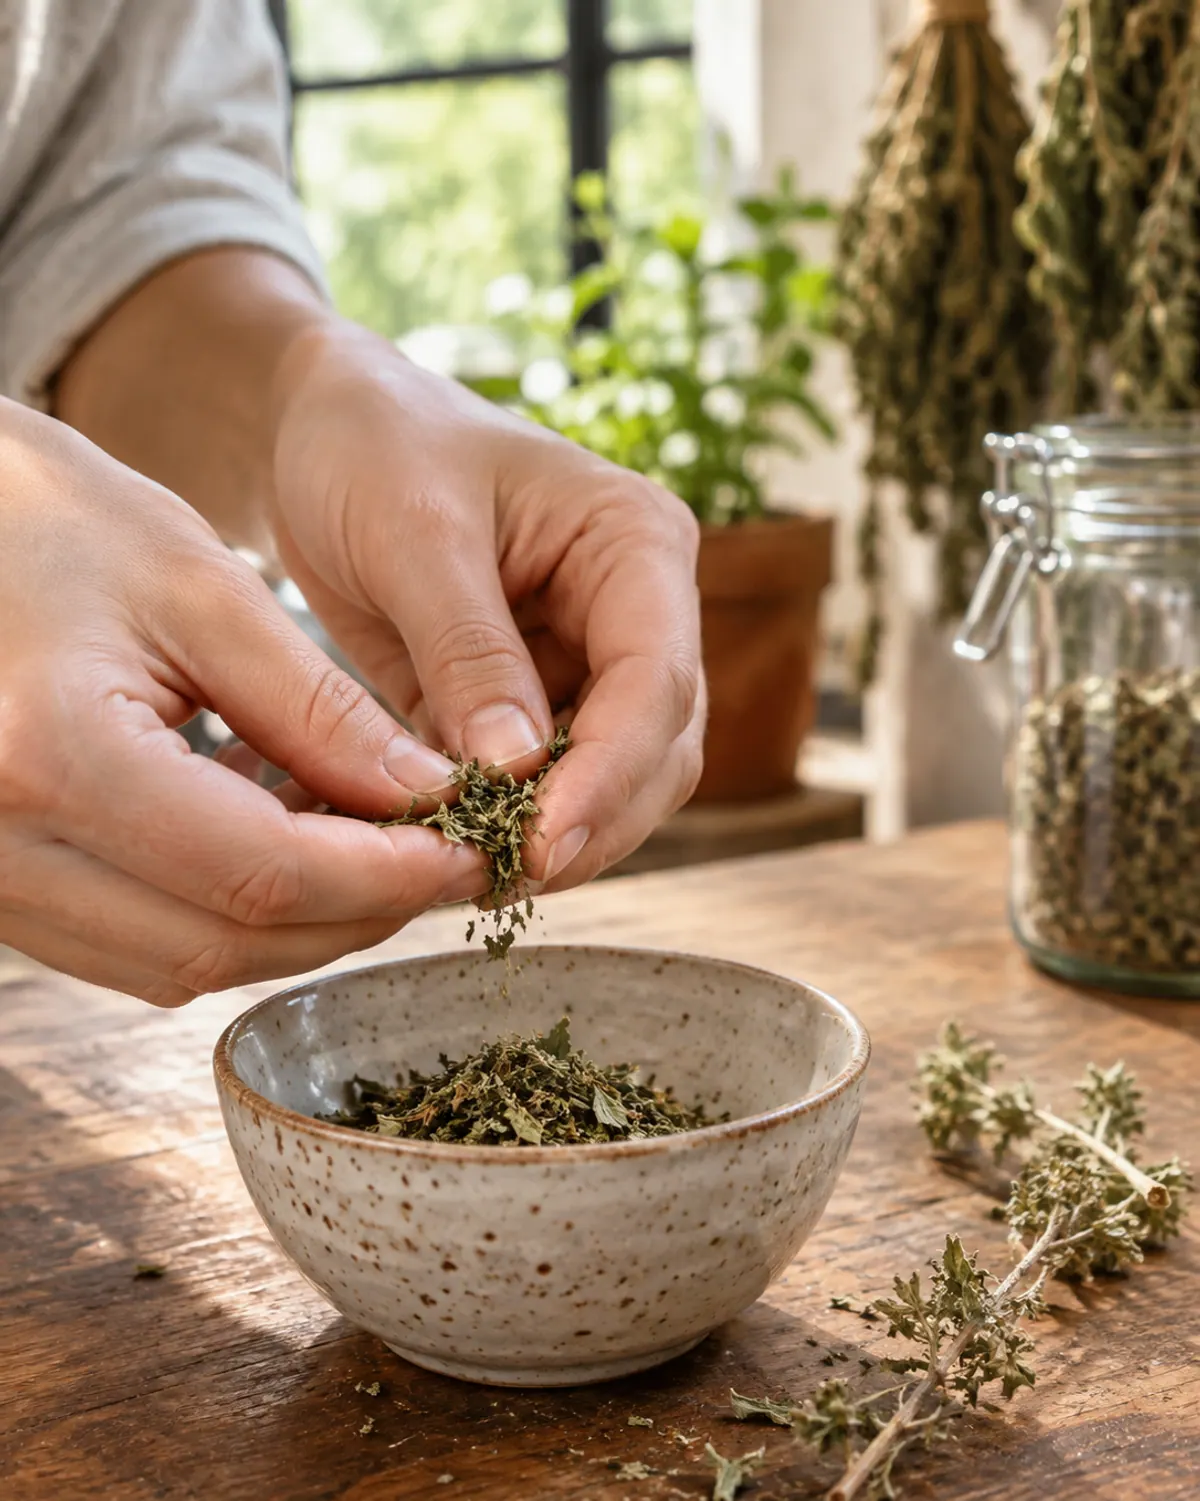
Leaves should crumble easily between your fingers, and stems should snap rather than bend. If anything feels leathery or cool to the touch, give it more time.
How to store dried herbs
Strip the leaves from the stems, but keep them whole if you can. Whole leaves hold their oils and flavor longer; crush them just before you cook.
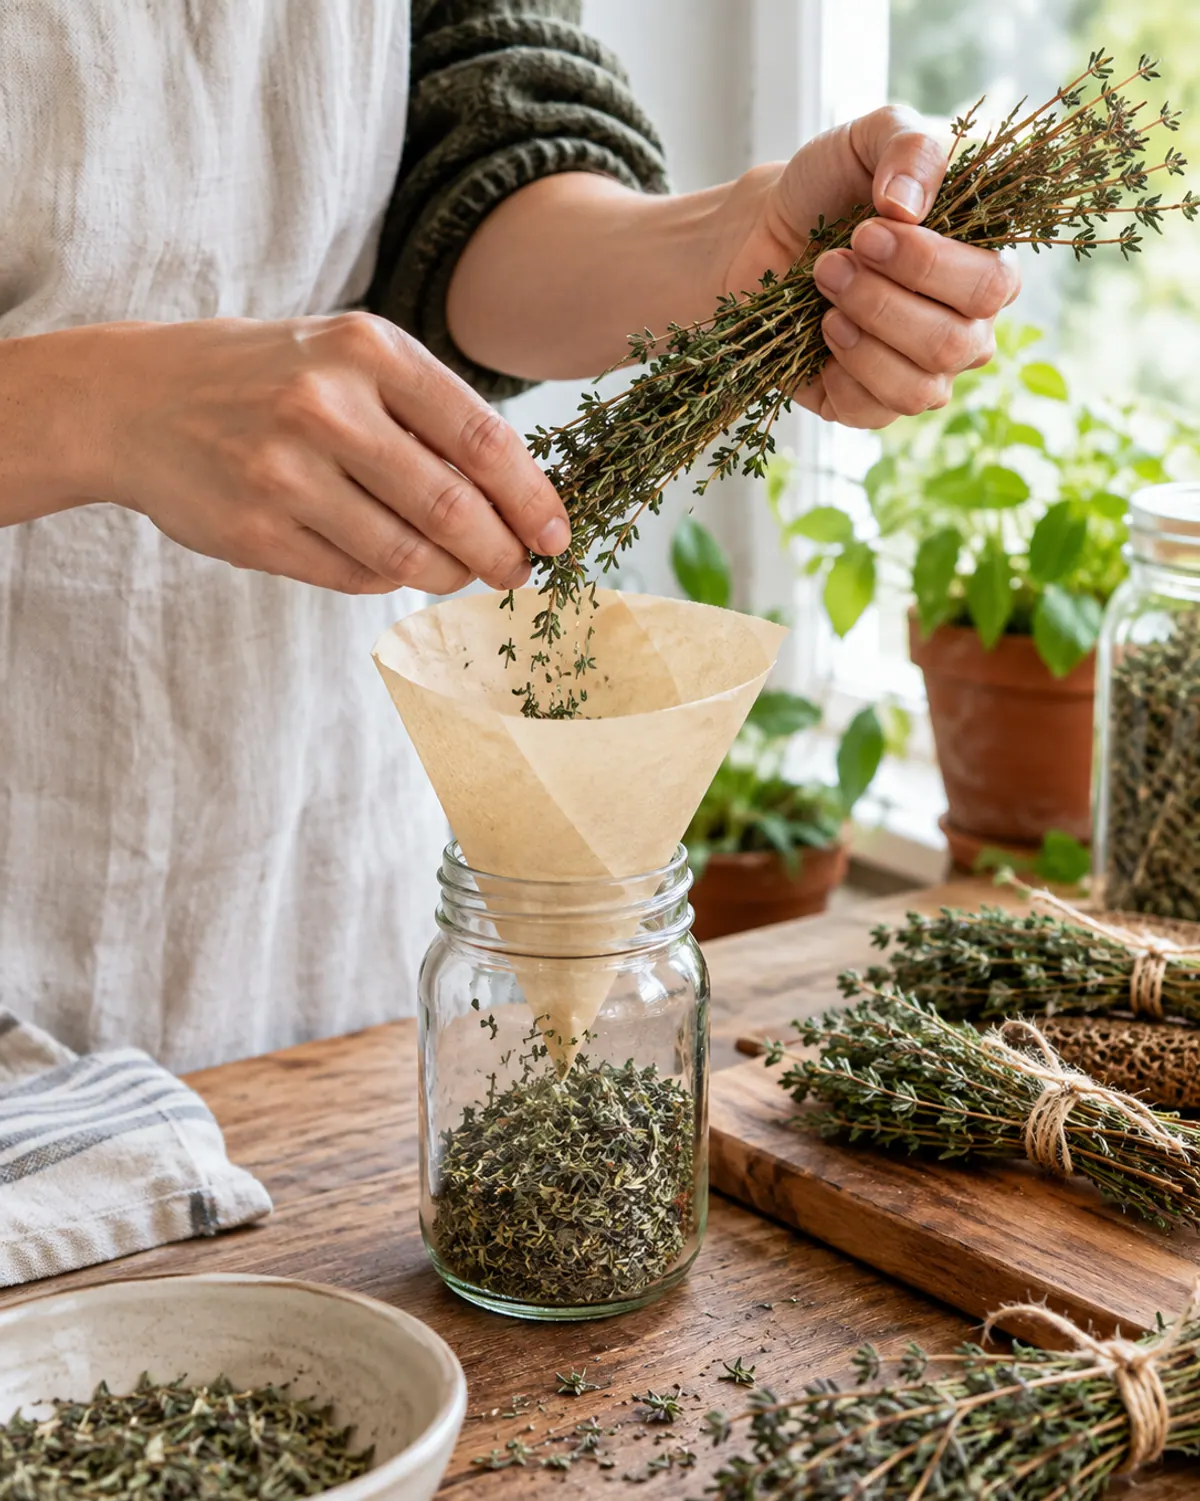
Store dried herbs in airtight glass jars in a cool, dark, dry cupboard. Skip the shelf above the stove, the windowsill and the spot by the sink, where heat, light and steam fade them fastest. Label each jar with the herb and date.
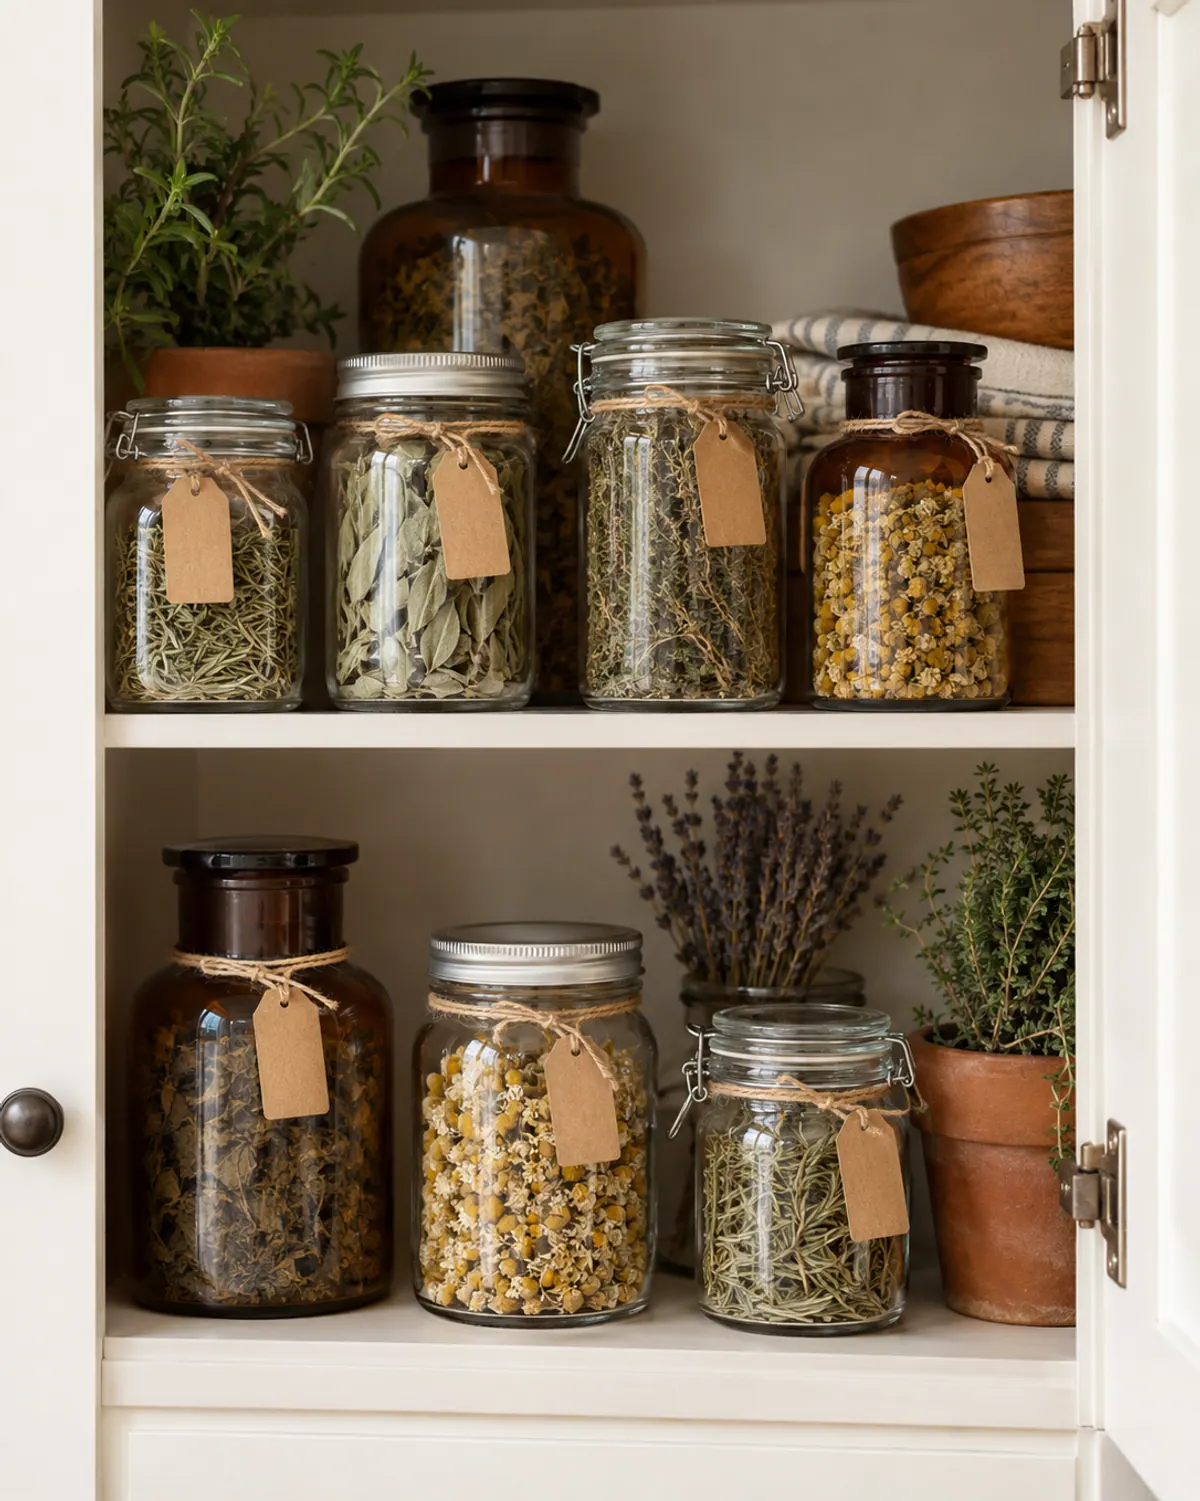
Check new jars after a few days. If you see any moisture on the glass, the herbs were not fully dry, so spread them out and dry them again. For best flavor, use dried herbs within 6 months to a year.
Herb drying mistakes that cause mold or bland herbs
Avoid these drying mistakes
Variations: flowers, seeds and herbs better frozen
Flowers such as lavender and chamomile dry well. Cut lavender when the first buds open, and pick chamomile when the flowers are fully open, then dry them on a screen or in small bundles.
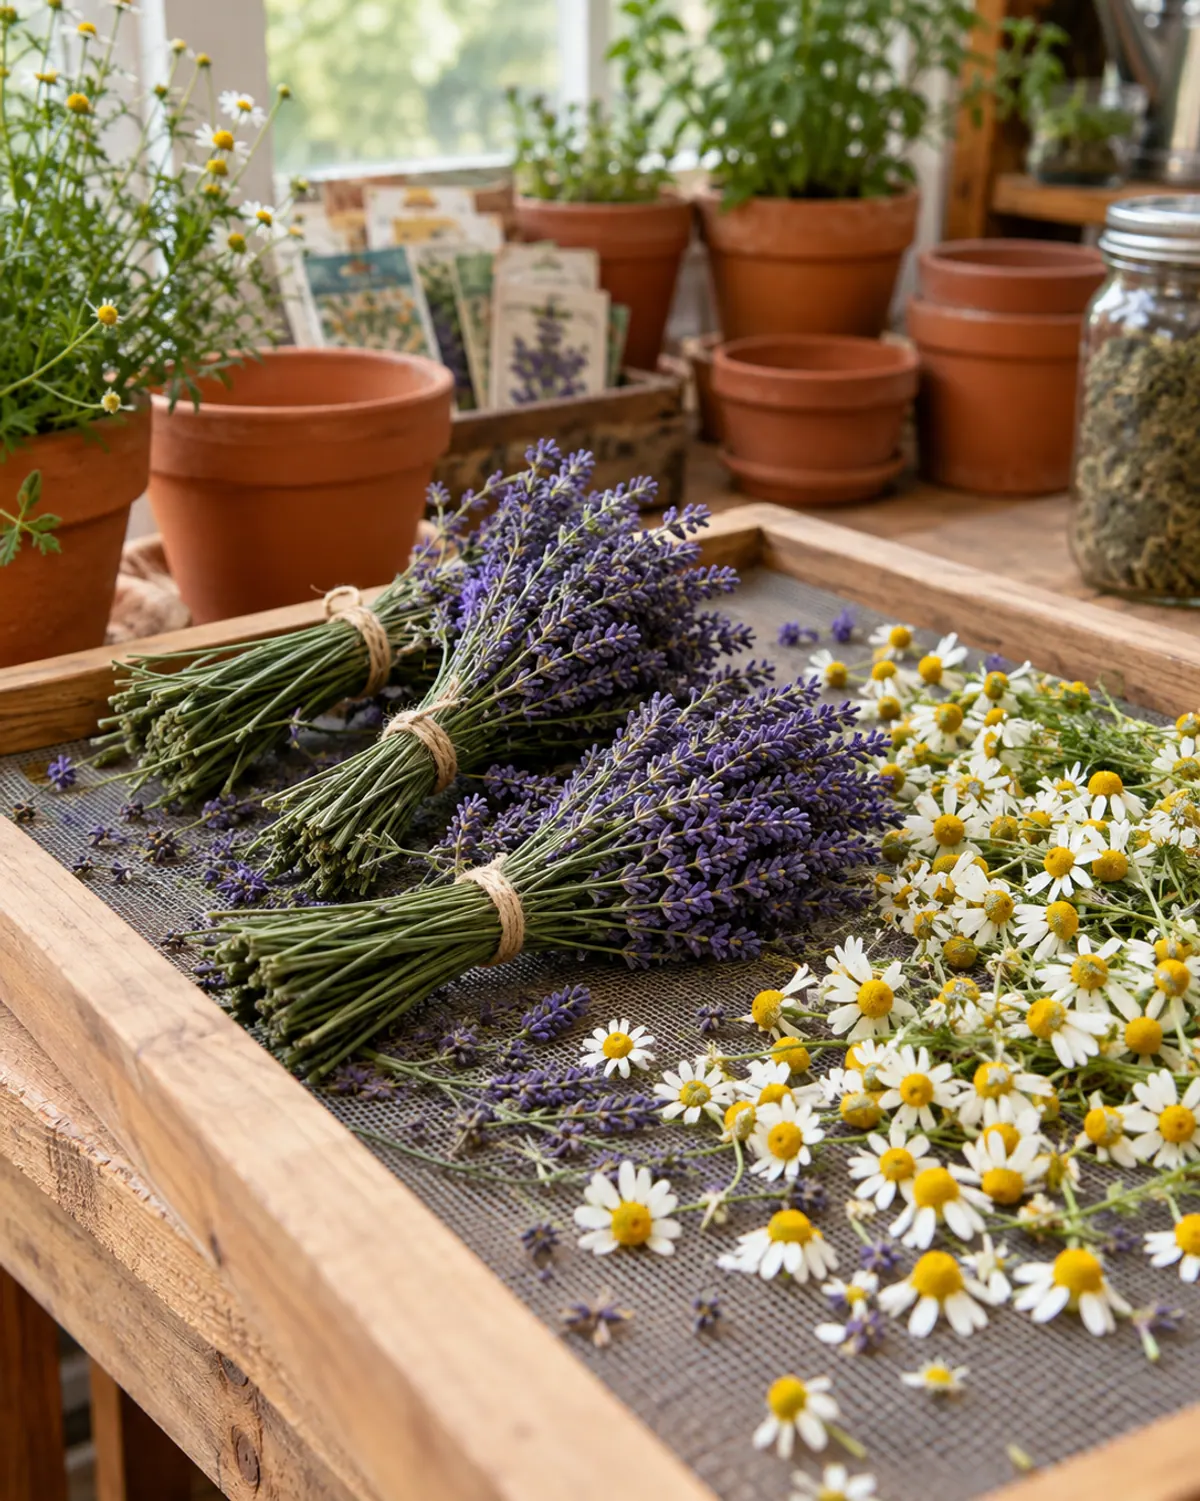
Seeds of dill and coriander can be dried by hanging the seed heads in a paper bag, which catches the seeds as they fall. Tender herbs such as basil, chives and parsley lose a lot of flavor when dried, so many cooks freeze those instead.
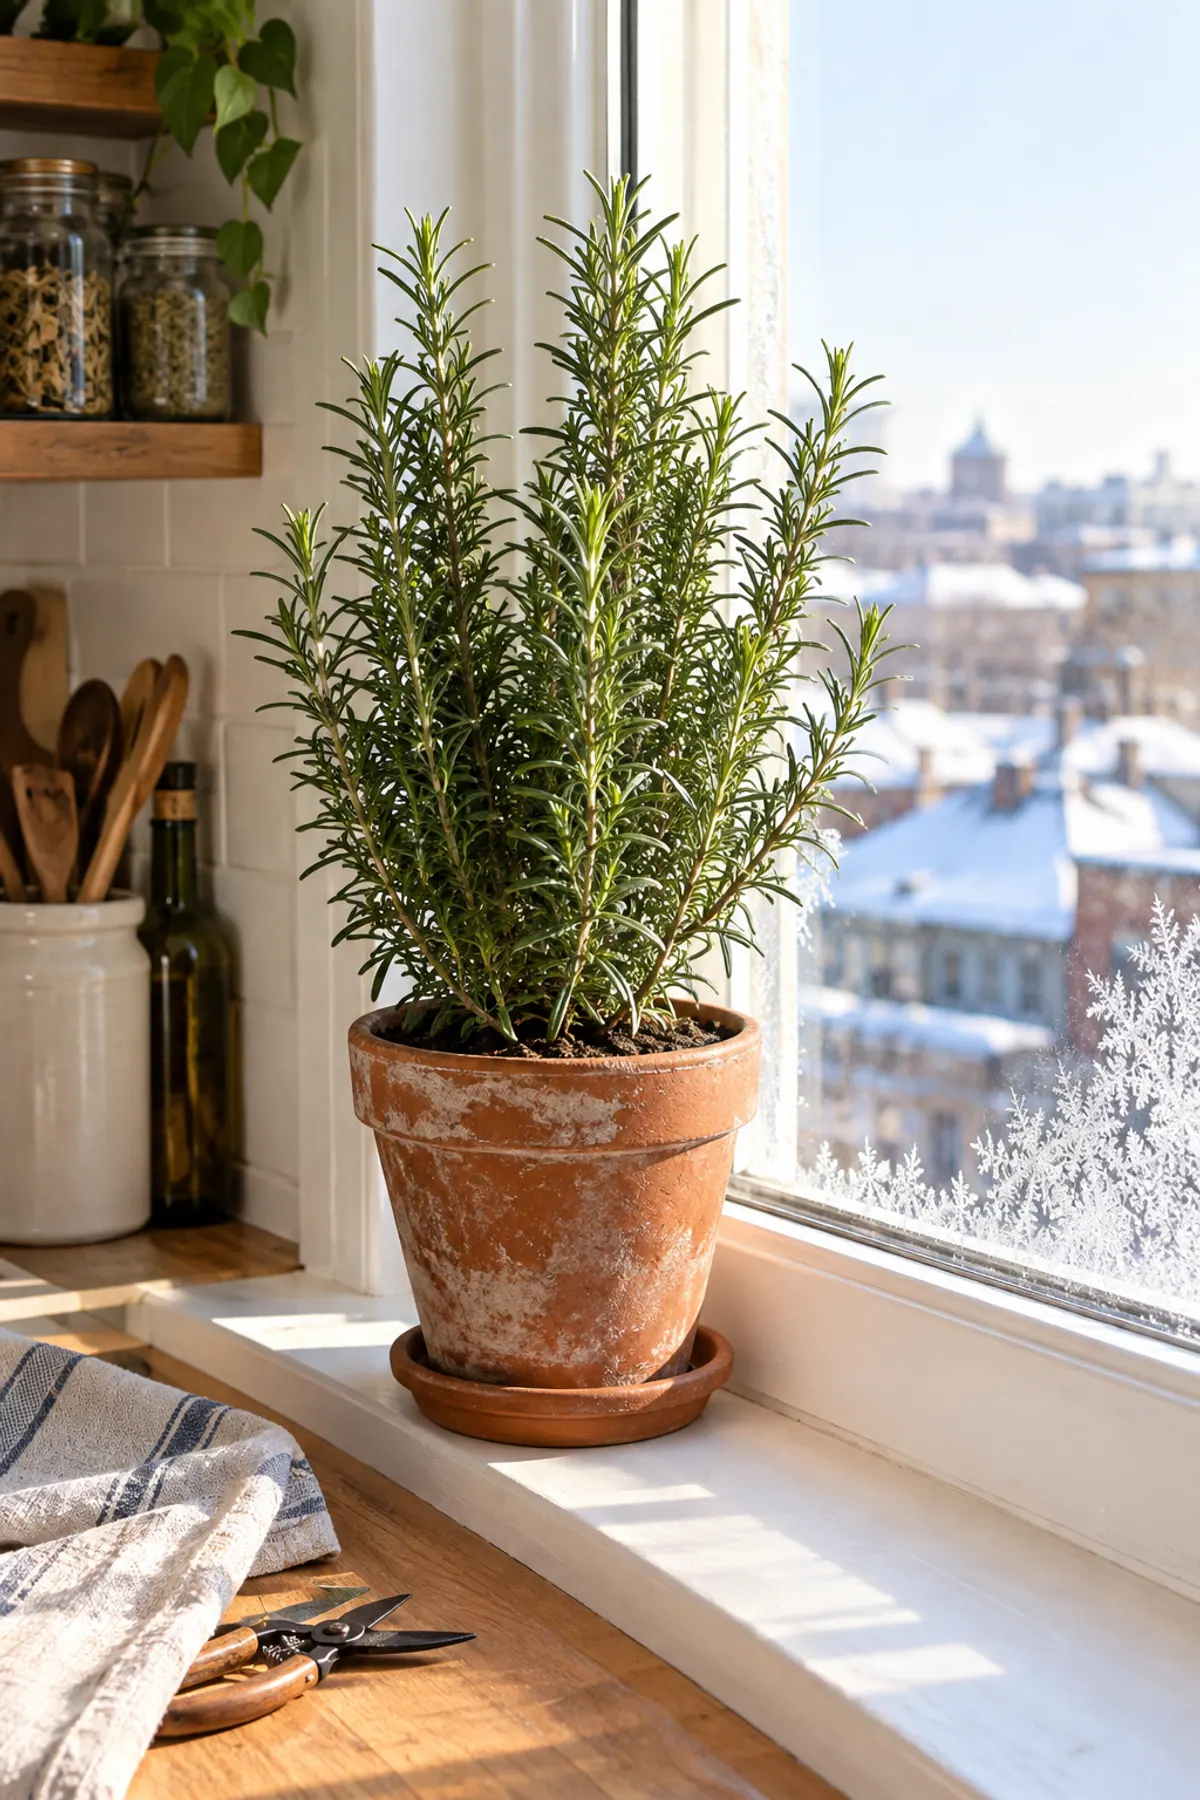
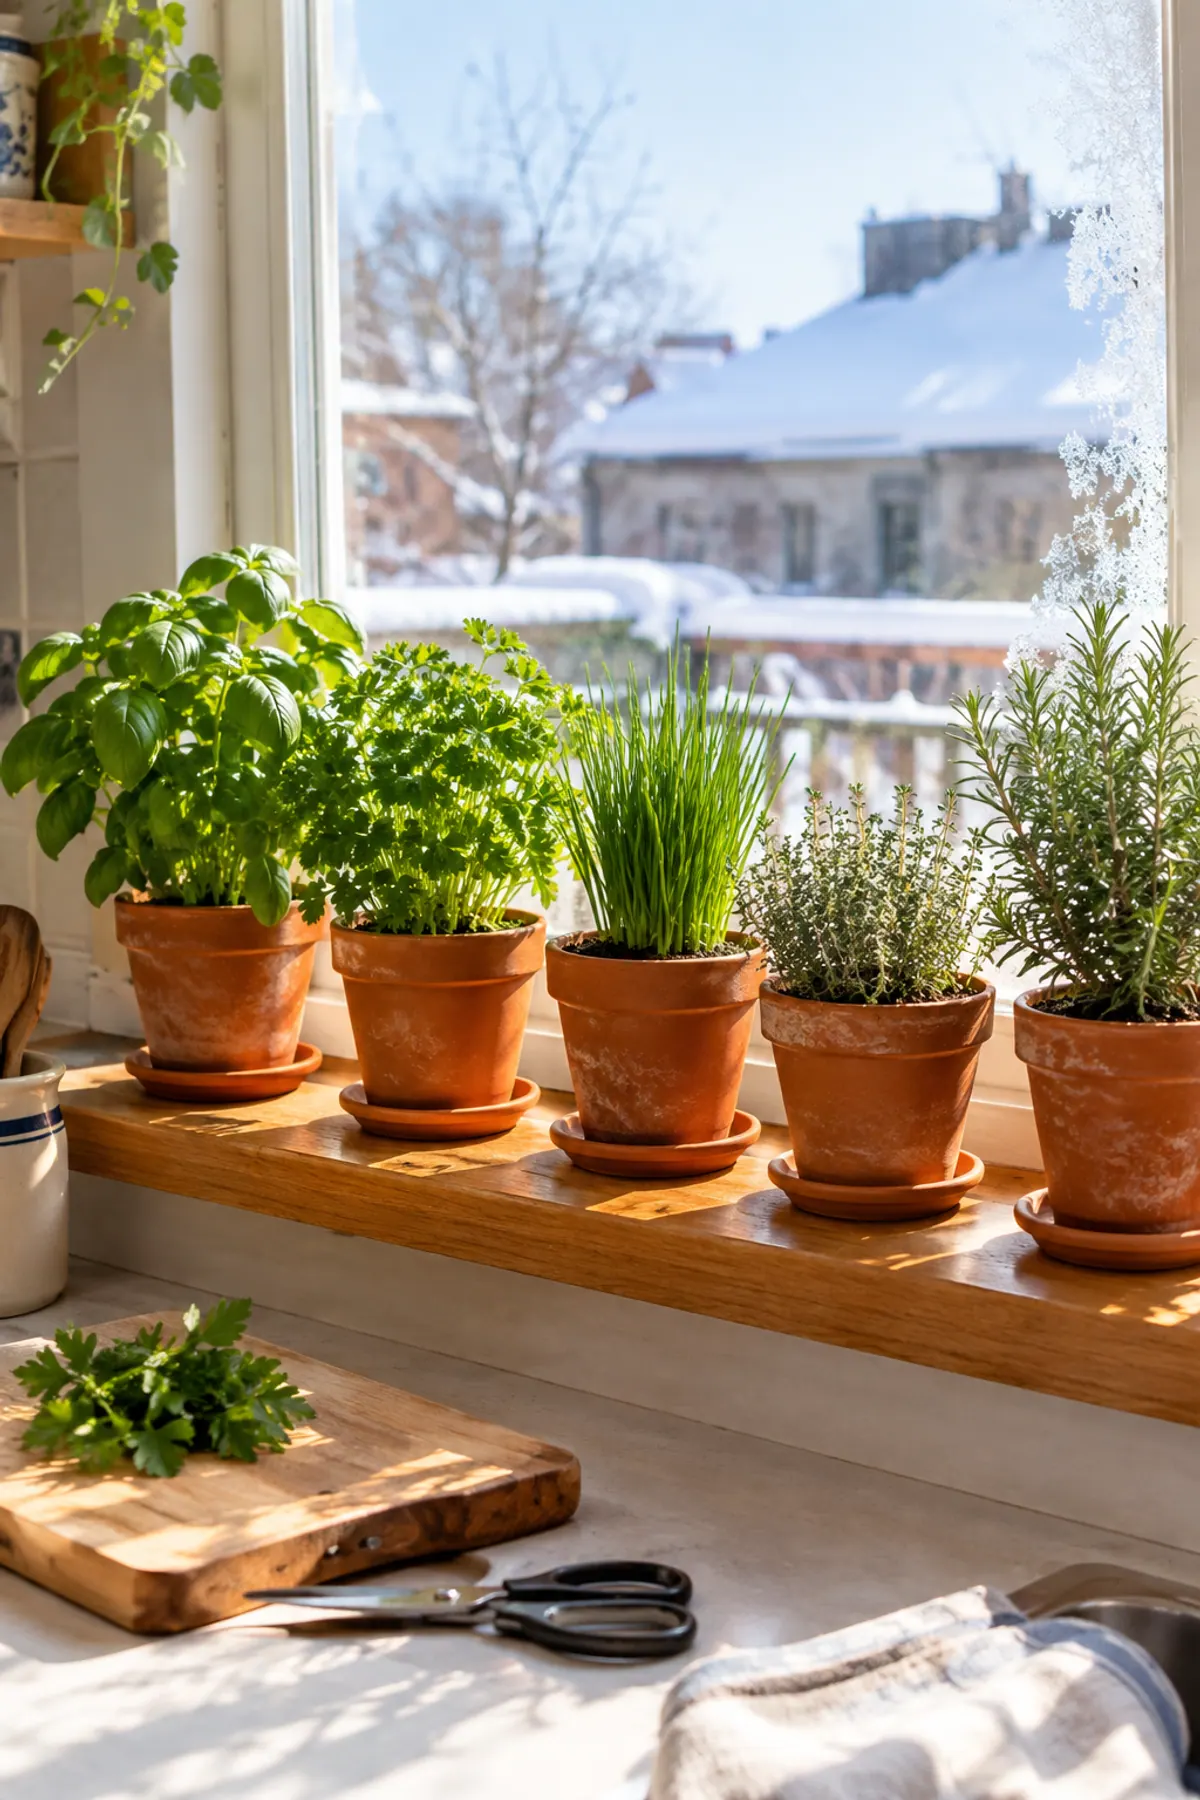
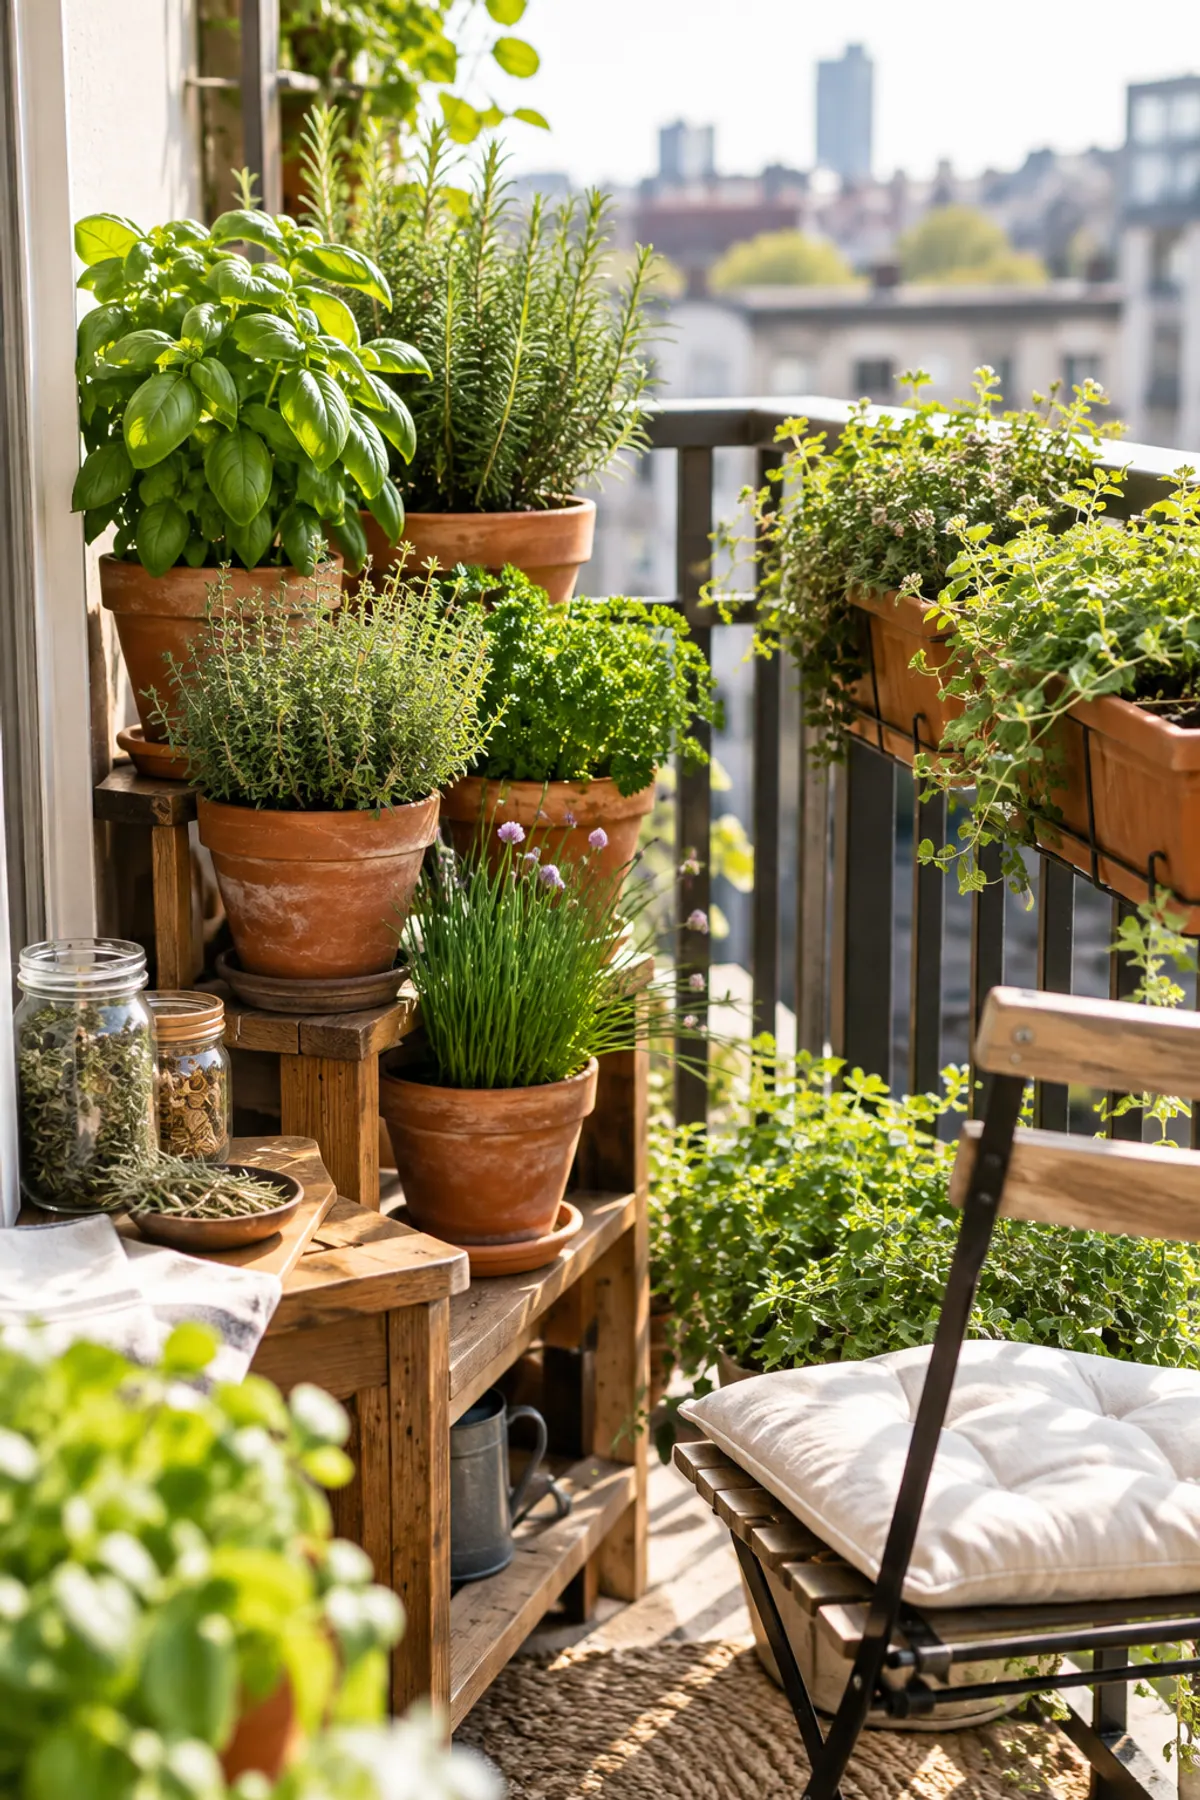
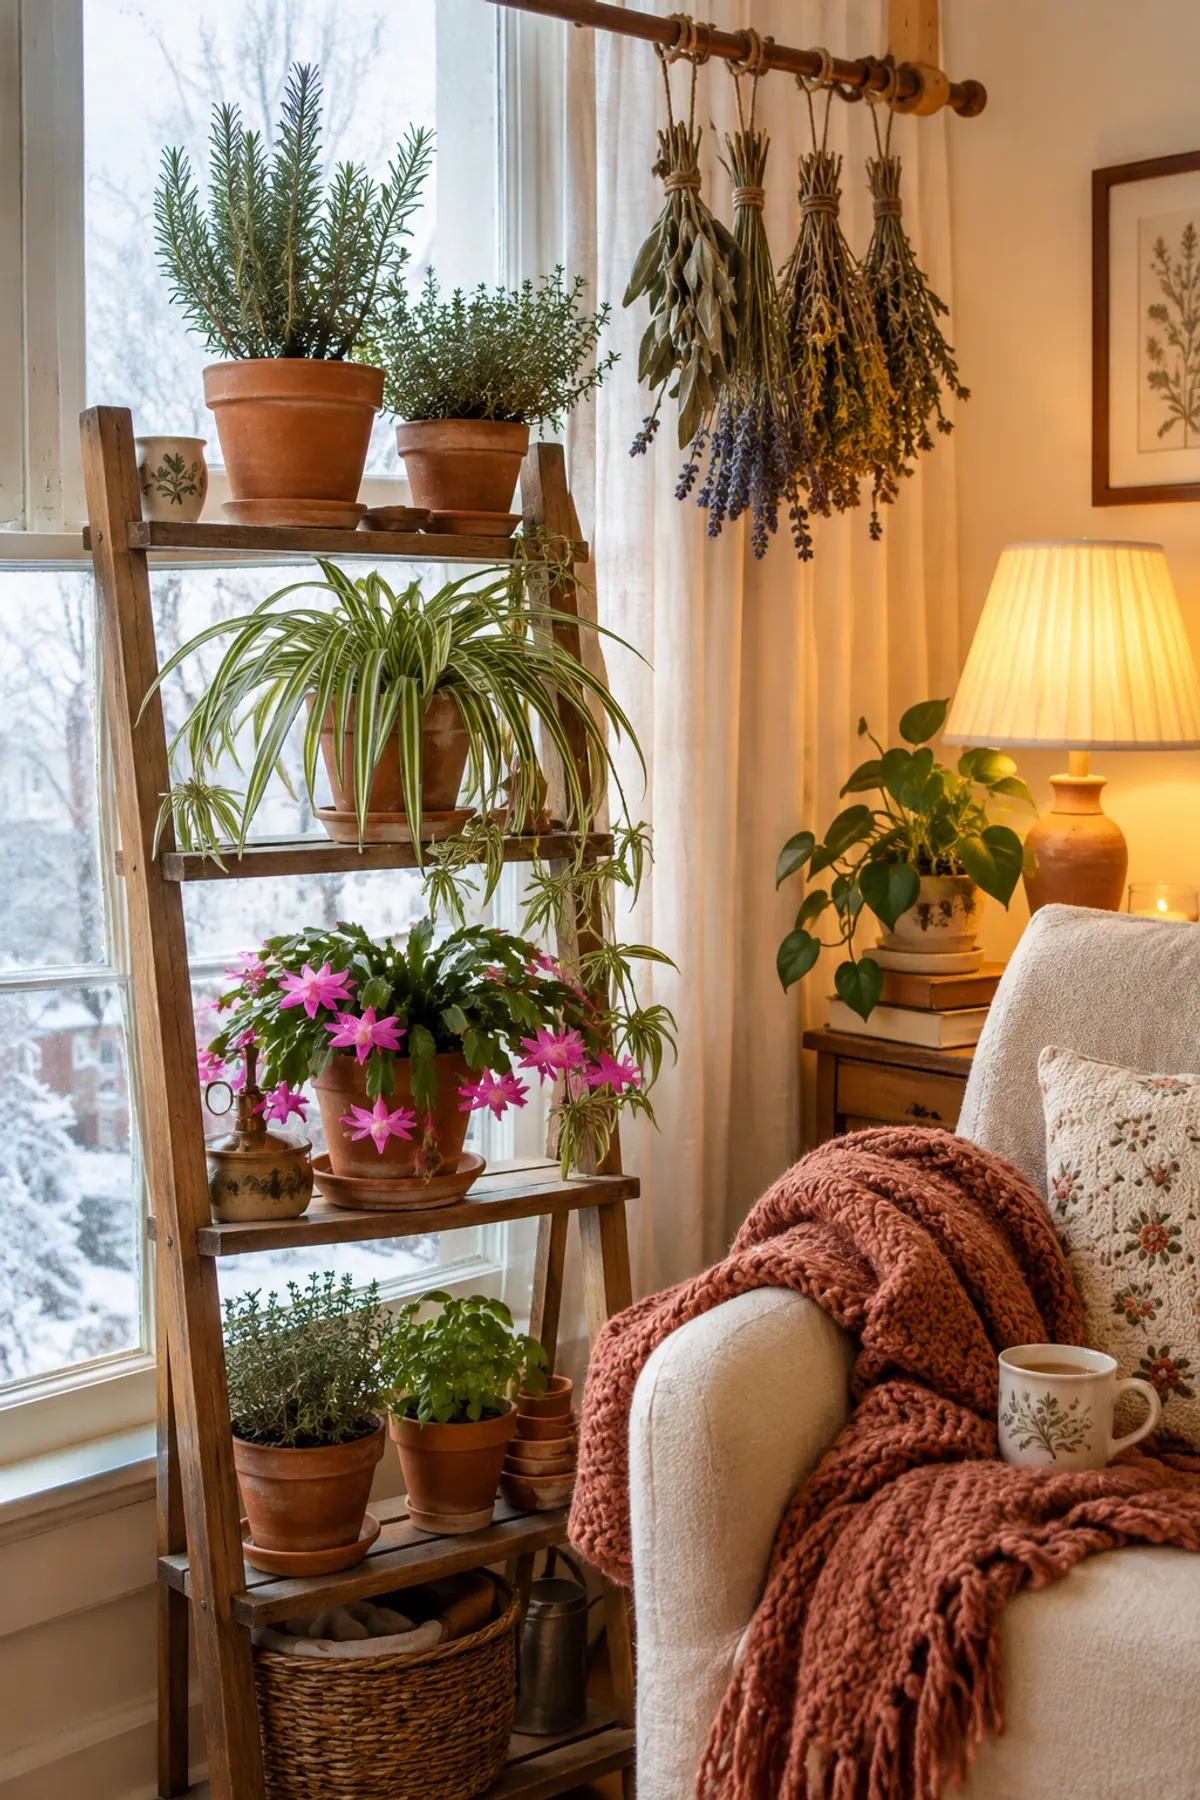
Need herbs to dry? Our herb garden ideas for small spaces and the indoor herb garden guide help you grow a steady supply. A trimmed rosemary plant indoors gives you sprigs all winter, and jars of dried herbs make a lovely part of a cozy winter plant corner.
Herb drying supplies
Shop the look
- Small-space pick
Hanging mesh herb drying rack
$12-25
Folds flat and dries loose leaves and flowers in small kitchens.
Check price on Amazon for Hanging mesh herb drying rack -
Food dehydrator with adjustable temperature
$50-150
Look for a setting in the 95 to 115°F range for herbs.
Check price on Amazon for Food dehydrator with adjustable temperature -
Glass spice jars with airtight lids
$15-30 for a set
Keeps dried herbs away from air and moisture.
Check price on Amazon for Glass spice jars with airtight lids -
Jute garden twine
$5-12
For tying and hanging small herb bundles.
Check price on Amazon for Jute garden twine -
Herb stripper
$6-12
Slides leaves off woody stems in seconds.
Check price on Amazon for Herb stripper
We earn from qualifying purchases, which never changes what we recommend. Read our disclosure and editorial guidelines.
Frequently asked questions
What is the best way to dry herbs at home?
Air drying in small bundles is the gentlest and keeps the most flavor for sturdy herbs like rosemary, thyme and sage. A dehydrator at 95 to 115°F is the most reliable choice for tender leaves and humid climates.
How long does it take to air dry herbs?
Usually about 5 to 10 days in a warm, dark, airy spot. Humid weather and thick bundles take longer. Herbs are ready when leaves crumble and stems snap.
What temperature do you dry herbs in the oven?
Use the lowest setting, no higher than 180°F, with the door propped open, for about 3 to 4 hours. Check often, because small leaves can dry much faster. Expect some loss of flavor and color.
What temperature do you dry herbs in a dehydrator?
Preheat to 95 to 115°F, or up to 125°F in very humid areas. Most herbs dry in 1 to 4 hours.
How long do dried herbs last?
For the best flavor, use them within 6 months to a year. Store whole leaves in airtight jars in a cool, dark, dry place away from the stove.
Should you wash herbs before drying them?
Only if they are dirty. If you rinse them, pat them completely dry before drying, because leftover water slows drying and can cause mold.

Save it for later
Pin this to your Kitchen Apothecary board so it's there when you need it.
Save to Pinterest