This post contains affiliate links. As an Amazon Associate we earn from qualifying purchases, at no extra cost to you. Read our disclosure.
Safety first: Herbs can be powerful. If you are pregnant, nursing, take medication or have a health condition, check with your doctor or pharmacist first. Please read our herbal & garden safety notes before you start.
Key takeaways
- Weigh your scraps for one week before buying anything. The weekly total decides the method.
- Cornell Cooperative Extension says a bin about 2 feet by 2 feet by 8 inches handles roughly 3 to 4 pounds of food waste a week.
- Worm bins take raw produce, coffee grounds and eggshells. Leave out meat, dairy and oils.
- Bokashi takes cooked food and dairy, but the output is pre-compost that needs burying or finishing.
- With no space at all, freeze scraps and drop them off weekly.
In this post10 sections
- Apartment composting: the short answer
- Step 1: weigh your scraps for one week
- Step 2: pick your method by the weekly total
- Option A: set up a worm bin
- Option B: use a bokashi bucket
- Option C: drop-off or collection
- Use the finished compost in pots
- Troubleshooting: smells, flies and pests
- Safety for pets, children and herbs
- FAQ
Apartment composting: the short answer
You can compost in an apartment with no yard in three ways: a worm bin (vermicompost), a sealed bokashi bucket, or a drop-off or collection service for scraps. Cornell Cooperative Extension says a worm bin about 2 feet by 2 feet by 8 inches handles roughly 3 to 4 pounds of food waste a week, which is the average for a small household (Cornell Cooperative Extension, Monroe County). Weigh your own scraps for one week first. That one number tells you which method fits.
This page is for herb and container gardeners, so the finished compost goes into pots, window boxes and balcony planters.
Step 1: weigh your scraps for one week
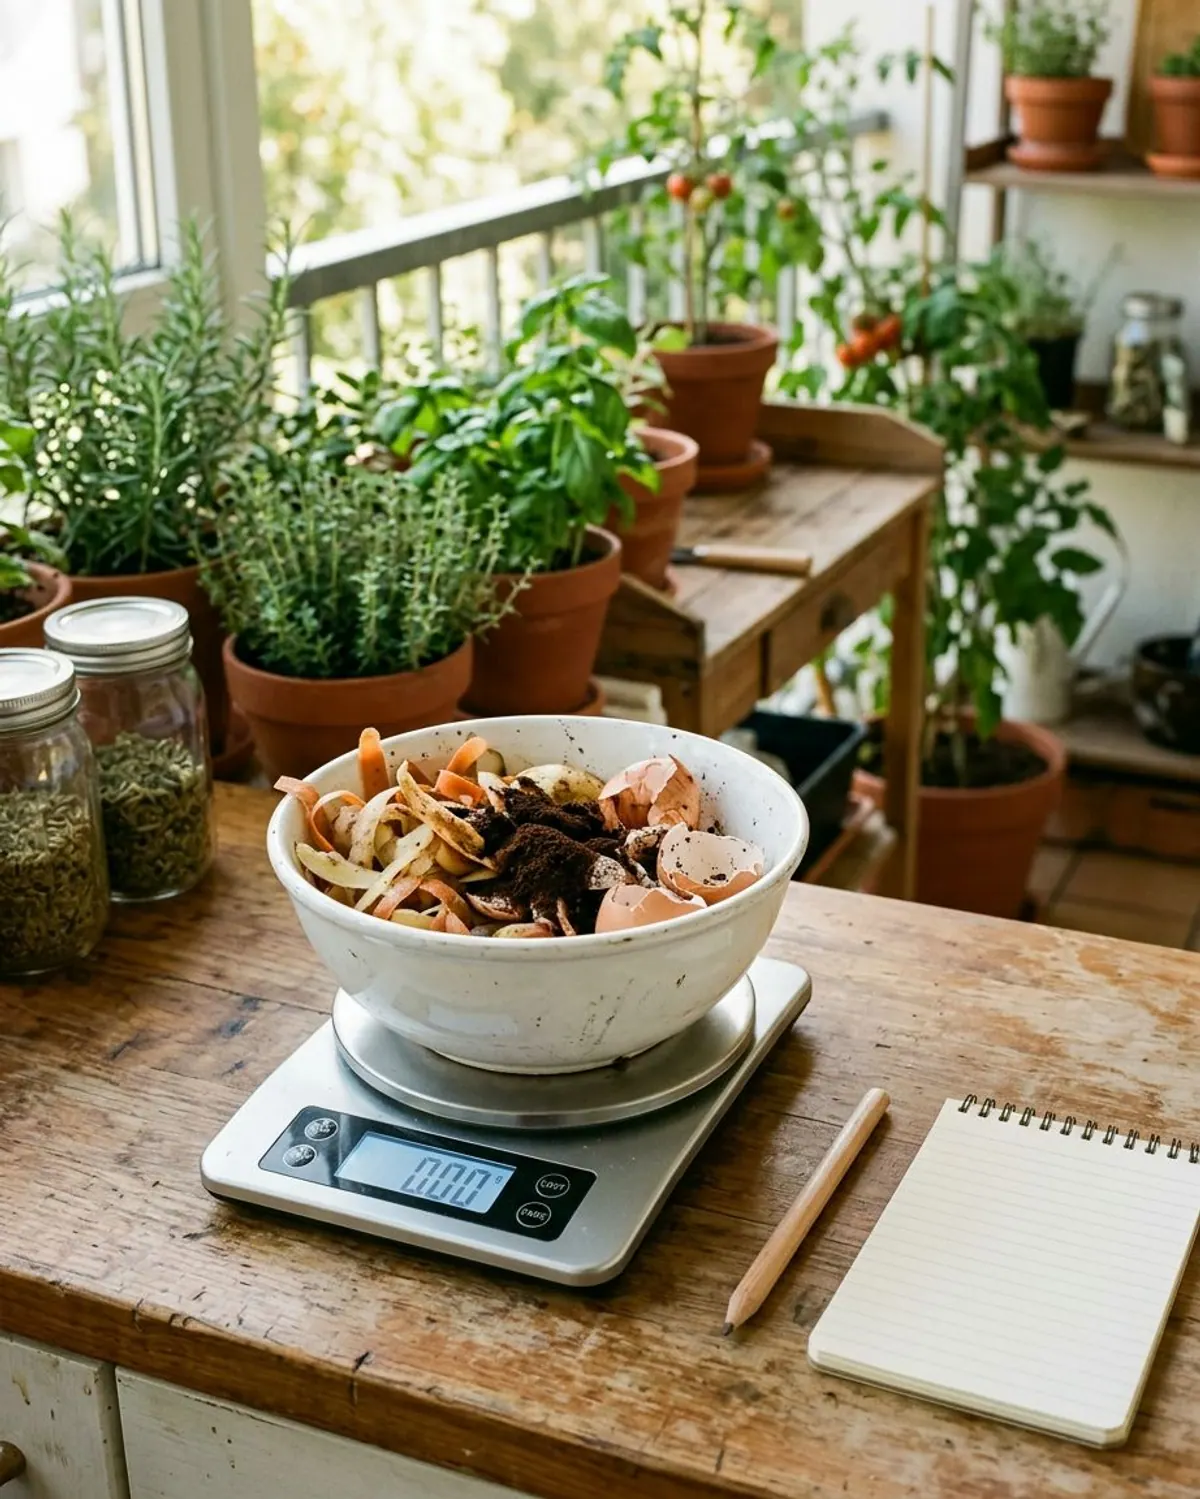
Most guides skip this step, and it is the one that stops you buying the wrong bin. Keep a bowl by the cutting board, then weigh it on a kitchen scale each evening and write the number down. Include peels, coffee grounds, tea leaves, eggshells and herb trimmings. Leave out cooked food and meat for now, because those decide between methods later.
| Day | Raw peels and trimmings (oz) | Coffee, tea, eggshells (oz) | Cooked food, dairy, meat (oz) |
|---|---|---|---|
| Mon | |||
| Tue | |||
| Wed | |||
| Thu | |||
| Fri | |||
| Sat | |||
| Sun | |||
| Total (divide oz by 16 for pounds) |
Step 2: pick your method by the weekly total
| Your weekly scraps | Best fit | Takes cooked food, dairy, meat? | Indoor smell risk | Where the output goes |
|---|---|---|---|---|
| Under 3 to 4 lb, mostly raw produce | Worm bin | No, leave them out | Low when fed small amounts | Finished vermicompost for pots |
| Any amount, includes cooked food or dairy | Bokashi bucket | Yes, per NC State Extension | Sour smell when you open the lid | Pre-compost: bury it or add it to a worm bin |
| No space or no time for a bin | Drop-off or collection service | Depends on the service | None at home | Compost made elsewhere |
| Under 1 lb, you only want a no-smell pause | Freezer bag, then drop-off | Raw scraps only | None | Compost made elsewhere |
The worm bin sizing numbers come from extension brochures. A Cornell brochure says one pound of worms can handle about 3 pounds of scraps a week once the bin is settled, and suggests 1 square foot of surface per pound of weekly scraps (Cornell Cooperative Extension, Tompkins County). That is why the log in step 1 matters.
Option A: set up a worm bin
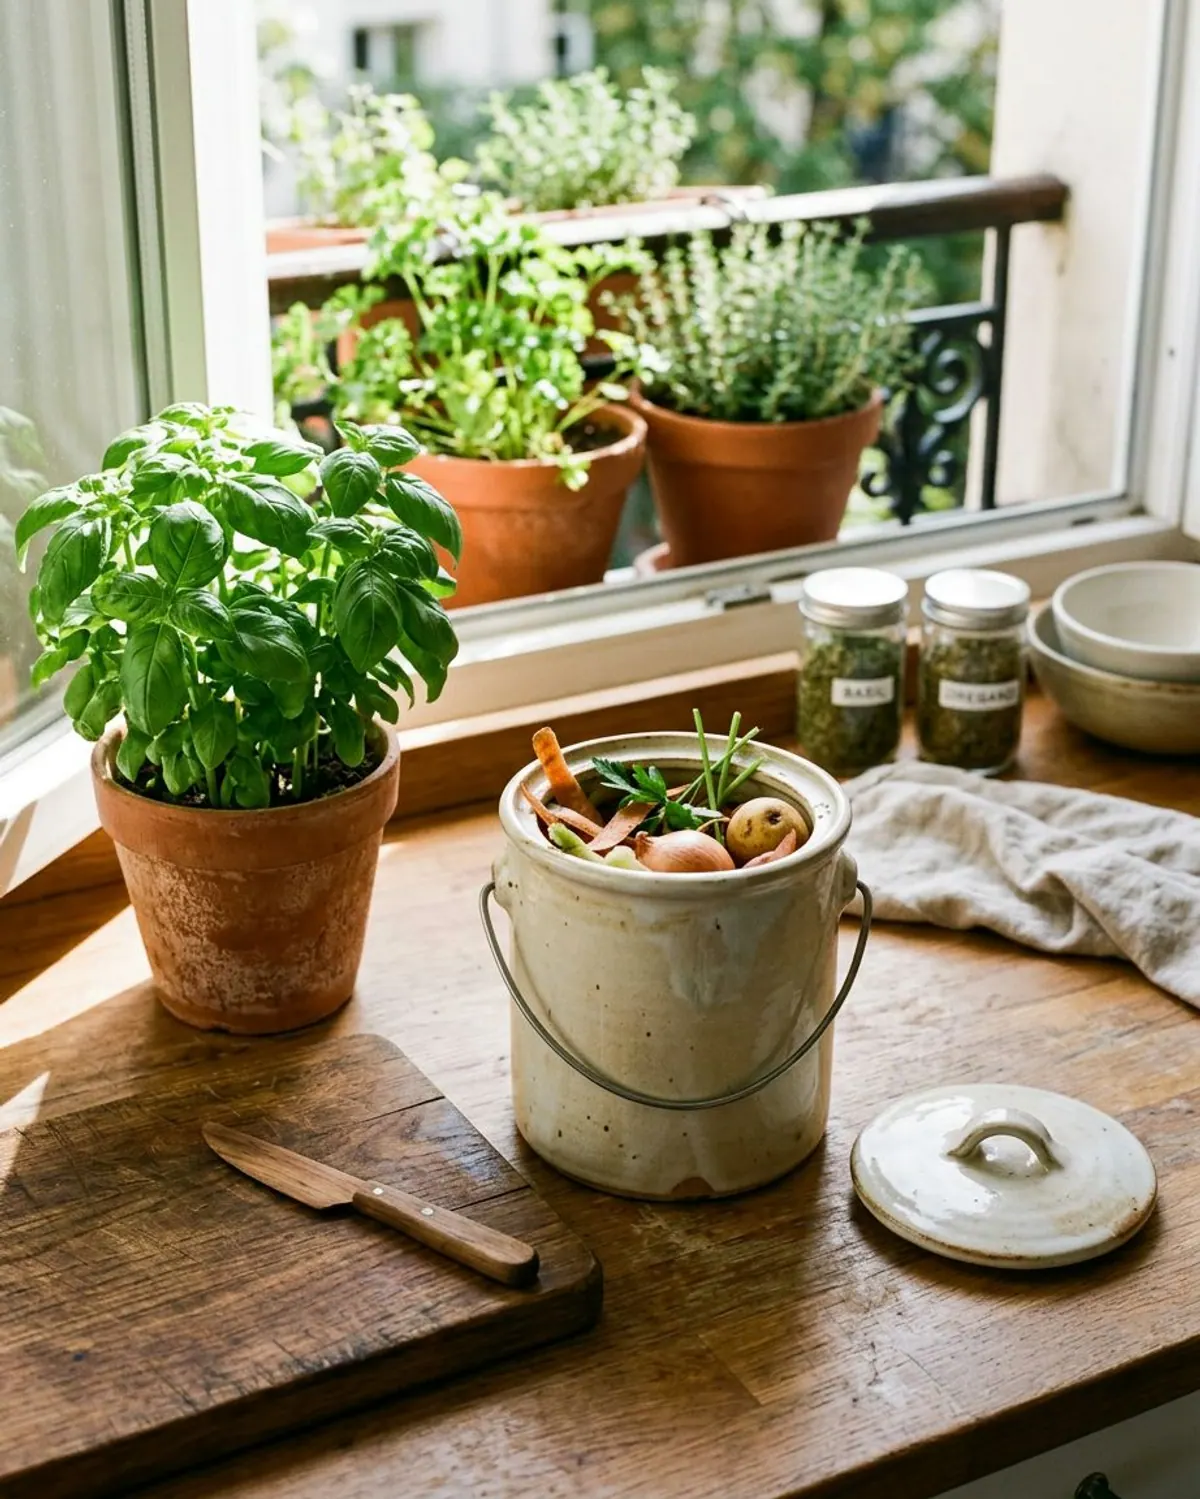
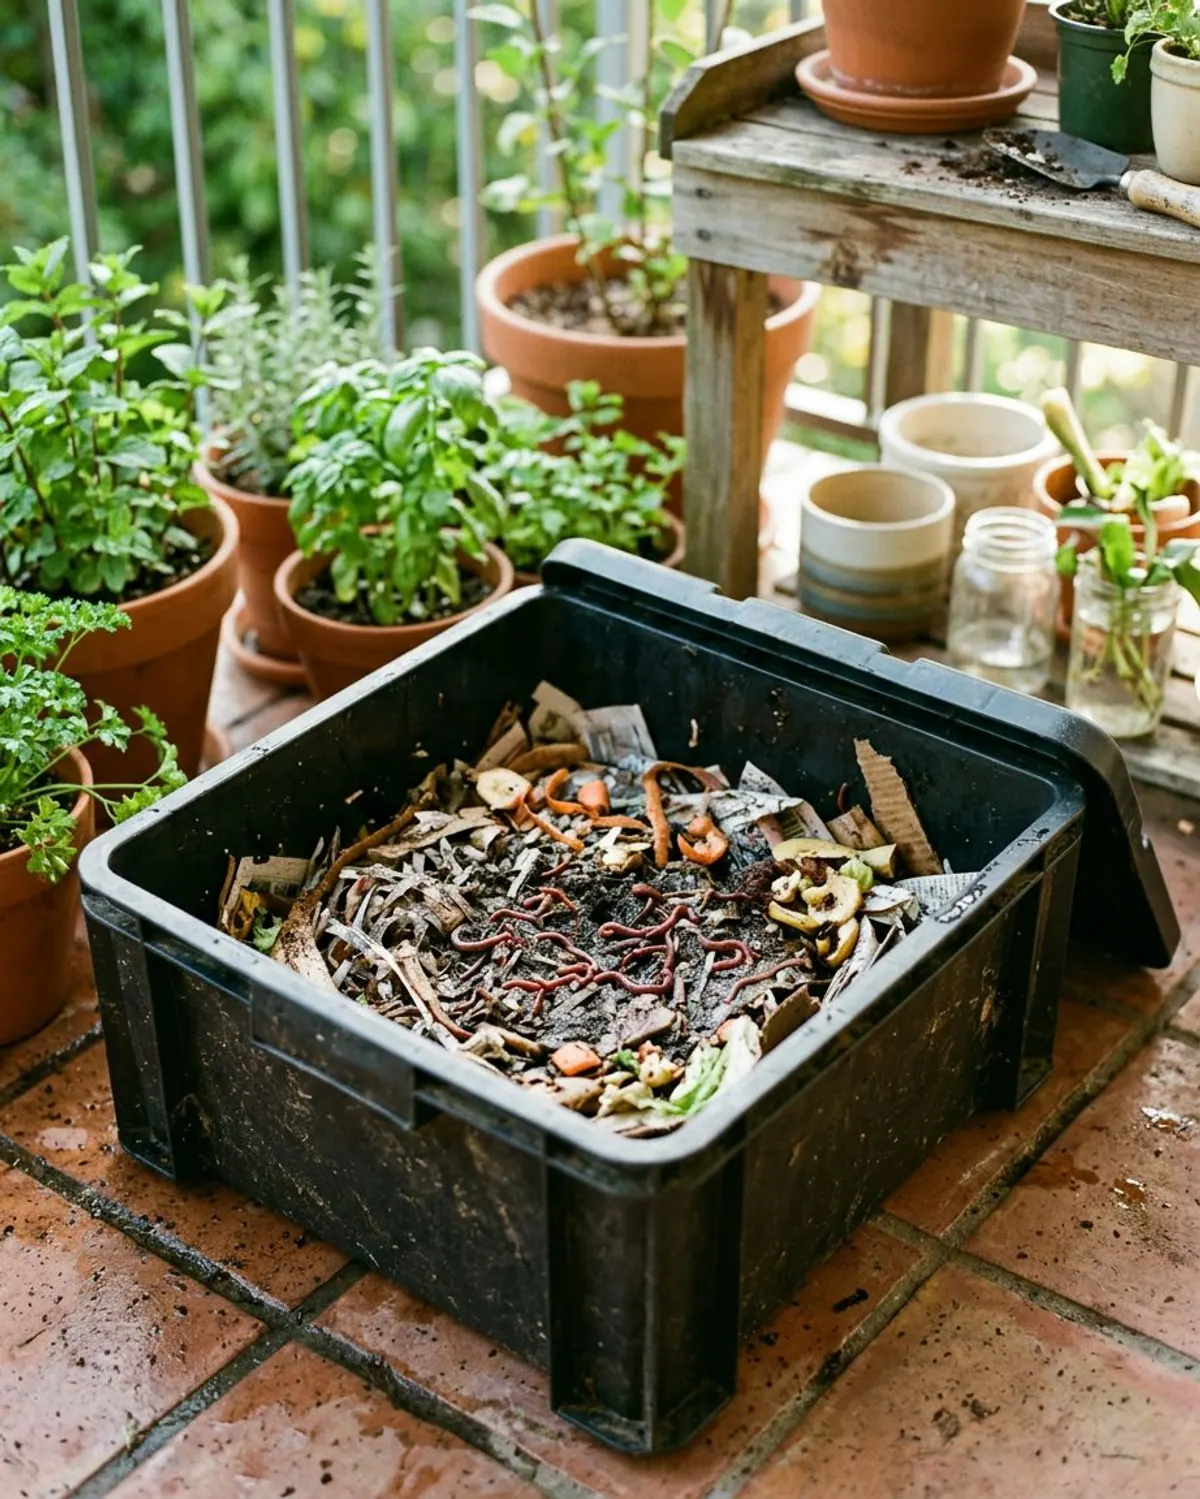
A worm bin gives you the most usable output for a pot gardener, because vermicompost is dark, crumbly and ready to mix into potting soil. It needs a dark, ventilated, opaque bin, damp bedding and red wigglers (Eisenia fetida), the species used for composting. Ordinary garden worms do not do well in a bin.
-
Step 1: Choose a bin and drill air holes
Use an opaque bin with a lid, such as a stacking worm bin or a plastic tote about 8 to 12 inches deep. Add ventilation holes near the top and a tray underneath to catch drips.
-
Step 2: Make damp bedding
Tear newspaper or plain cardboard into strips, soak them, and wring them out until they feel like a damp sponge. Fluff them loosely into the bin. Michigan State University Extension lists 55 to 77 degrees Fahrenheit as the range for indoor worm bins (MSU Extension), so keep the bin away from radiators and vents.
-
Step 3: Add worms and underfeed at first
One-half to one pound of red wigglers is enough to start a small bin, according to a UConn extension guide. Feed small amounts at first and bury scraps under the bedding. Wait until the last feeding is mostly gone before adding more.
-
Step 4: Feed raw, chopped scraps
Vegetable and fruit scraps, coffee grounds, tea leaves and crushed eggshells are the usual foods. Extension guides advise leaving out meat, dairy, oils and cooked leftovers, which smell and attract flies. Go easy on onion, citrus and hot peppers.
-
Step 5: Harvest in a few months
When most of the bedding has turned into dark crumbly castings, move the finished material to one side, feed on the other, and let the worms migrate. Scoop out the finished side and use it in pots.
Option B: use a bokashi bucket
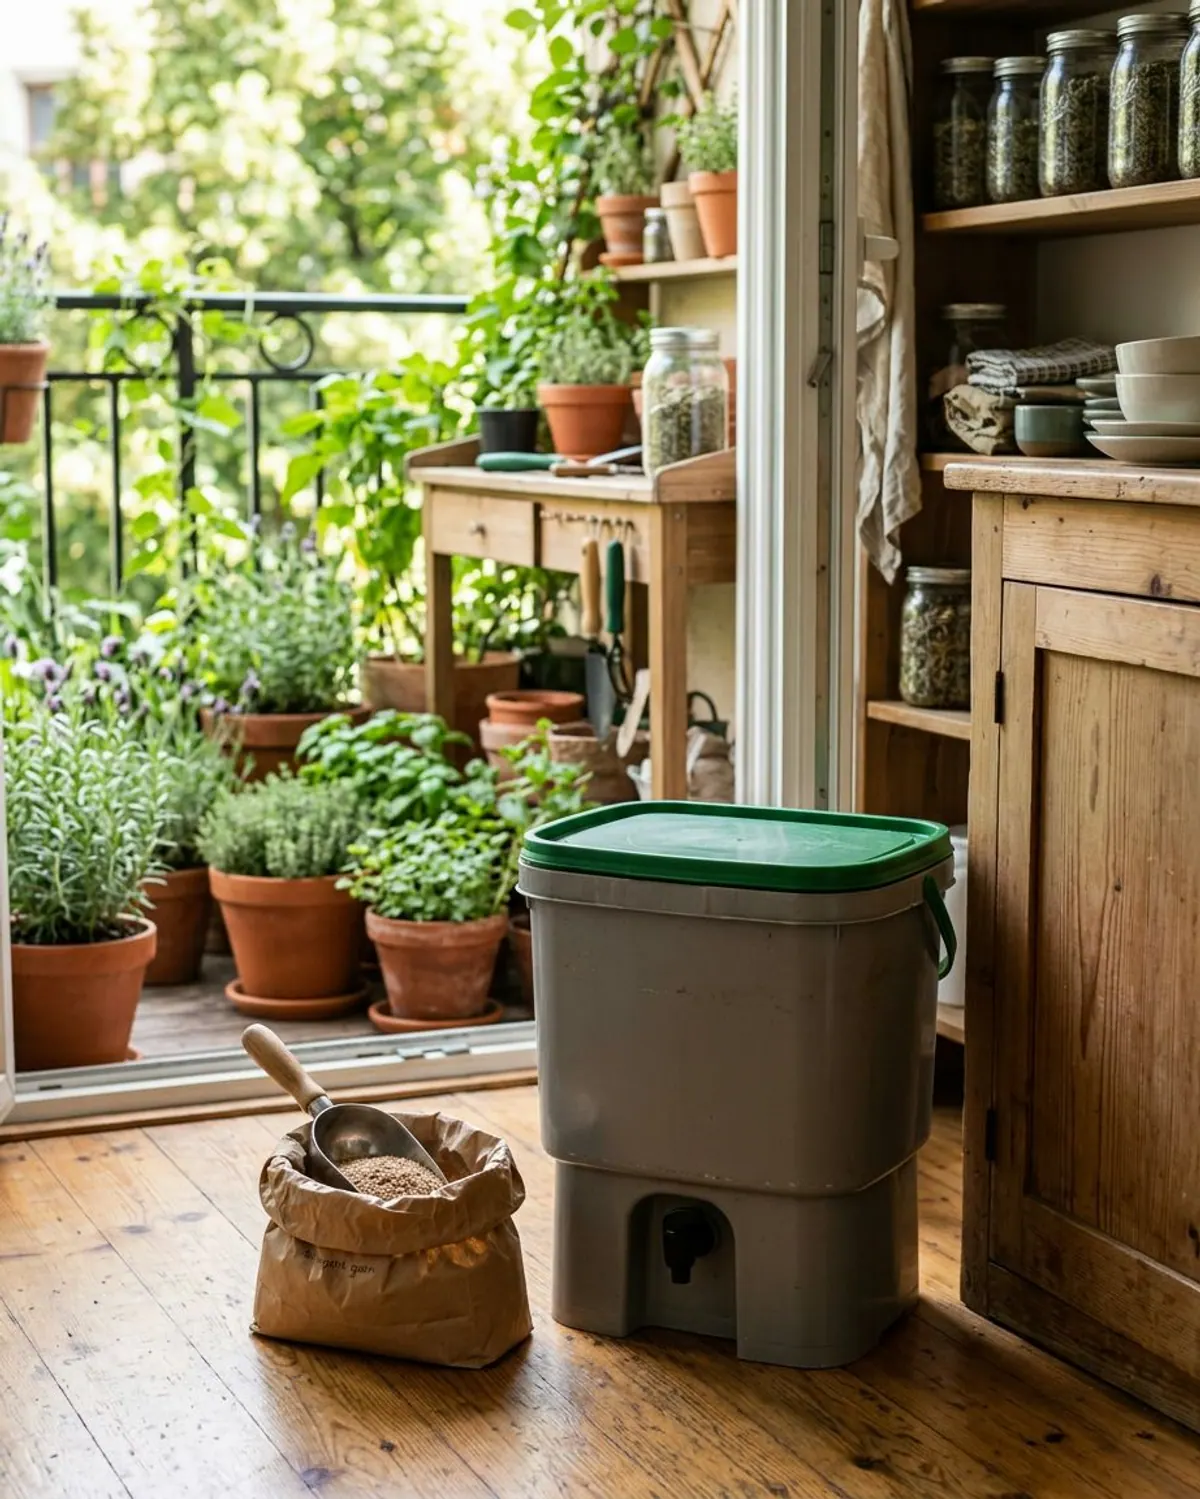
Bokashi is an oxygen-free fermentation process. It uses wheat bran or rice hulls infused with beneficial microbes, and it is the only method here that takes cooked food, dairy, meat and small bones, according to the North Carolina Cooperative Extension, Beaufort County (published April 22, 2025). The result is pre-compost, not finished compost, so you still need a place for it to finish.
-
Step 1: Layer scraps and bran
Add scraps to a sealed bucket with a spigot, sprinkle a handful of bokashi bran over each addition, and press down to push out air. Seal the lid tightly after every addition.
-
Step 2: Drain the liquid every few days
Open the tap every few days to drain the liquid, called bokashi tea. NC State Extension says it can be diluted and used as a liquid fertilizer. Do not pour it on herbs undiluted.
-
Step 3: Let the full bucket ferment
Once the bucket is full, leave it sealed for about two weeks. The contents should smell pickled and sour. If they smell foul, add more bran.
-
Step 4: Finish the pre-compost
NC State Extension says to bury the fermented material at least 8 inches deep in a garden bed, or add it to a traditional compost pile, where it breaks down in two to four weeks. With no yard, mix it into a large container with soil, or feed it to a worm bin in small amounts, then give it time to settle before planting in it.
The honest limit of bokashi for renters is the finished product. If you have no soil to bury it in, you need a plan before you start. Large pots work, as does a drop-off service that accepts fermented waste. Check with your local service first.
Option C: drop-off or collection
If you do not want an indoor bin, collect scraps in a lidded container in the freezer and drop them off weekly at a community garden, farmers market or municipal program. Many cities also run curbside collection, and some paid services pick up from apartment buildings. Rules differ by city, so search for your town's food scrap program and read what it accepts. Freezing keeps scraps from smelling and removes the fly problem.
Use the finished compost in pots
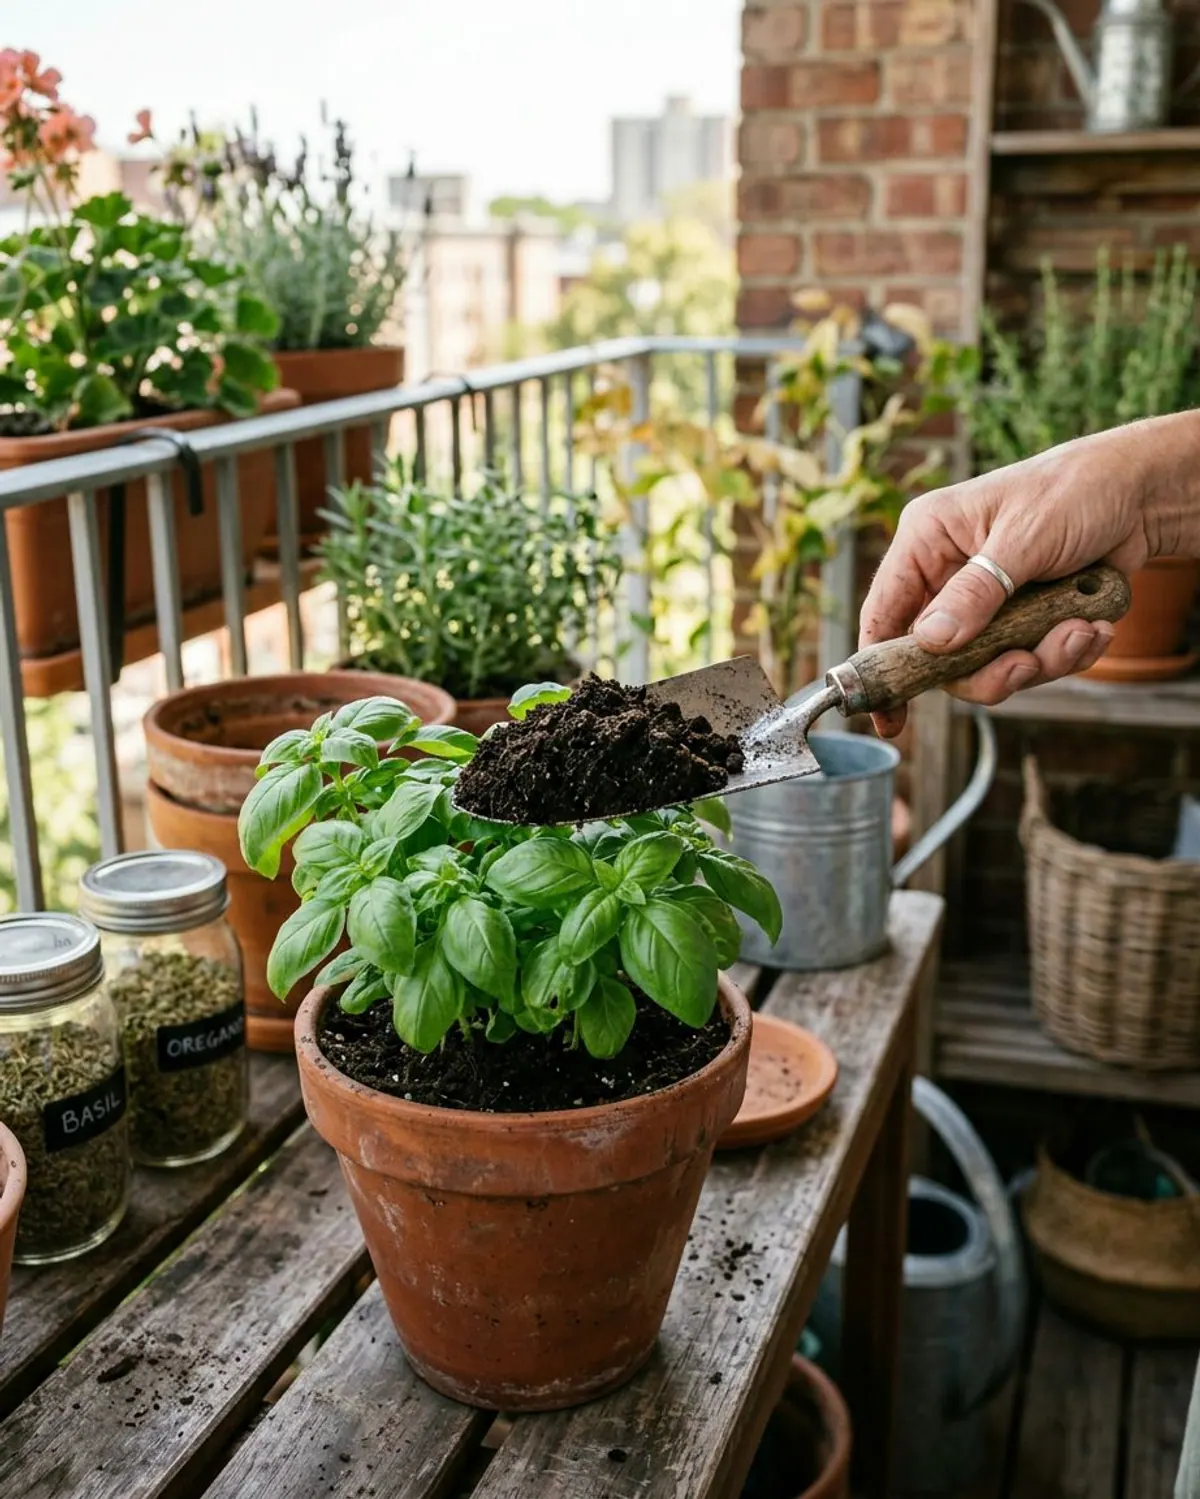
Vermicompost is strong, so mix it into potting soil rather than planting straight into it. A common starting point is about one part compost to four parts potting mix, and a thin top-dressing for pots that are already planted. Herbs such as rosemary, thyme and oregano like lean, gritty soil, so use less for them than for basil, parsley and tomatoes. Test the ratio on one pot before you do them all.
Troubleshooting: smells, flies and pests
| What you see | Likely cause | Fix |
|---|---|---|
| Sour or rotten smell from a worm bin | Overfeeding, or bedding too wet | Stop feeding, fluff the bedding, add dry shredded paper |
| Small flies around the bin | Exposed scraps | Bury scraps under bedding, cover the top with damp newspaper, freeze scraps first |
| Pickled smell from bokashi | Normal fermentation | Seal the lid again; add more bran if it smells foul |
| Liquid pooling at the bottom | Not drained | Drain the tap every few days and dilute before using |
| Worms climbing the walls | Too wet, too hot or too much light | Check moisture and temperature, add dry bedding, keep the lid on |
Safety for pets, children and herbs
Keep every bin where pets and small children cannot open it. The ASPCA warns that moldy compost and food scraps can be toxic to dogs and cats, so use a lid with a latch and never leave a bucket open. Wash your hands after handling compost or bedding. Compost-grown herbs for cooking should be rinsed as you would any garden herb. This page is about gardening, not medical advice, so check with your doctor before using any homegrown herb medicinally.
What to buy to start composting in an apartment
- Best for worm bins
Stacking worm composting bin
Typically $40 to $100
A tiered, opaque bin with a drip tray for a worm setup.
Check price on Amazon for Stacking worm composting bin - Best for cooked food
Bokashi bucket with spigot
Typically $30 to $70
A sealed bucket with a tap and a starter bag of bran.
Check price on Amazon for Bokashi bucket with spigot - Best for the counter
Countertop compost bin with lid
Typically $15 to $35
Holds a few days of scraps before they go in the main bin.
Check price on Amazon for Countertop compost bin with lid - Best for the log
Digital kitchen scale
Typically $10 to $20
Weigh your weekly scraps before you pick a bin.
Check price on Amazon for Digital kitchen scale
Frequently asked questions
Can you compost in an apartment without a smell?
Yes. A worm bin fed small amounts of raw scraps with damp bedding has little smell, and freezing scraps for a drop-off program has none. A bokashi bucket gives a sour smell when you open it.
What is the easiest way to compost in an apartment?
For most people it is freezing scraps and dropping them off weekly. If you want your own compost for pots, a worm bin is the next easiest.
How big should an apartment worm bin be?
Cornell Cooperative Extension says a bin about 2 feet by 2 feet by 8 inches handles roughly 3 to 4 pounds of food waste a week. Weigh your scraps first and size to that.
What do you do with bokashi pre-compost if you have no yard?
Mix it into a large container of soil, feed small amounts to a worm bin, or take it to a drop-off service that accepts it. NC State Extension suggests burying it at least 8 inches deep where you can.
Can you compost on a balcony?
Yes, in a lidded bin or worm bin, provided it stays within the temperature range for worms and pets or animals cannot open it.
Save it for later
Pin this to your Garden DIY board so it's there when you need it.
Save to Pinterest