This post contains affiliate links. As an Amazon Associate we earn from qualifying purchases, at no extra cost to you. Read our disclosure.
Safety first: Herbs can be powerful. If you are pregnant, nursing, take medication or have a health condition, check with your doctor or pharmacist first. Please read our herbal & garden safety notes before you start.
Key takeaways
- Start with radish, cress, mustard or broccoli. They are ready to cut in about 7 to 12 days.
- Dim window? Pea shoots and sunflower grow best in weak winter light; brassicas and basil need a clip-on light to stay short.
- The setup is cheap: a takeout container with holes, 2 inches of seed-starting mix, a spray bottle and seed, roughly $15.
- Never grow nightshades (tomato, pepper, eggplant, potato) as microgreens.
- One tray every 5 to 7 days gives a steady supply on a small counter.
In this post24 sections
- Microgreens growing indoor in winter: the quick ranking
- The 11 easiest microgreens, ranked by days to harvest
- Ready in about a week
- 1. Radish microgreens
- 2. Garden cress
- 3. Mustard
- 4. Broccoli
- Ready in under two weeks
- 5. Arugula
- 6. Kale
- 7. Red cabbage
- 8. Sunflower shoots
- 9. Pea shoots
- Slow, but worth the wait
- 10. Beet
- 11. Basil
- The $15 setup: takeout tray, seed-starting mix, spray bottle
- Do microgreens need a grow light in winter?
- Growing microgreens in a mason jar or without soil
- Step by step: sow, blackout, uncover, water from below, harvest
- One tray a week: the counter rota and seed budget
- Mold, leggy stems and other winter fixes (plus what not to grow)
- Microgreens shopping list
- FAQ
Microgreens growing indoor in winter: the quick ranking
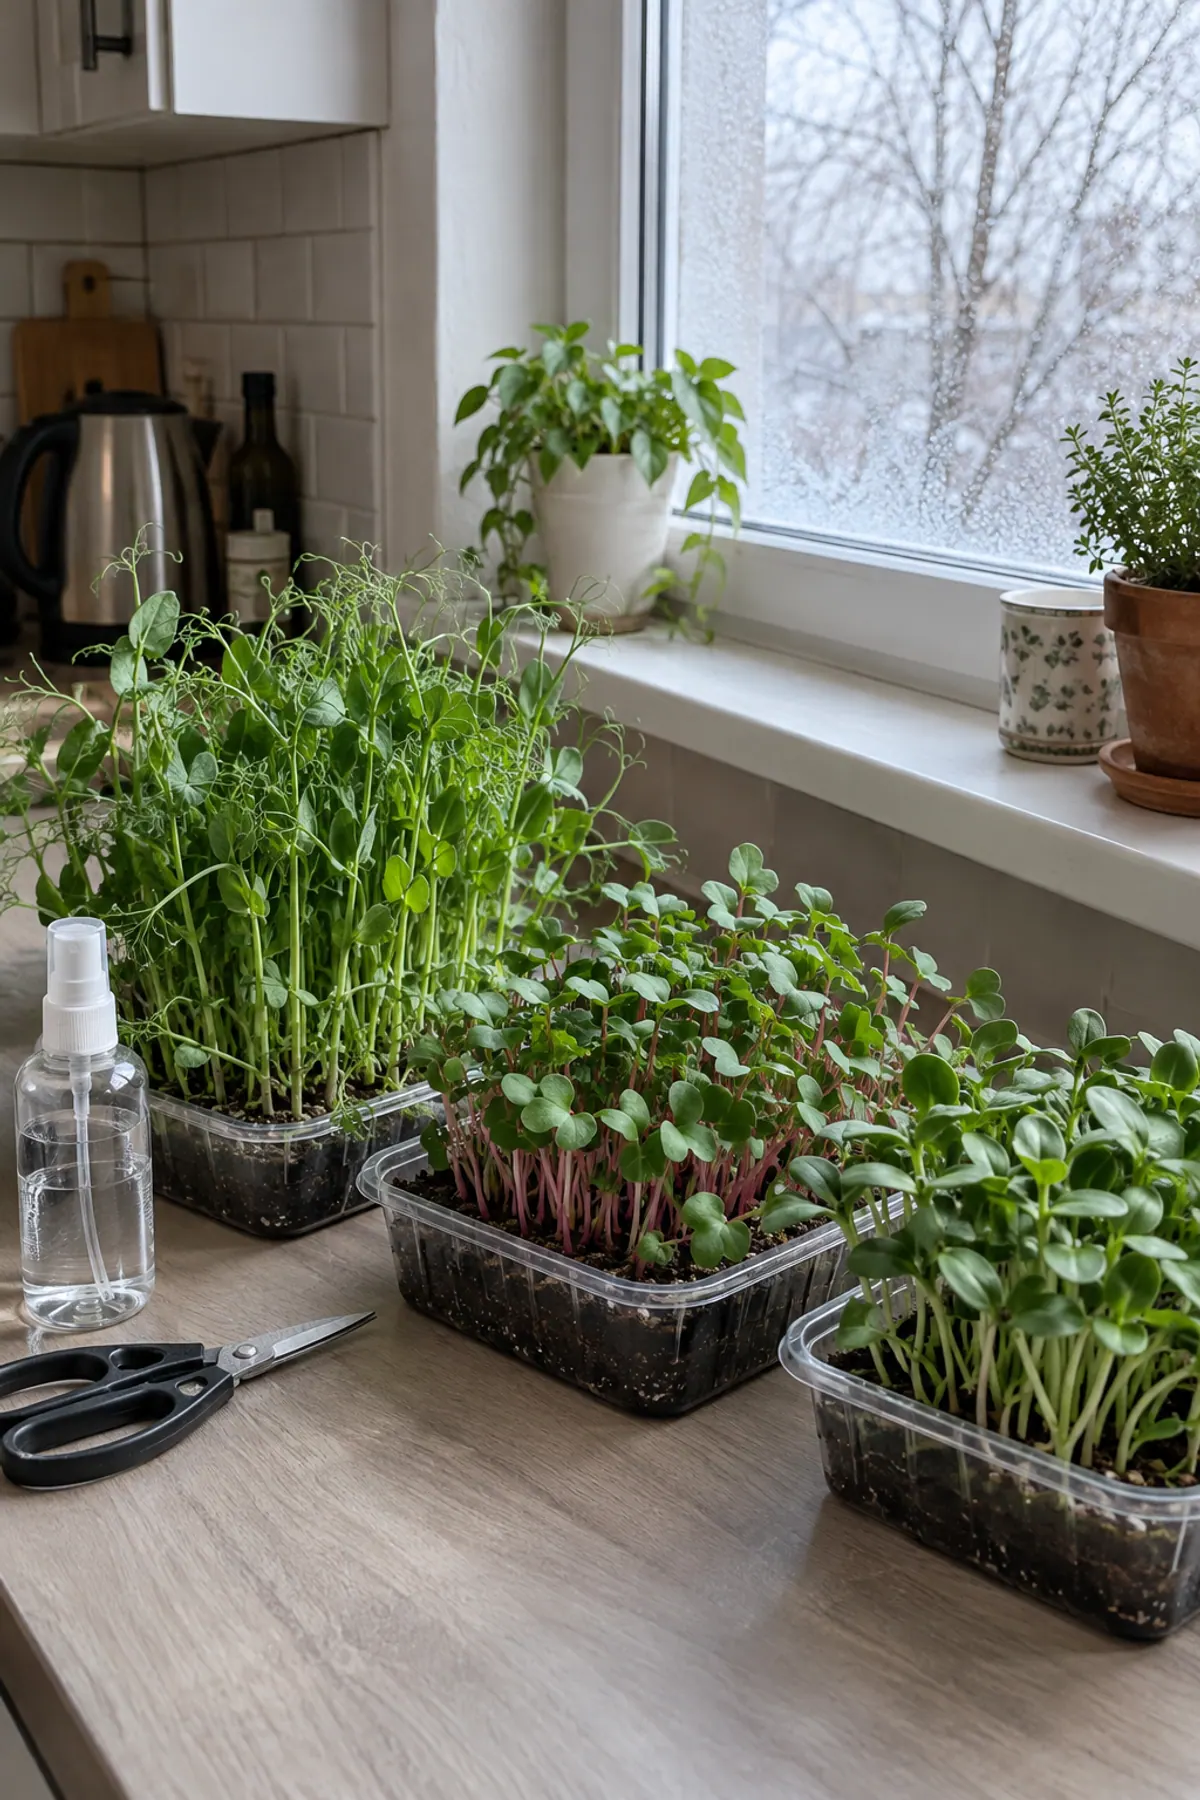
Microgreens are vegetable and herb seedlings cut when the first leaves open, usually 1 to 3 inches tall. They need a shallow tray, about 2 inches of moist mix and light, and nothing else. Because you harvest before the plant needs much from the soil, a dark winter apartment can still turn out a full tray in one to three weeks.
The table ranks the 11 crops below from fastest to slowest. The window column is honest about December: an east sill gives some crops enough light, and others go pale and floppy without a small lamp.
| Crop | Days to harvest | Soak seed? | East sill in December | Flavor |
|---|---|---|---|---|
| Radish | 6 to 10 | No | Works, a bit leggy | Hot and peppery |
| Garden cress | 7 to 10 | No (seeds gel) | Works | Sharp, peppery |
| Mustard | 7 to 12 | No | Works, a bit leggy | Spicy, like wasabi |
| Broccoli | 8 to 12 | No | Needs a lamp for best color | Mild, fresh cabbage |
| Arugula | 8 to 12 | No | Needs a lamp | Nutty and peppery |
| Kale | 8 to 12 | No | Needs a lamp | Mild, sweet |
| Red cabbage | 8 to 14 | No | Needs a lamp for purple stems | Mild, sweet |
| Sunflower | 8 to 12 | Yes, 8 to 12 hours | Works if turned daily | Nutty, crunchy |
| Pea shoots | 10 to 14 | Yes, 8 to 12 hours | Works best of all | Sweet, like fresh peas |
| Beet | 10 to 20 | Optional, a few hours | Needs a lamp | Earthy |
| Basil | 14 to 21 | No (seeds gel) | Needs a lamp and warmth | Basil, softer |
The 11 easiest microgreens, ranked by days to harvest
Days to harvest run from sowing to cutting, and they stretch by a few days in a cool room below about 65°F. Start with any two of the first four for a quick win, then add the slower, sweeter crops once you have the rhythm.
Ready in about a week
1Radish microgreens
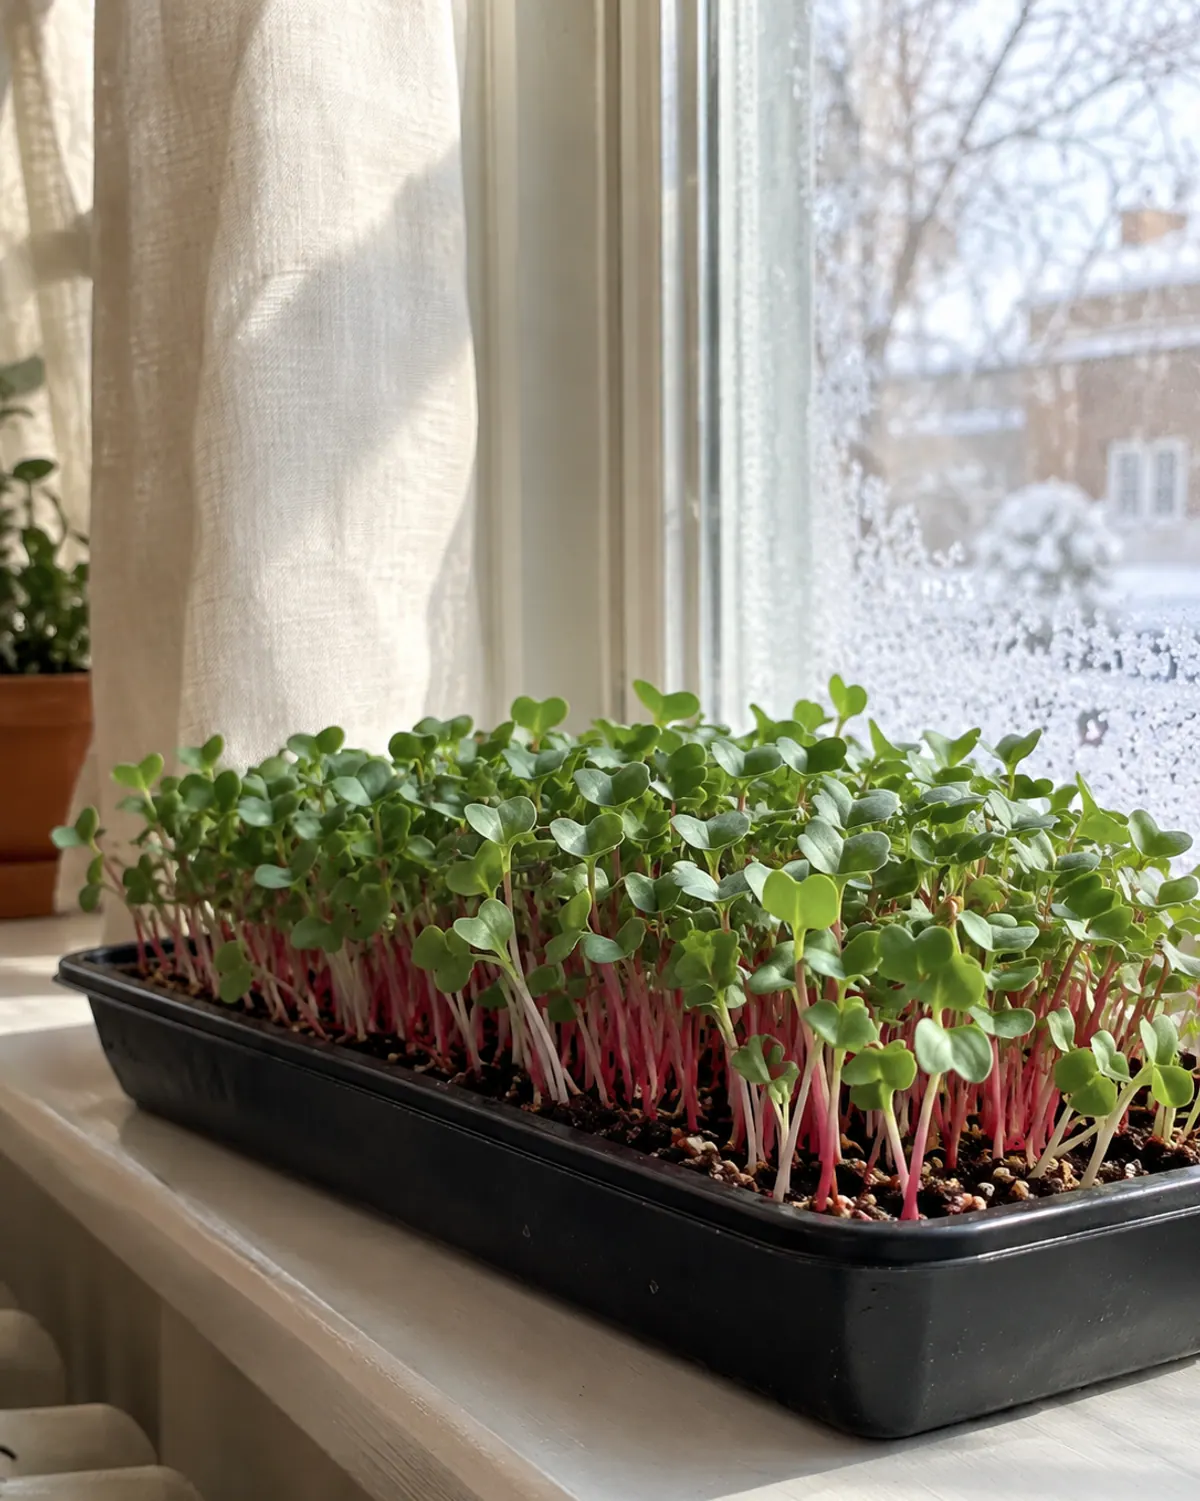
Days to harvest: 6 to 10.
Light: an east sill works; expect slightly longer stems.
Flavor: hot and peppery, like a radish without the crunch.
Radish is the crop to grow first. The seed is big enough to sow evenly by hand, it sprouts within two days, and varieties such as China Rose or a purple radish give you pink to violet stems that look good on a plate. A tray goes from seed to scissors in about a week, which is the fastest proof that your setup works.
- Radish grows fine white root hairs that look like fuzz. Mist them: root hairs vanish when wet, mold does not.
The fastest first tray.
2Garden cress
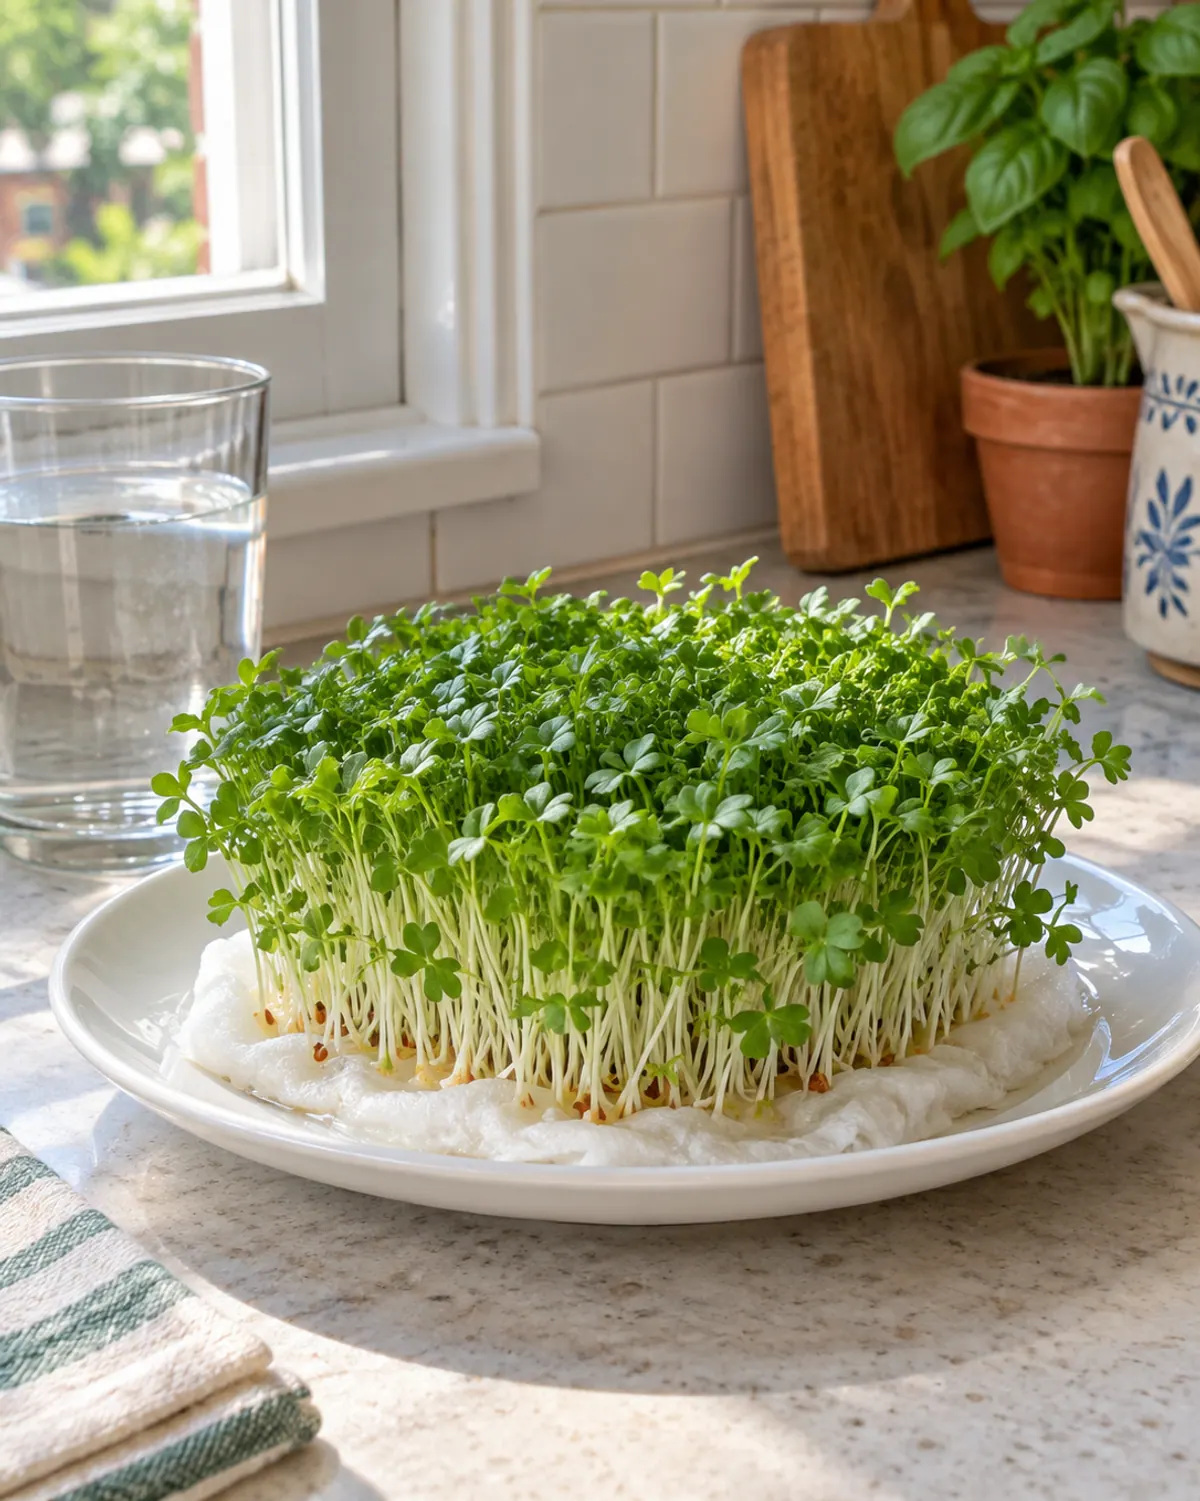
Days to harvest: 7 to 10.
Light: an east or north sill works.
Flavor: sharp and peppery.
Cress is the one to grow without soil. Its seeds form a gel coat when wet, so they cling to a damp paper towel or a thin felt mat on a plate and root right into it. That makes it the cleanest tray on the counter and a good pick if you do not want a bag of mix in a tiny kitchen. Keep the towel damp, never swimming.
- Do not soak cress seed. Sprinkle it dry onto the wet towel and mist twice a day.
Grows on a paper towel, no soil.
3Mustard
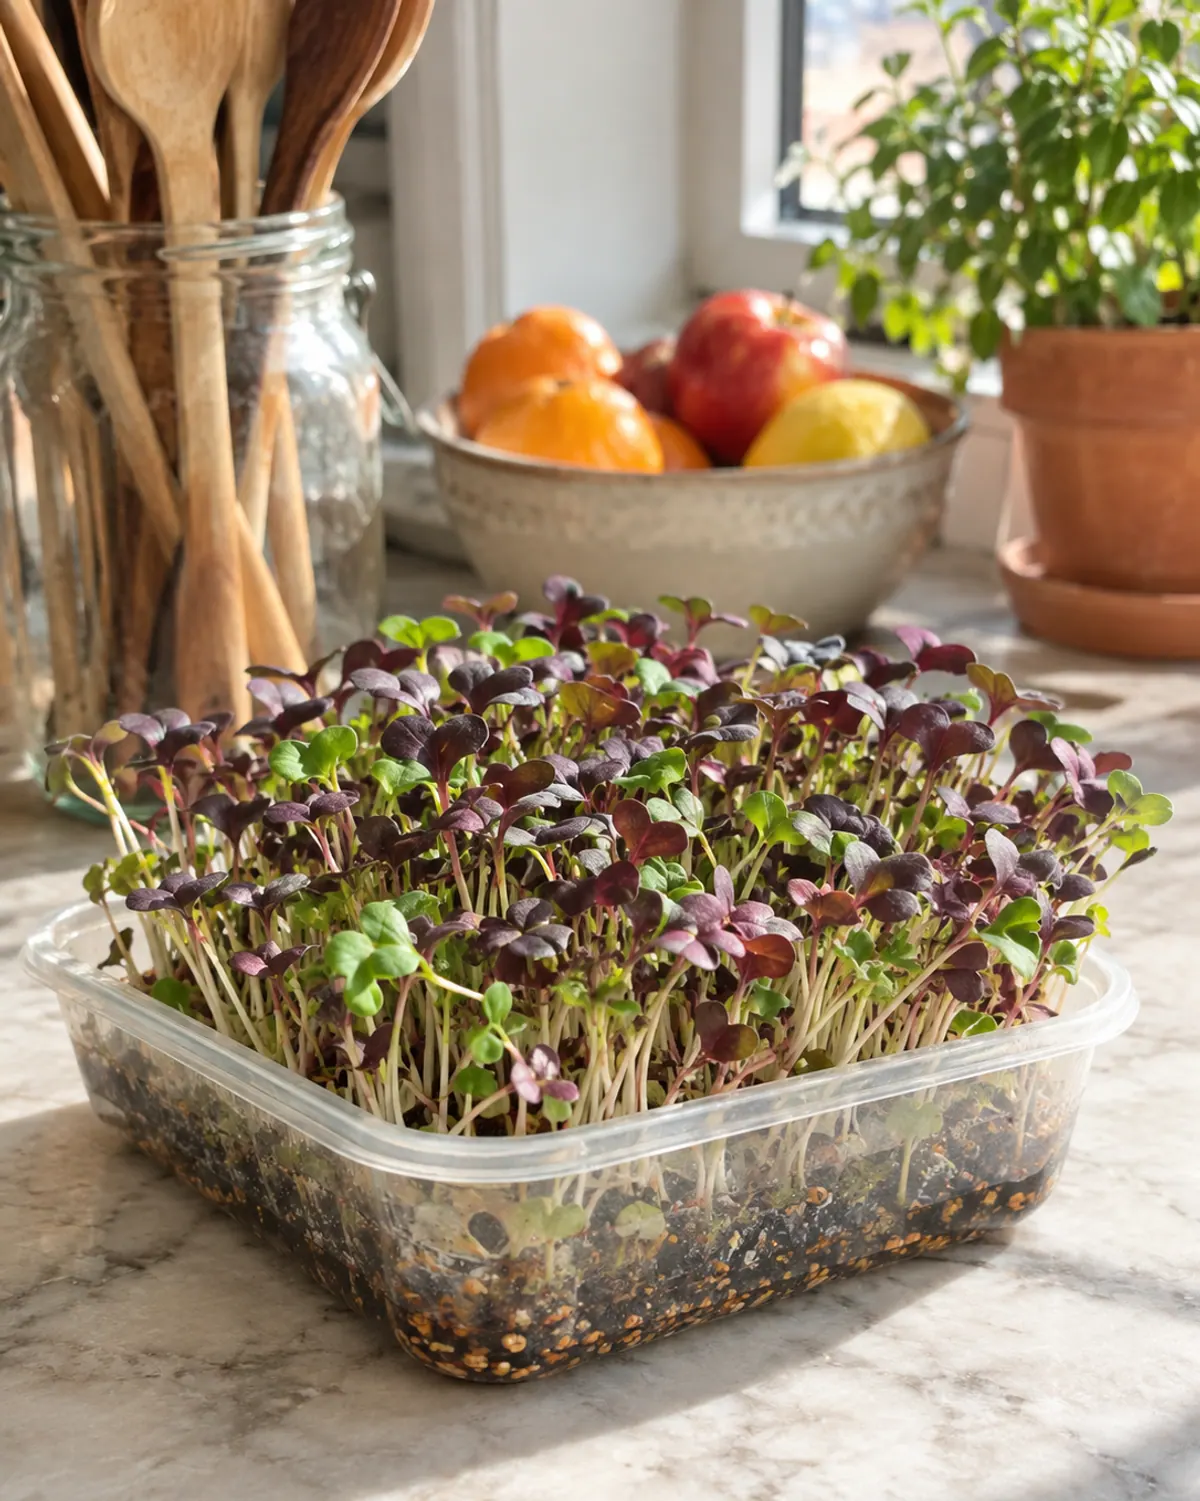
Days to harvest: 7 to 12.
Light: an east sill works; a lamp deepens the red.
Flavor: spicy, with a wasabi kick.
Mustard grows almost as fast as radish and brings color: red giant and similar red types tint the leaves purple, while mizuna stays bright green and milder. A little goes a long way in flavor, so a small container is plenty for a week of sandwiches. Mix it half and half with broccoli seed in one tray for a milder blend.
- Cut mustard as soon as the first two leaves open fully. Left longer, it turns bitter and tough.
Adds color and heat to a mixed tray.
4Broccoli
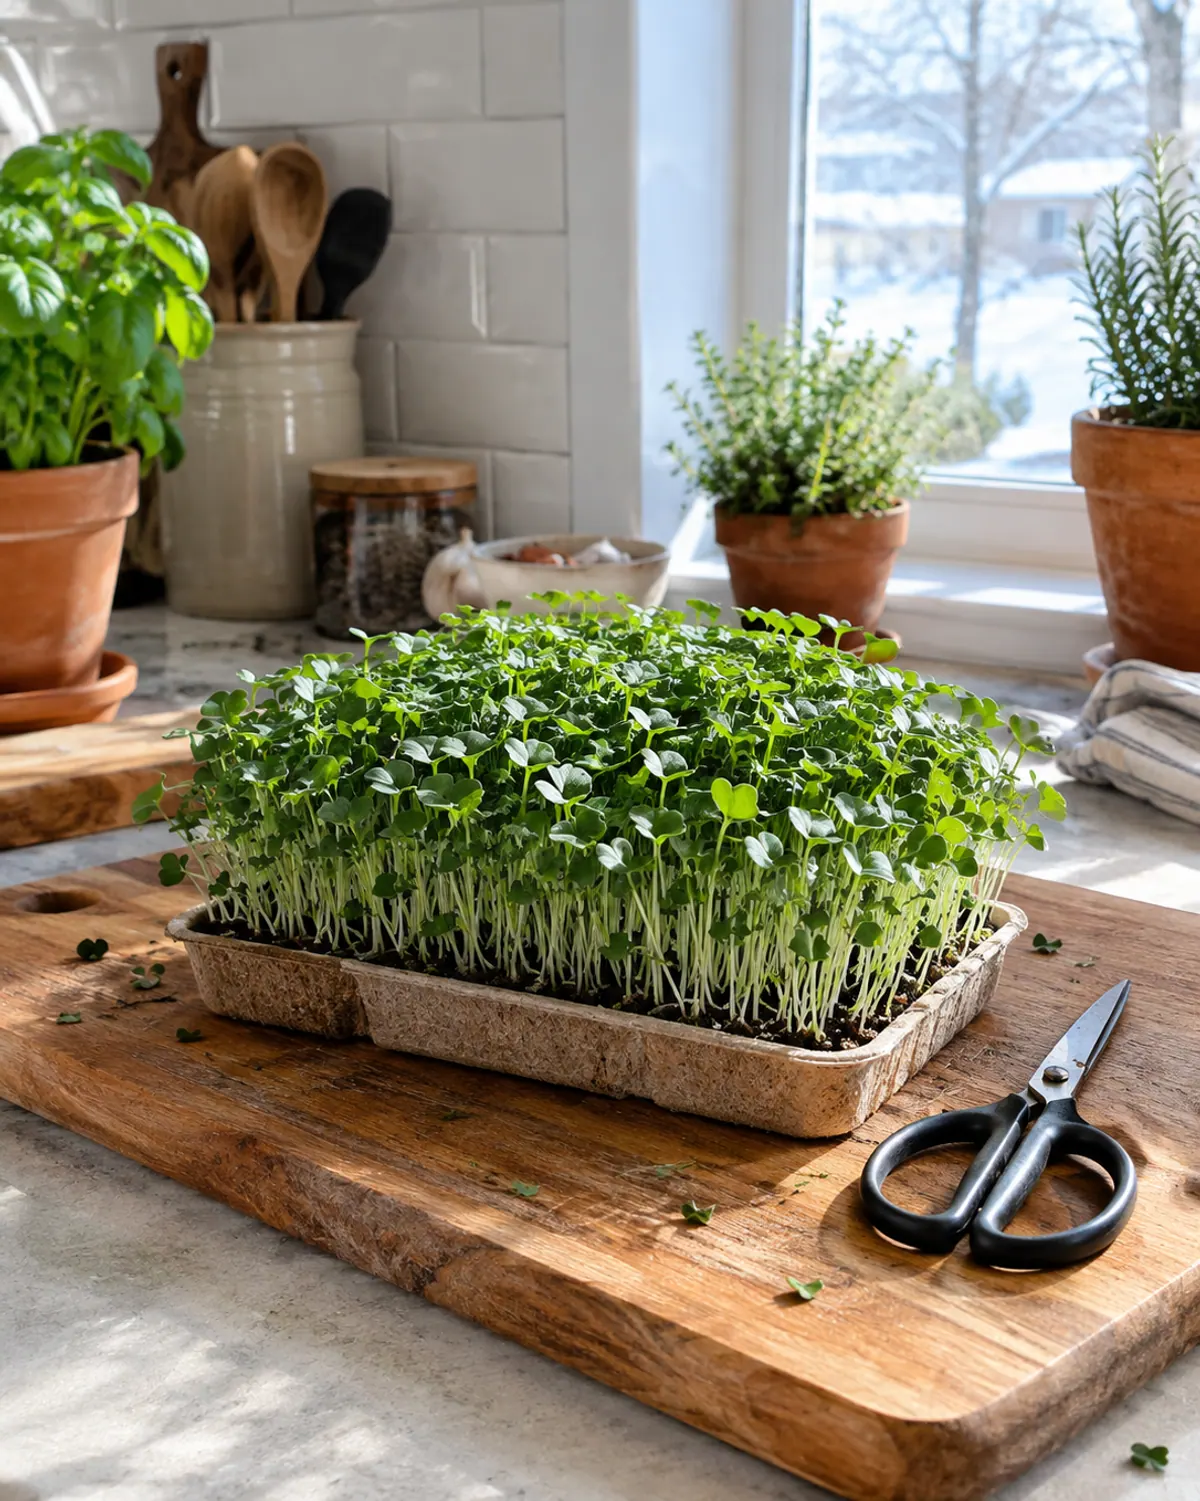
Days to harvest: 8 to 12.
Light: an east sill grows it; a lamp gives darker green leaves.
Flavor: mild and fresh, like a young cabbage.
Broccoli is the mild, everyday microgreen, and the seed is cheap enough in bulk that you can sow a tray every week without thinking about it. The leaves stay small and the stems stay short and crisp when it gets enough light. It is the crop most people end up growing on repeat.
- Buy broccoli seed in an 8 oz or 1 lb bag once you know you like it. Small packets cost far more per tray.
The cheapest seed per tray for a weekly rota.
Ready in under two weeks
5Arugula
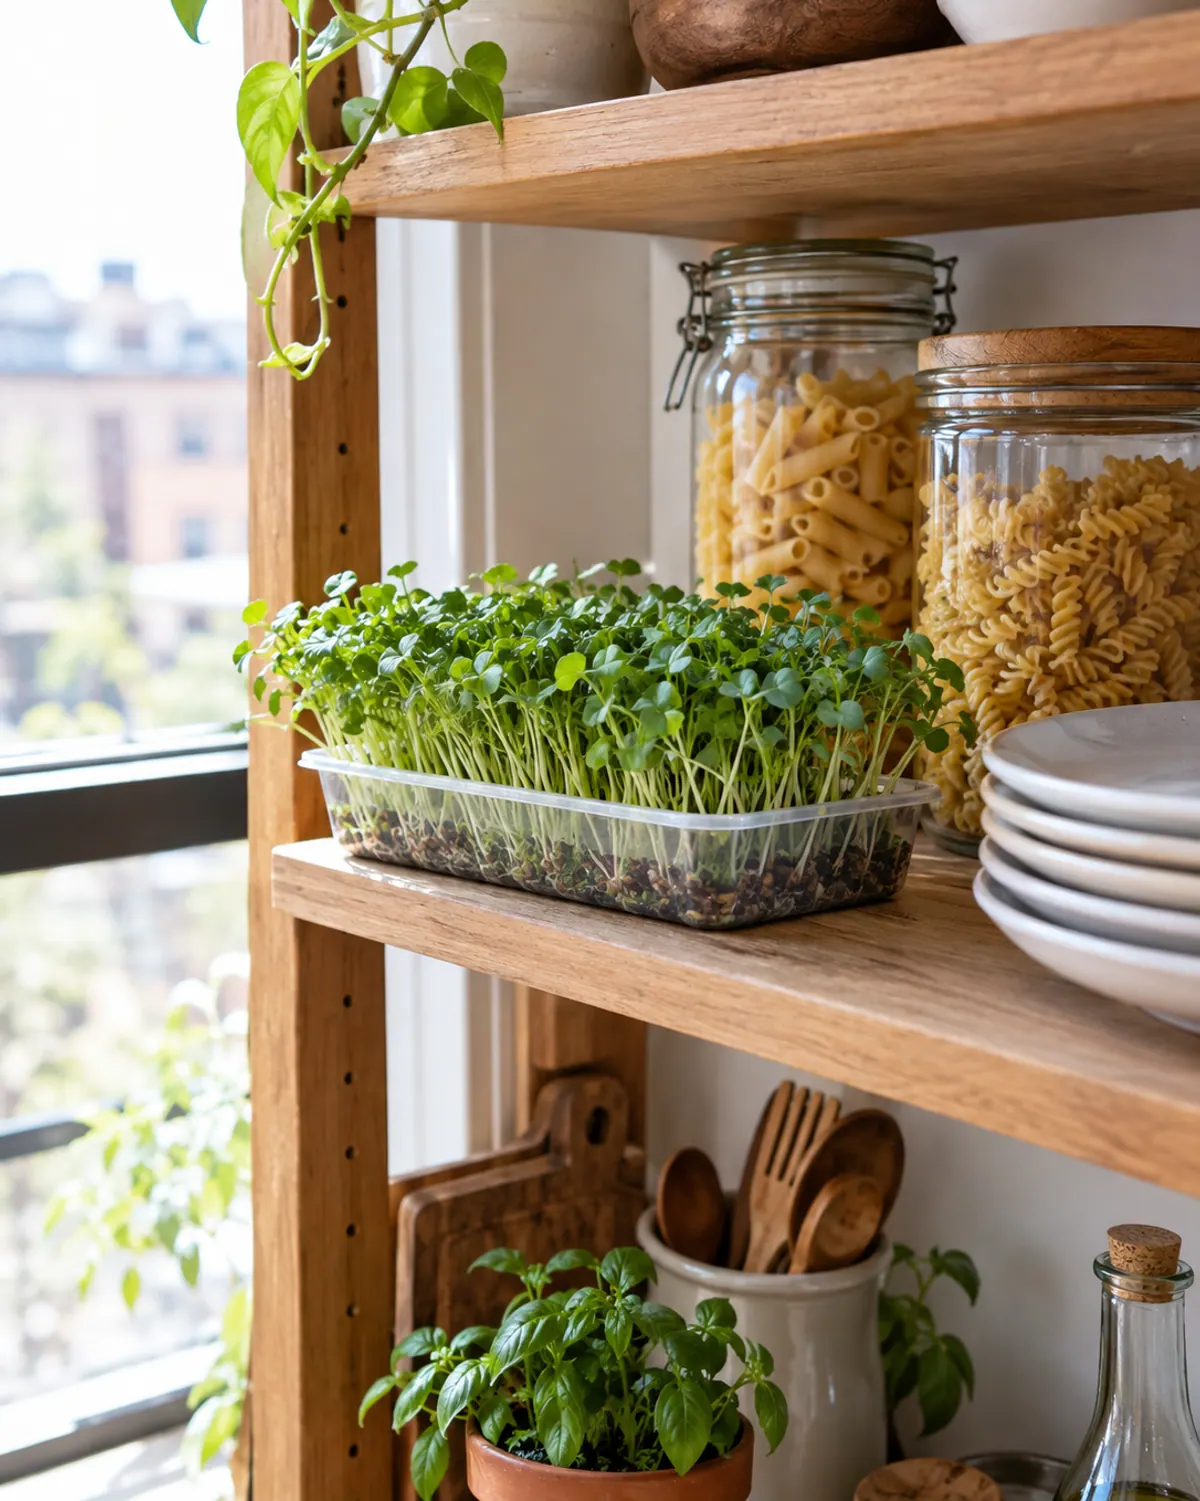
Days to harvest: 8 to 12.
Light: needs a lamp in a dark winter; leggy on a dim sill.
Flavor: nutty and peppery.
Arugula seed is tiny and slightly sticky when wet, so sow it thinly and press it gently into the mix instead of covering it. The flavor is everything you like about full-grown arugula in a softer leaf. It stretches toward the window fast, so this is a crop to put under a light if you have one.
- Sow arugula thinner than you think. Crowded arugula holds moisture and is the first tray to mold.
Peppery flavor, small seed that goes far.
6Kale
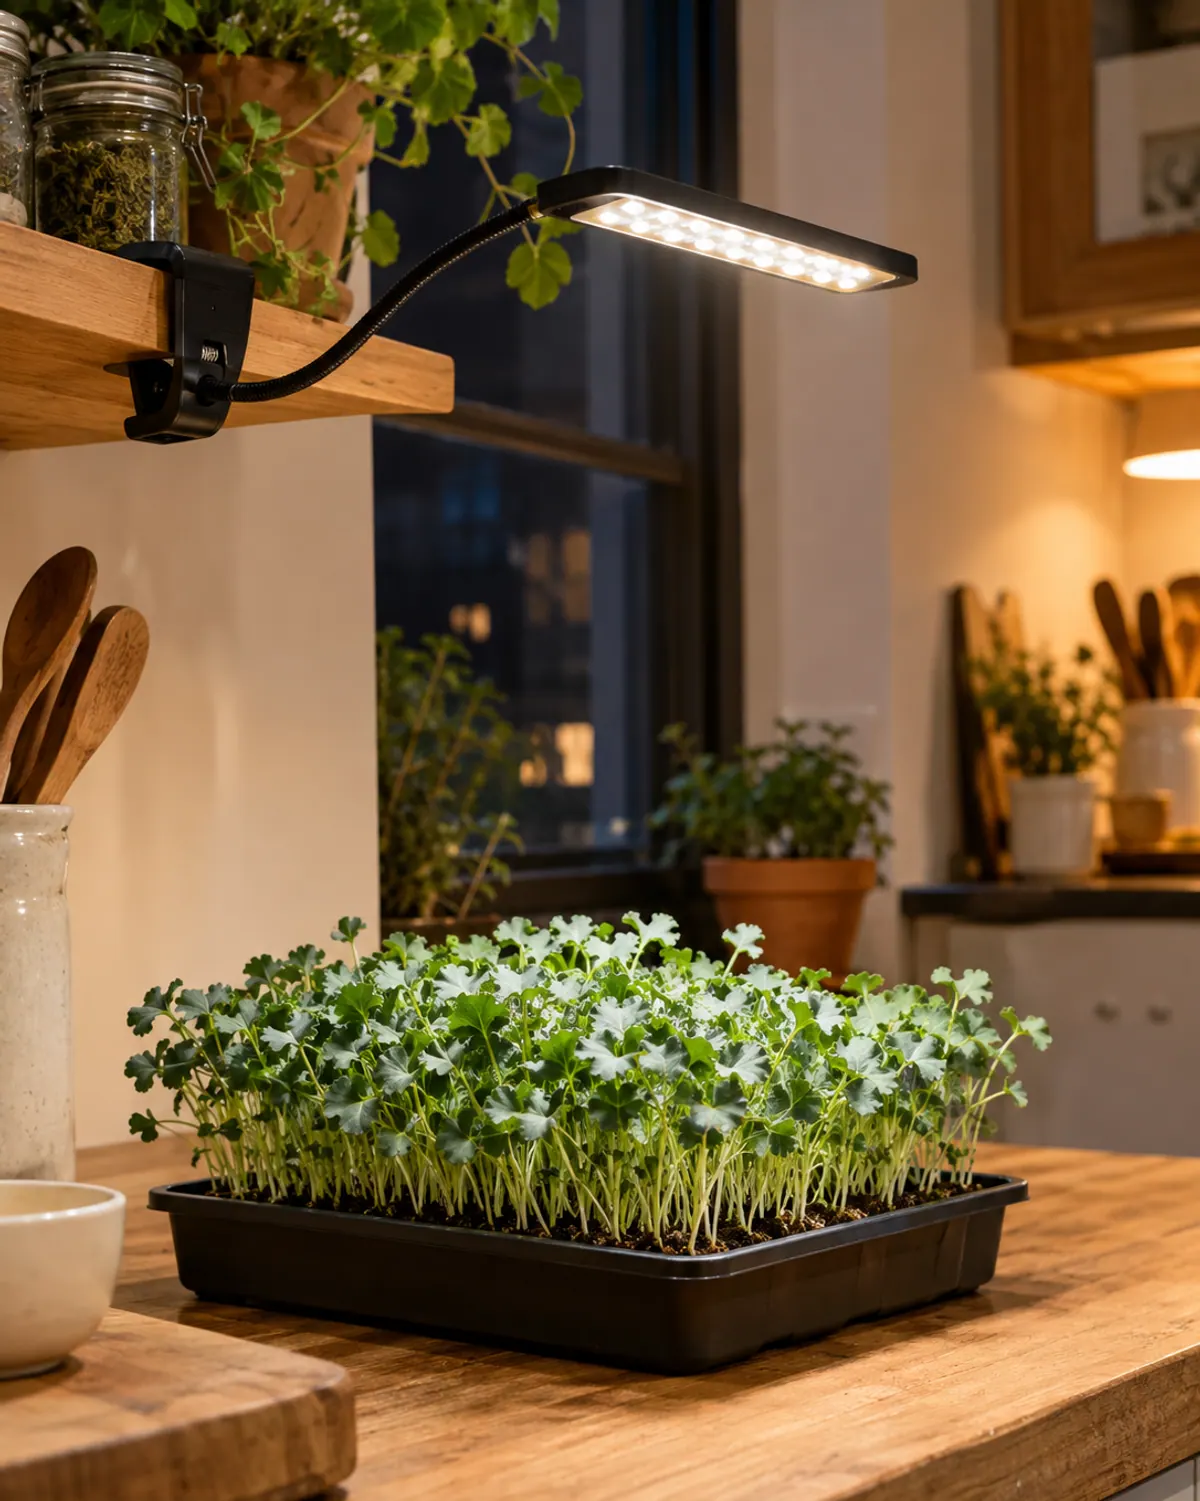
Days to harvest: 8 to 12.
Light: a lamp in winter for stocky growth.
Flavor: mild and a little sweet.
Kale microgreens taste nothing like a tough kale leaf. They are mild and tender, with blue-green leaves that look neat in a tray. Red Russian kale adds purple veins. Kale grows at the same pace as broccoli, so the two share a tray well when you want a mild salad mix.
- Water kale from below. Its leaves sit low and stay damp for hours if you spray from the top.
A mild green for salad mixes.
7Red cabbage
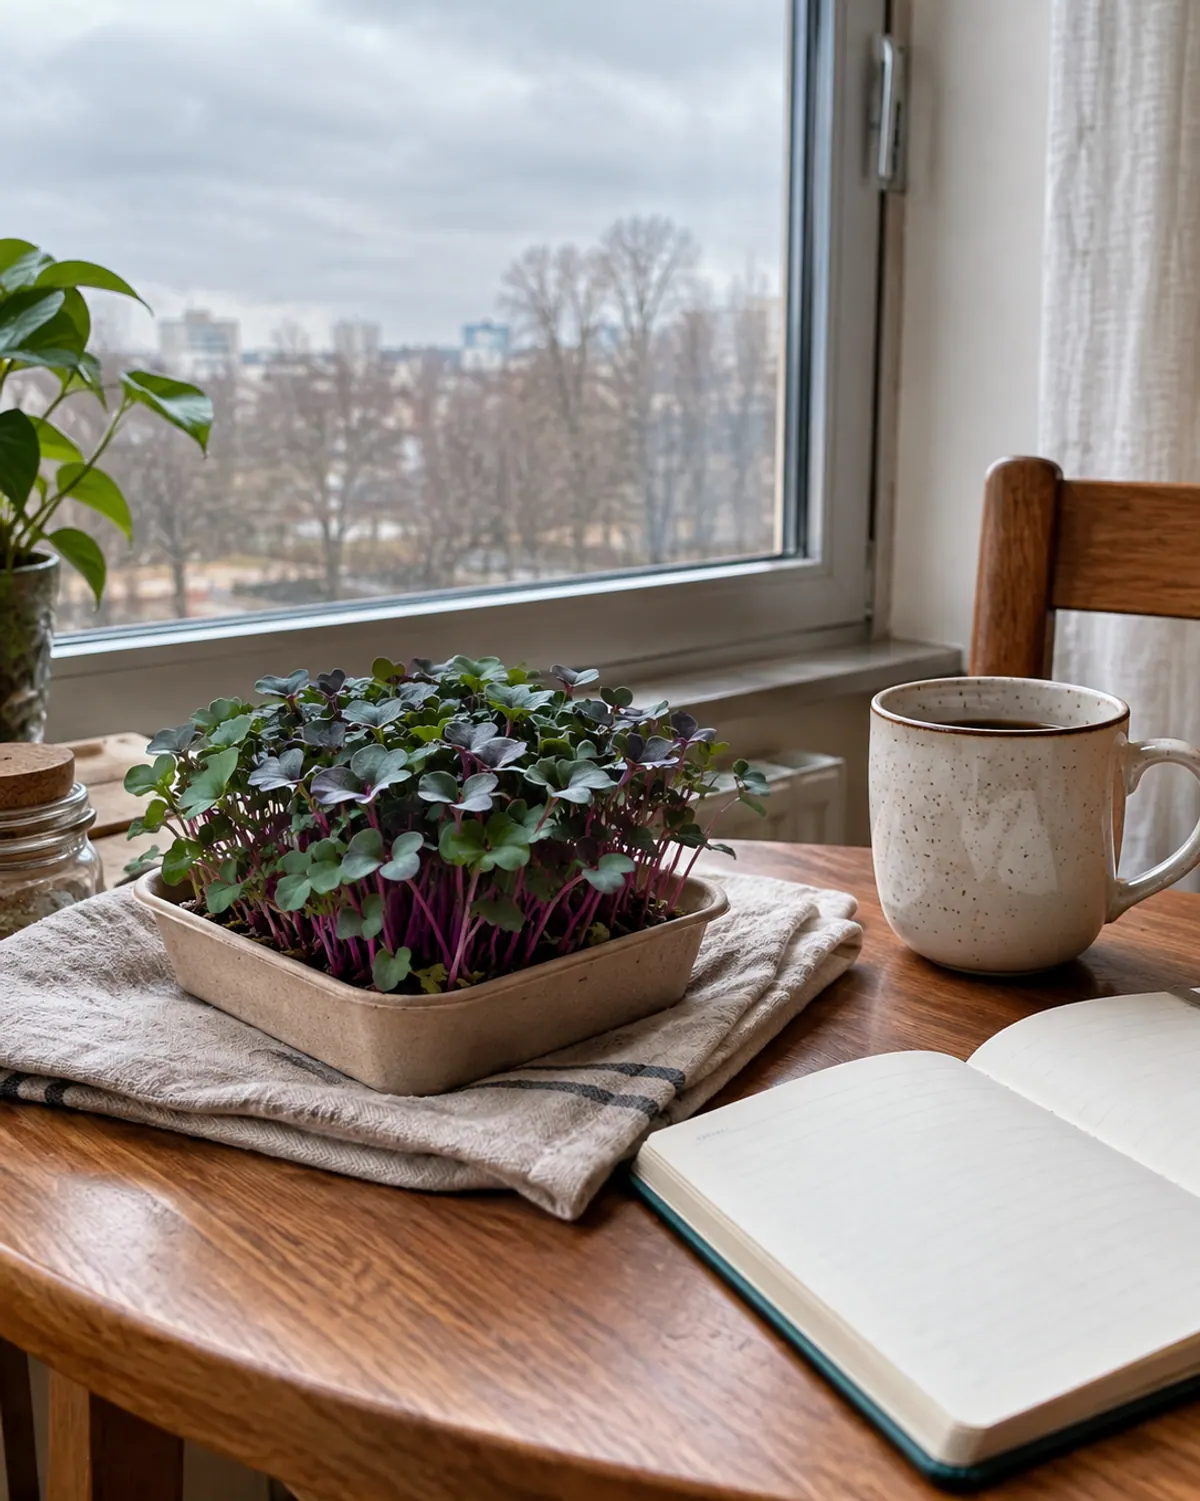
Days to harvest: 8 to 14.
Light: a lamp brings out the purple stems.
Flavor: mild and sweet.
Red cabbage is the prettiest of the brassicas, with violet stems under blue-green leaves. The color depends on light, so a dim sill gives you paler stems that taste the same but look ordinary. It is a slow germinator compared with radish, so give it the full blackout time before you uncover it.
- Grow red cabbage beside a green crop. The contrast makes a mixed bowl look like something from a market.
Purple stems for color.
8Sunflower shoots
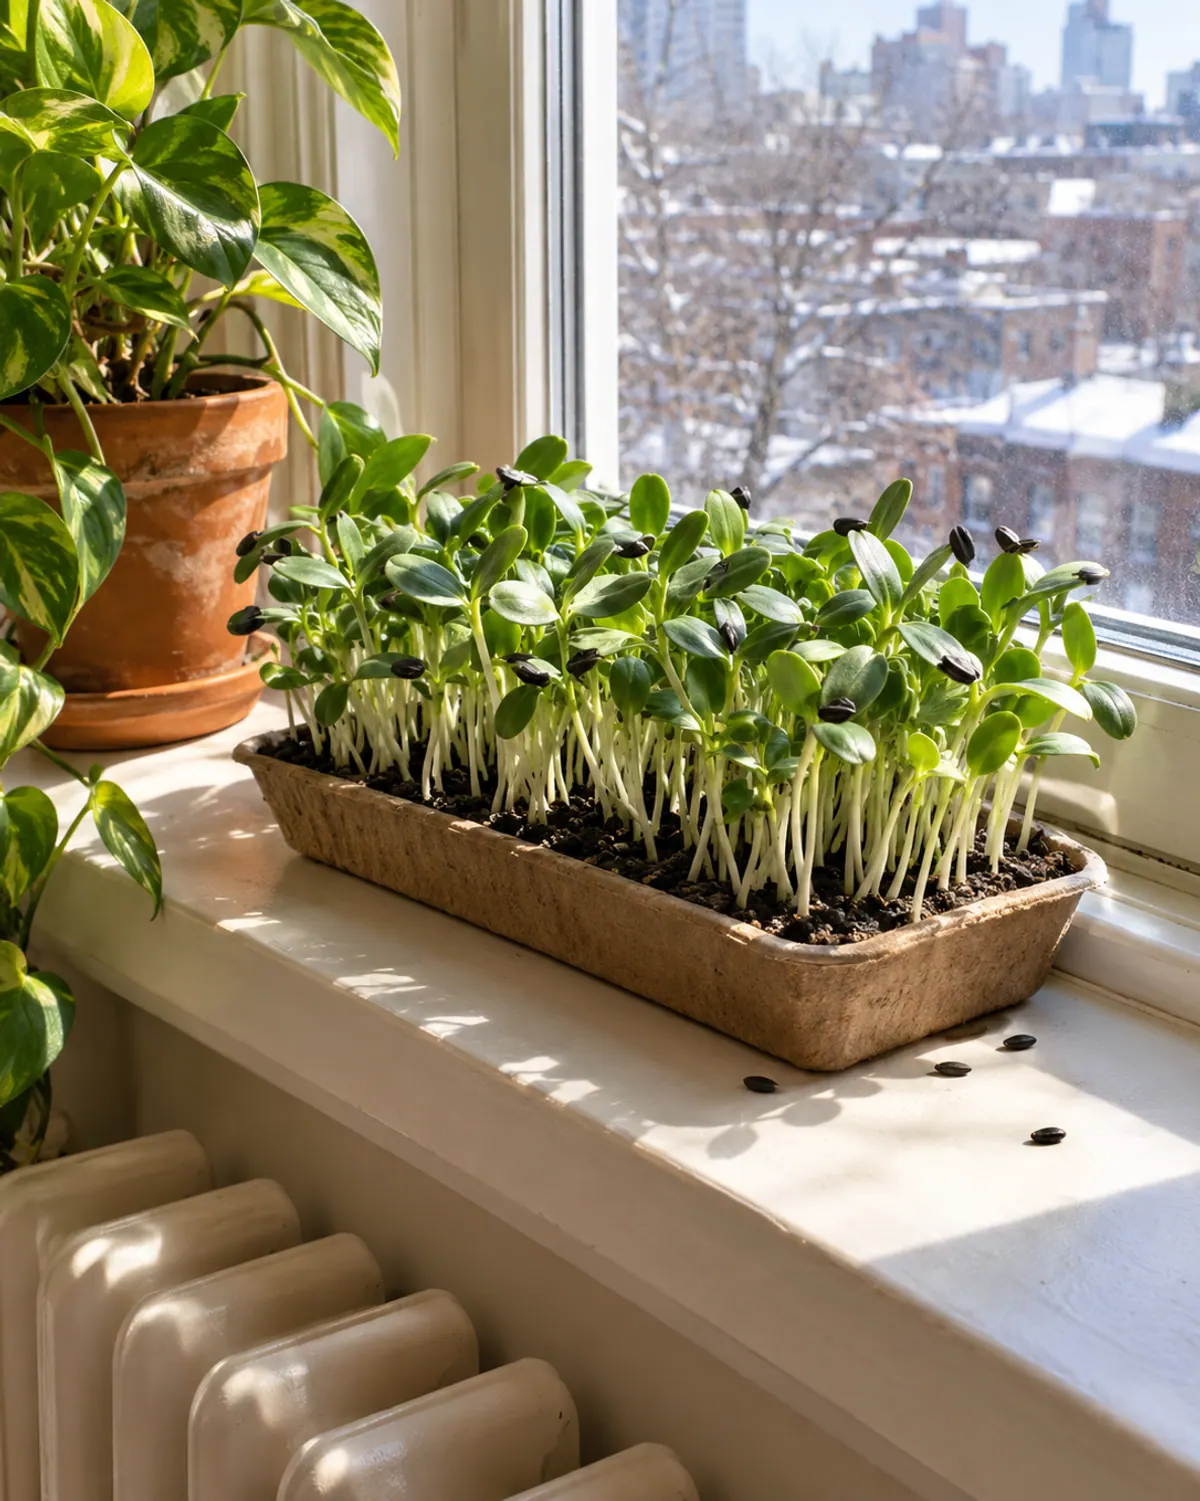
Days to harvest: 8 to 12 after soaking.
Light: a window works if you turn the tray daily.
Flavor: nutty, juicy and crunchy.
Sunflower shoots are the most filling microgreen: thick, juicy stems and two fat leaves with a nutty taste. Use black oil sunflower seed sold for sprouting, soak it 8 to 12 hours, and press a weight on the tray for the first two to three days so the roots grip. The hulls stick to the leaf tips; brush them off before you cut.
- Turn the tray every morning. Sunflowers lean hard toward a window and fall over if you leave them facing one way.
The crunchiest, most filling tray.
9Pea shoots
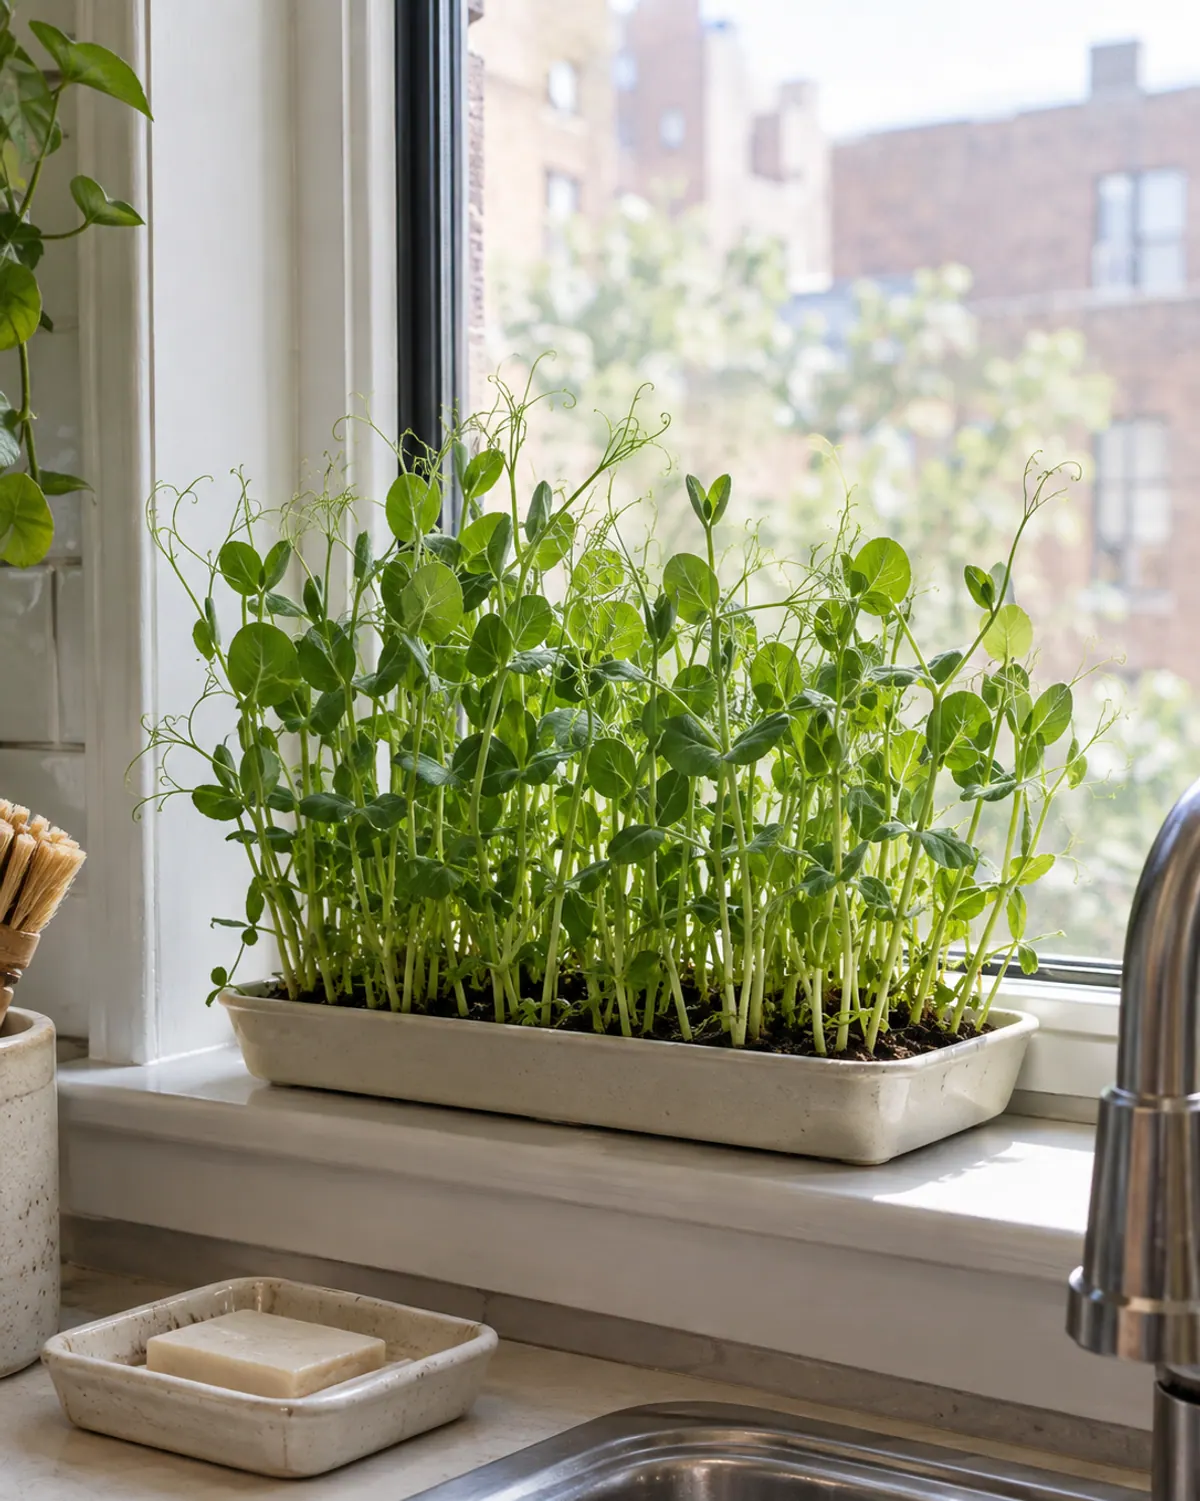
Days to harvest: 10 to 14 after soaking.
Light: the best low-light crop on this list.
Flavor: sweet, like fresh garden peas.
If you have only an east or north window, grow pea shoots. The big seed carries enough stored food to grow tall, sweet shoots in weaker light than any brassica. Soak the seed 8 to 12 hours, sow it touching, and cut when the shoots reach 3 to 5 inches with the first tendrils. Pea shoots are also the one tray that can give a smaller second cut.
- For a second harvest, cut above the lowest leaf pair. New shoots grow from that point within a week or so.
Grows in the weakest winter light.
Slow, but worth the wait
10Beet
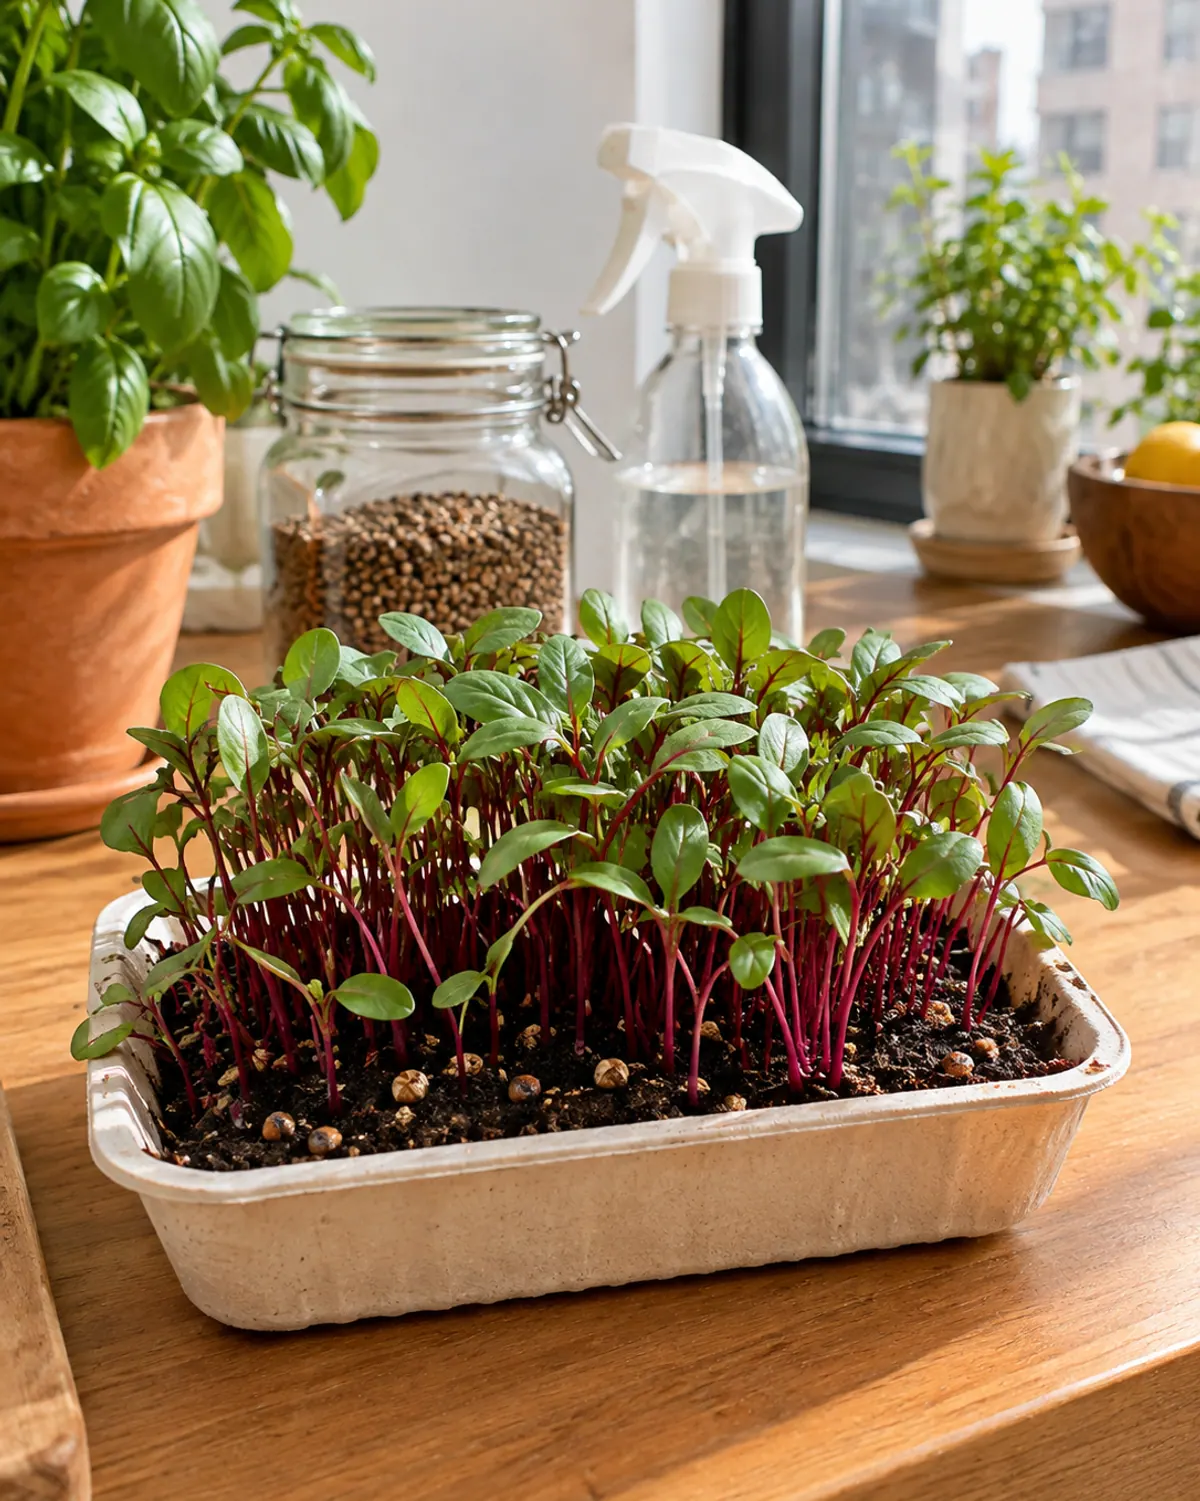
Days to harvest: 10 to 20.
Light: a lamp in winter.
Flavor: earthy and sweet.
Beet microgreens have ruby stems and an earthy taste, and they take patience. Each wrinkled seed is a cluster that sprouts unevenly, so the tray fills in over several days. A short soak of a few hours helps, and the seed caps that ride up on the leaves can be shaken off before cutting.
- Cover beet seed with a thin layer of mix. It sprouts more evenly in the dark than on the surface.
Red stems for a slow-but-pretty tray.
11Basil
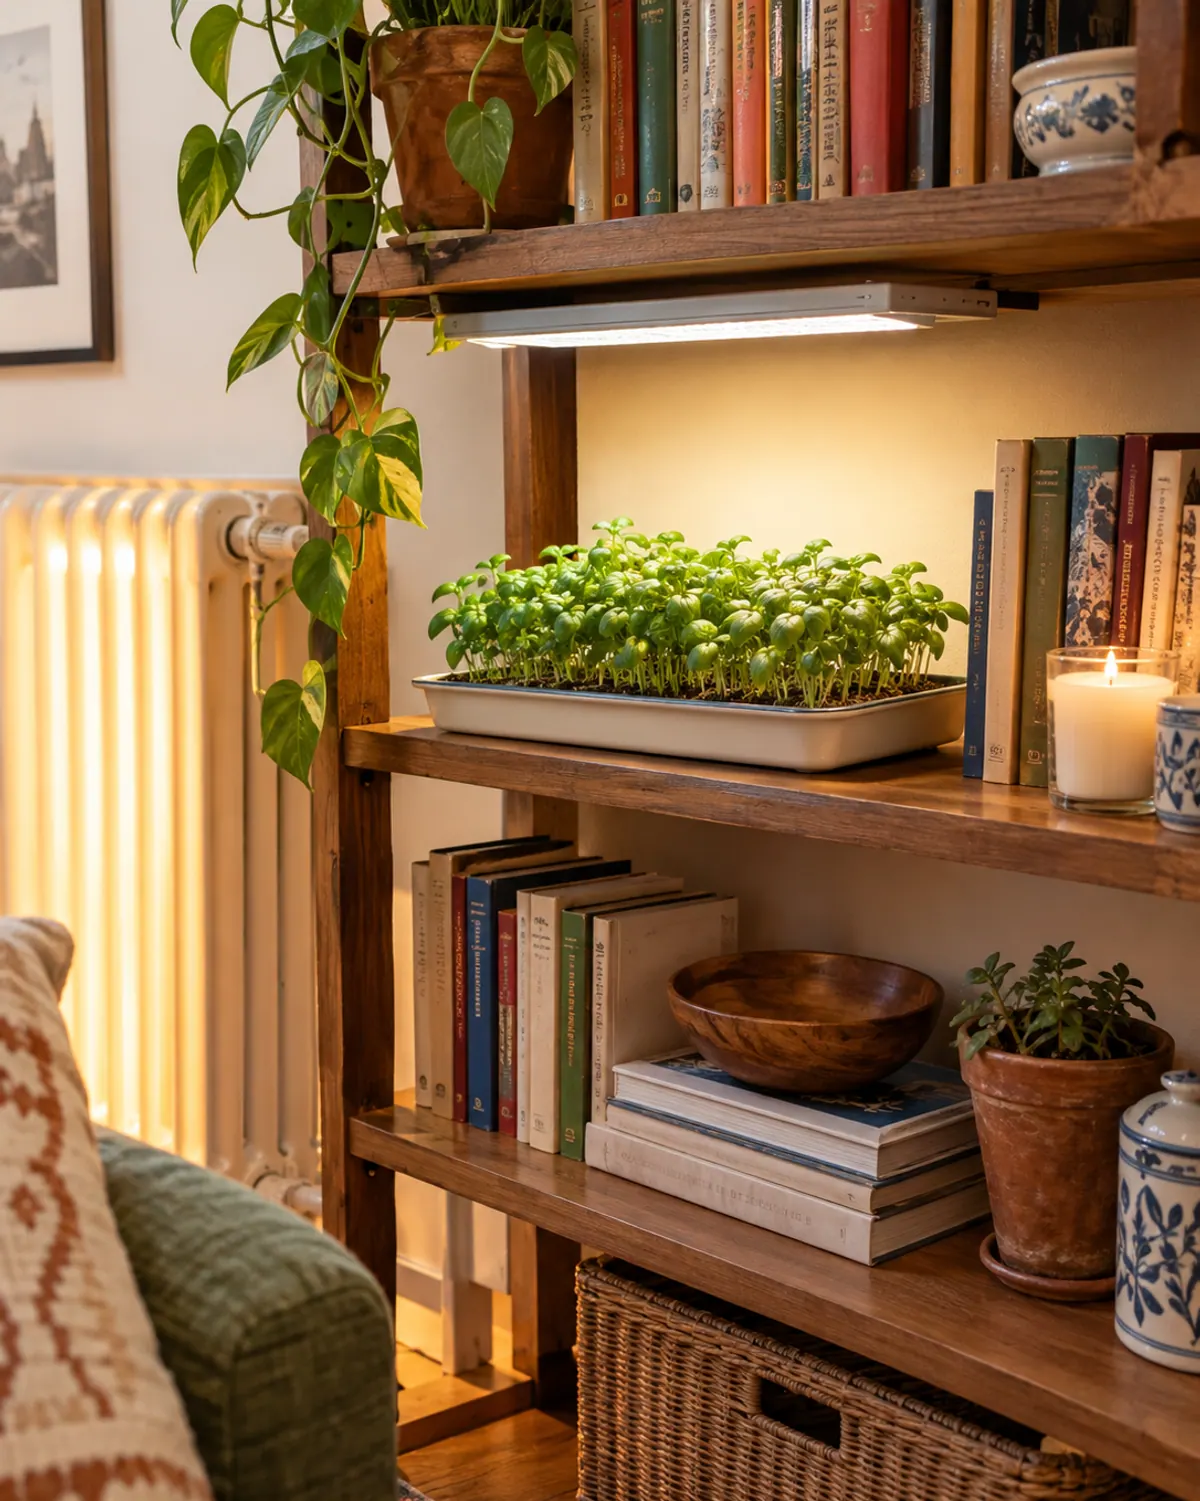
Days to harvest: 14 to 21.
Light: a lamp and a warm spot of about 70°F or more.
Flavor: basil, softer and sweeter.
Basil is the slowest crop here and the most rewarding. The seeds gel like cress, so sow them dry onto damp mix and mist; do not cover them. Basil hates cold, so a tray near a drafty winter window stalls for days. A shelf in a warm room under a small light works far better. Our indoor herb garden guide covers growing basil on to full size.
- Grow basil microgreens in their own tray. They take twice as long as anything else and slow down a mixed tray.
For a slow, fragrant tray in a warm room.
The $15 setup: takeout tray, seed-starting mix, spray bottle
You do not need a kit to start growing microgreens. A clean clear takeout container with a few holes poked in the base is a tray, and its lid makes the drip saucer underneath. Fill it with about 2 inches of seed-starting mix or coco coir, which the University of Illinois Extension also suggests for shallow containers.
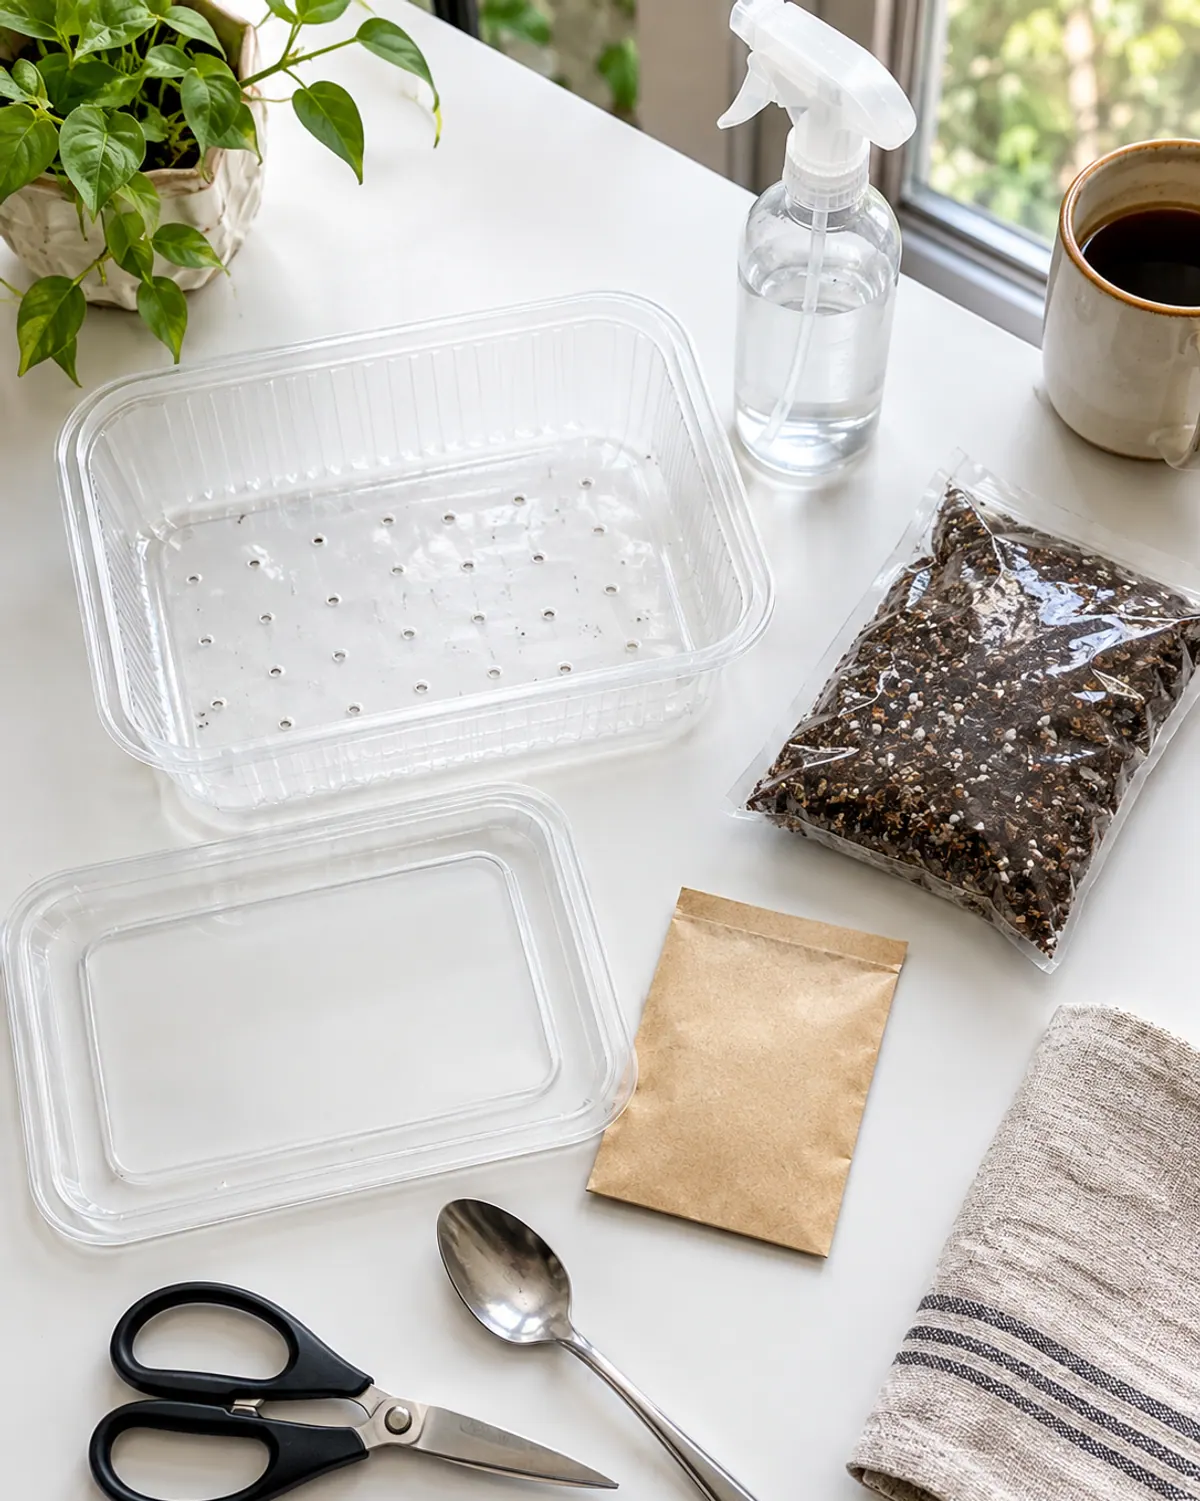
As an example, a bag of seed-starting mix runs about $5 to $10, a spray bottle a few dollars, and a radish packet about $6, which lands around $15 for several trays. A light is the only thing worth adding later, and only if your window is weak.
Microgreens supply list
Do microgreens need a grow light in winter?
Not always. A south window gives every crop on this list enough light, and an east window in December is enough for pea shoots, sunflower, radish and cress. Broccoli, kale, cabbage, arugula, beet and basil grow there too, but they stretch, lean and go pale.
If your trays fall over or look yellow-green, add a clip-on LED for 12 to 16 hours a day, set a few inches above the leaves and run on a cheap plug timer. Our grow lights for small spaces roundup compares clip-ons, shelf bars and bulbs, and the low-light herb guide has the window-distance test for checking what your sill really gets.
Growing microgreens in a mason jar or without soil
Pinterest is full of mason jar pins, but a jar grows sprouts, not microgreens. Sprouts are seeds rinsed in water and eaten whole, root and all, after a few days. Microgreens grow in light and are cut above the root, which is a different crop with different food-safety guidance.
For true soil-free microgreens, use a hemp or coco fiber grow mat, or a paper towel for cress, in a shallow tray with a little water underneath. Gel-coated seeds like cress, arugula and basil do best this way. For herbs grown in water long term, see our hydroponic herb garden guide, which covers the jar method properly.
Step by step: sow, blackout, uncover, water from below, harvest
-
Step 1: Soak the big seeds
Soak pea and sunflower seed in cool water for 8 to 12 hours. Skip soaking for small seeds and gel seeds such as cress, arugula and basil.
-
Step 2: Sow thick, but in one layer
Wet the mix first, then scatter seed so the seeds nearly touch without piling up. Press them gently into the surface with your palm. Cover beet with a thin layer of mix; leave the rest uncovered.
-
Step 3: Blackout for 2 to 4 days
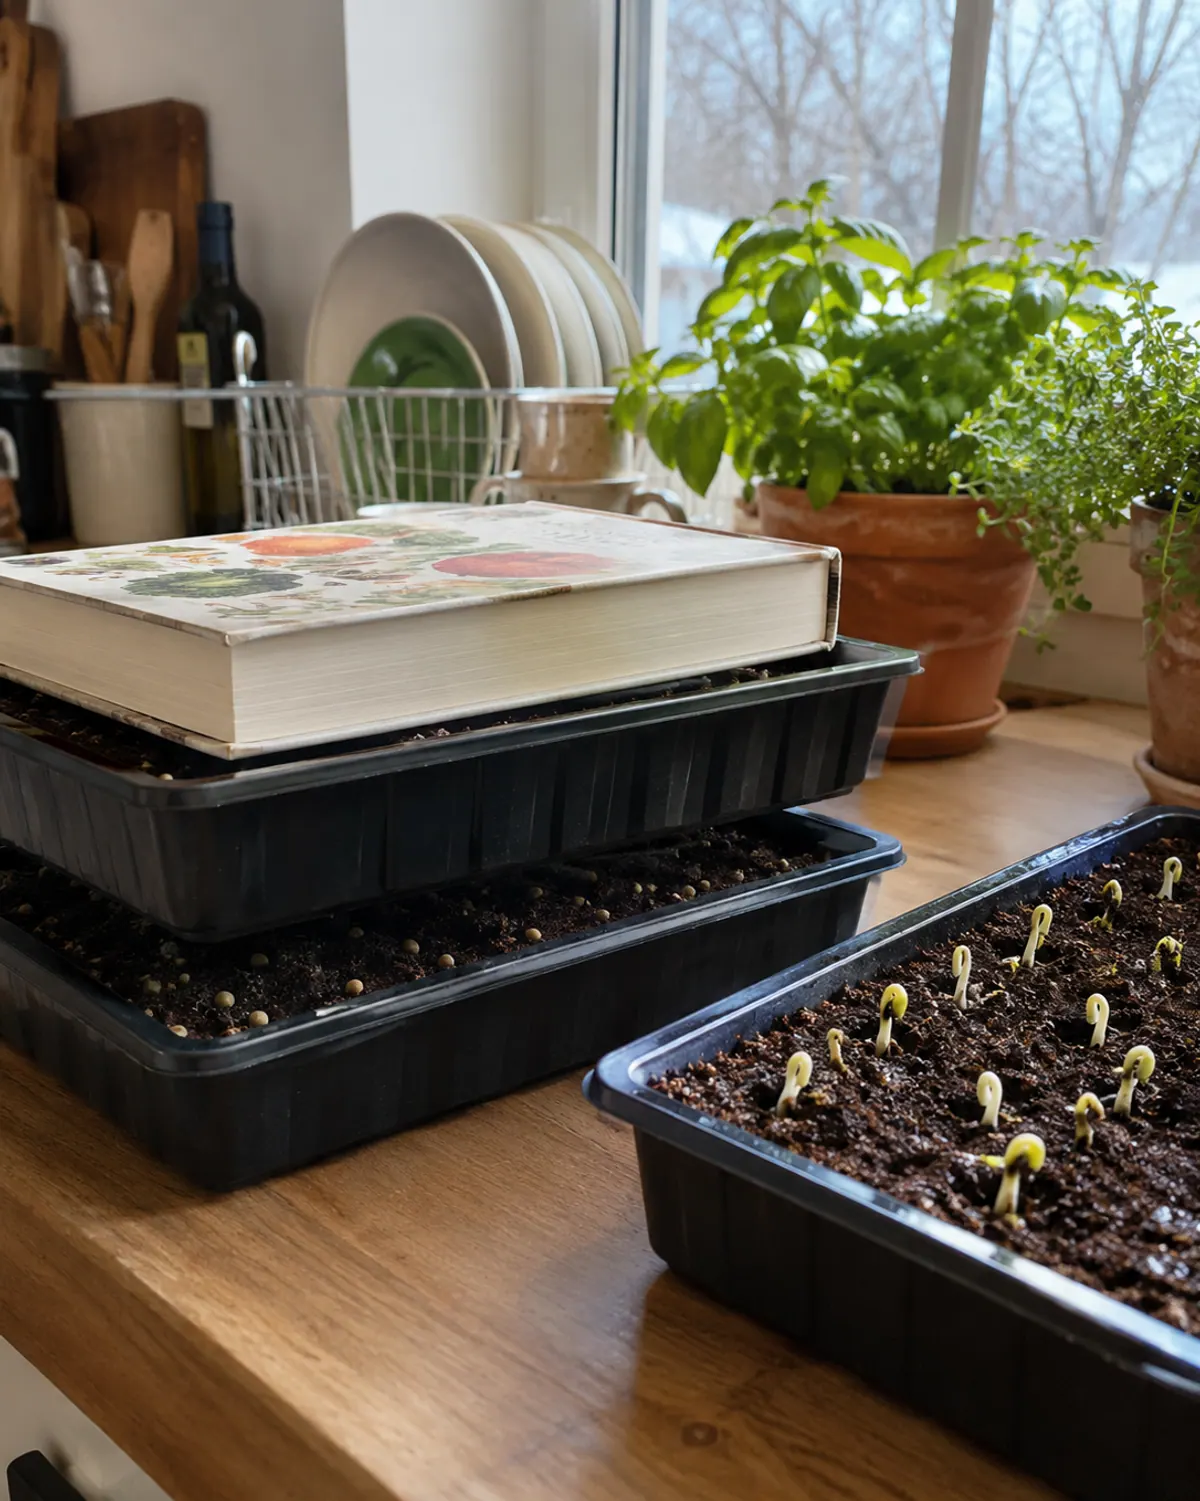
Mist, then cover with an upside-down tray or plate. Put a light weight such as a book on top of pea and sunflower trays so the roots push down. Check daily and mist if the surface looks dry.
-
Step 4: Uncover and give them light
When the sprouts are about an inch tall and lifting the cover, move the tray to your brightest window or under the light. Pale yellow sprouts turn green within a day.
-
Step 5: Water from below
Pour water into the drip tray, not on the leaves, and let the mix soak it up for 10 to 15 minutes before tipping out the rest. Water when the tray feels light, usually once a day.
-
Step 6: Harvest with scissors
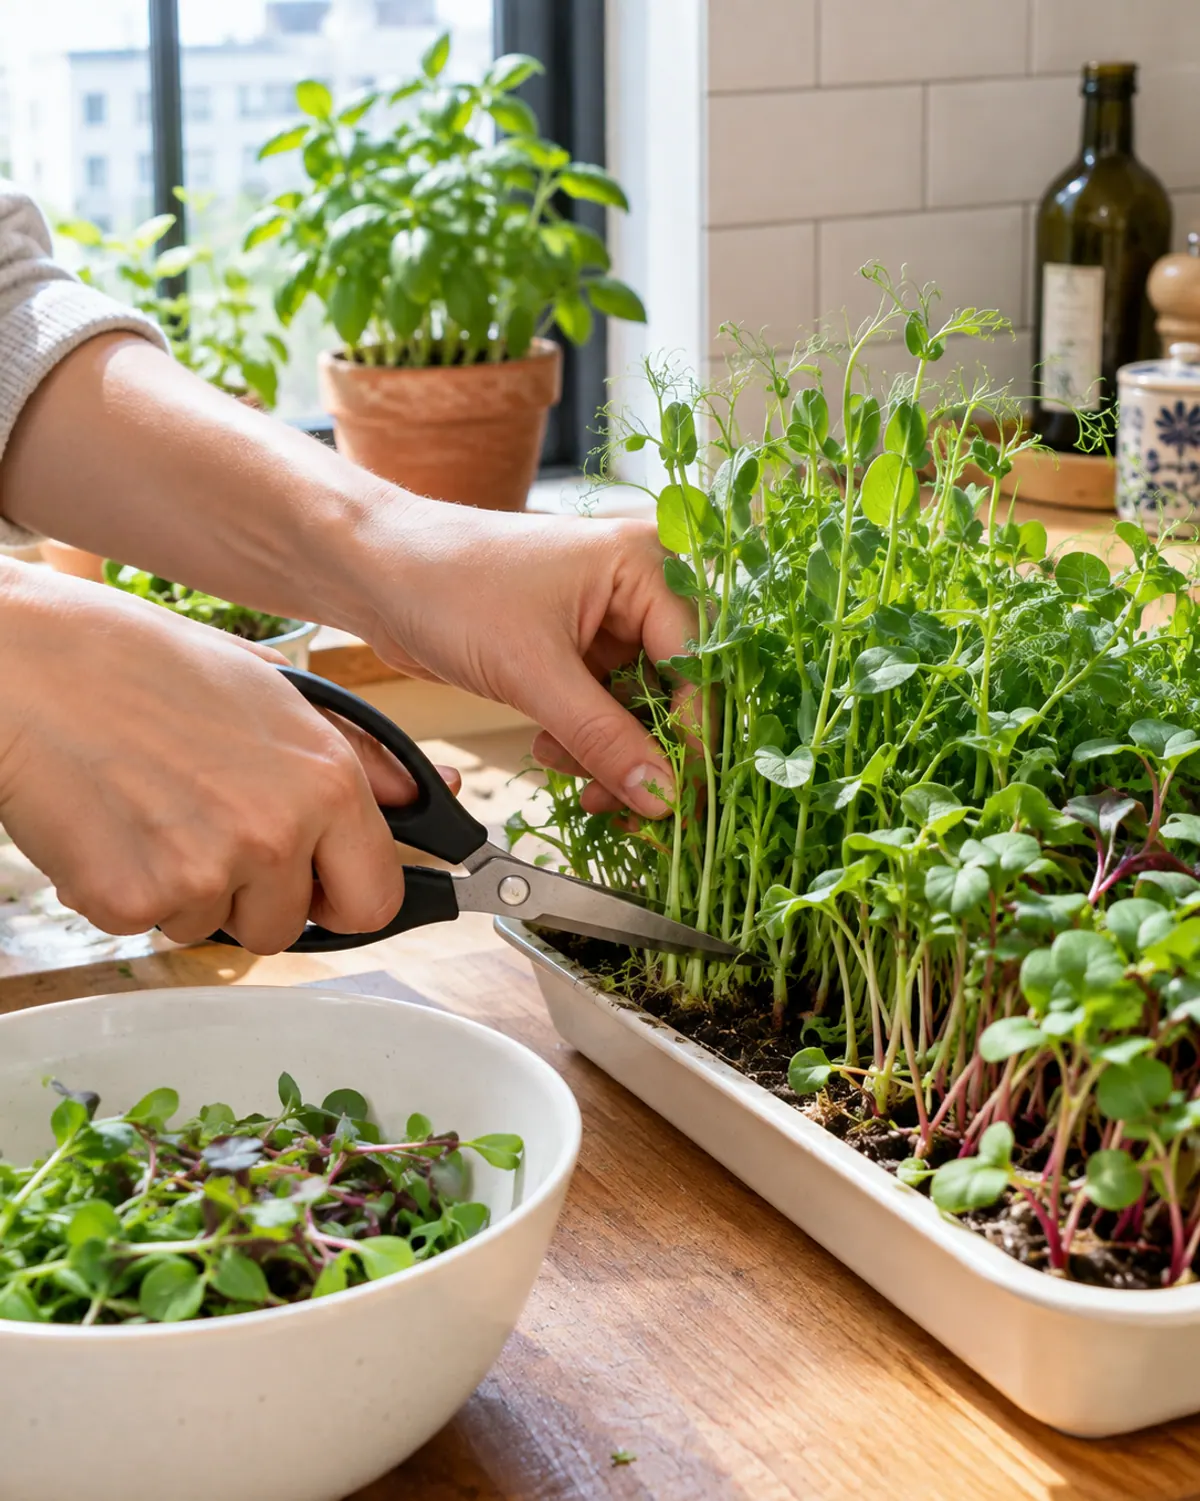
Cut just above the soil line once the first leaves open, and before the first true leaves get large. Rinse, pat dry and refrigerate in a lidded box lined with a paper towel. Most crops do not regrow, so the used mix goes to compost.
One tray a week: the counter rota and seed budget
A steady supply on a 12 inch counter comes from staggering small trays instead of growing one big one. Sow one container every 5 to 7 days, and you always have one in blackout, one growing and one ready to cut. Fast crops keep the rota short, so start with radish, broccoli and pea shoots.
| Week | Sow | Growing | Cut |
|---|---|---|---|
| 1 | Radish | None | None |
| 2 | Broccoli | Radish | None |
| 3 | Pea shoots | Broccoli | Radish |
| 4 | Radish | Pea shoots | Broccoli |
| 5 | Sunflower | Radish | Pea shoots |
Seed is where the money goes. Small packets are fine for trying a crop; once you settle on two or three favorites, a 1 lb bag of broccoli or pea seed covers many weeks of trays and costs far less per harvest.
Mold, leggy stems and other winter fixes (plus what not to grow)
| What you see | Likely cause | Fix |
|---|---|---|
| Grey or white cobweb fuzz that smells musty | Mold from overwatering, crowding or still air | Toss the tray. Sow thinner next time, water from below and run a small fan nearby. |
| White fuzz only on the roots, gone when misted | Normal root hairs | Nothing to fix. Radish and broccoli grow lots of them. |
| Tall, floppy, pale stems | Too little light | Move to a brighter window or add a clip-on light. Uncover a day sooner. |
| Patchy, uneven sprouting | Seed too deep, dried out or cold | Press seed onto the surface, keep it misted under cover and keep the room above 60°F. |
| Seeds sprout then wilt | Mix dried out after uncovering | Check weight daily and water from below when the tray feels light. |
| Leaves bitter and tough | Cut too late | Harvest when the first leaves open, before true leaves grow large. |
One rule is not negotiable: do not grow tomato, pepper, eggplant or potato as microgreens. These nightshades carry natural toxins in their leaves and stems, and the Illinois Extension lists them as plants to avoid. Stick to the brassicas, peas, sunflower, beet and herbs on this list.
If you also keep pots on a balcony through the cold months, our winter garden ideas cover what to do outside while the trays run indoors.
Microgreens shopping list
What to buy for your first trays
- Start here
Microgreen tray set, 3 trays with drip trays
Typically $14 to $60
Reusable trays when the takeout containers wear out.
Check price on Amazon for Microgreen tray set, 3 trays with drip trays -
Clip-on full spectrum LED grow light
Typically $10 to $35
Fixes leggy winter trays.
Check price on Amazon for Clip-on full spectrum LED grow light -
Radish microgreen seed, 1 oz packet
Typically $6 to $7
The fastest first tray.
Check price on Amazon for Radish microgreen seed, 1 oz packet -
Pea shoot seed, 1 lb
Typically $12 to $13
Best for a dim window.
Check price on Amazon for Pea shoot seed, 1 lb -
Broccoli microgreen seed, 8 oz to 1 lb
Typically $12 to $18
The weekly staple.
Check price on Amazon for Broccoli microgreen seed, 8 oz to 1 lb -
Black oil sunflower seed for sprouting
Typically $10 to $20
The crunchiest tray.
Check price on Amazon for Black oil sunflower seed for sprouting -
Seed-starting mix or coco coir
Typically $5 to $15
Light, clean and holds moisture.
Check price on Amazon for Seed-starting mix or coco coir -
Hemp grow mats for microgreens
Typically $10 to $20
For a soil-free tray.
Check price on Amazon for Hemp grow mats for microgreens -
Fine mist spray bottle
Typically $5 to $12
Keeps seeds damp during blackout.
Check price on Amazon for Fine mist spray bottle
Microgreens are the quickest harvest a small apartment can get in winter. Start one tray of radish this week, and plan the spring garden while it grows.
Frequently asked questions
What are the easiest microgreens to grow indoors?
Radish, broccoli, pea shoots and sunflower are the easiest for beginners. Radish and broccoli are ready in about 8 to 12 days with no soaking, and pea shoots grow well even in a dim winter window.
Do microgreens need a grow light in winter?
Not always. A south window is enough for every common crop, and an east window works for pea shoots, sunflower, radish and cress. If trays grow tall, pale and floppy, add a clip-on LED for 12 to 16 hours a day.
How long do microgreens take to grow?
Most take 7 to 14 days from sowing to harvest. Radish and cress can be ready in about a week, while beet and basil take two to three weeks, and a cool room adds a few days.
Can you grow microgreens without soil?
Yes. Use a hemp or coco fiber grow mat, or a damp paper towel for cress, in a shallow tray with a little water underneath. Gel-coated seeds like cress, arugula and basil grow especially well this way.
Can you grow microgreens in a mason jar?
A mason jar grows sprouts, which are rinsed seeds eaten whole after a few days, not microgreens. The FDA advises children, older adults, pregnant people and people with weakened immune systems to avoid raw sprouts.
Do microgreens grow back after cutting?
Most do not, so you compost the used mix and sow a fresh tray. Pea shoots are the exception: cut above the lowest leaves and they often give a smaller second harvest.

Save it for later
Pin this to your Small-Space Vegetables board so it's there when you need it.
Save to Pinterest