This post contains affiliate links. As an Amazon Associate we earn from qualifying purchases, at no extra cost to you. Read our disclosure.
Safety first: Herbs can be powerful. If you are pregnant, nursing, take medication or have a health condition, check with your doctor or pharmacist first. Please read our herbal & garden safety notes before you start.
Key takeaways
- Choose a plump, firm piece with several eyes (buds); organic is safer because some ginger is treated not to sprout
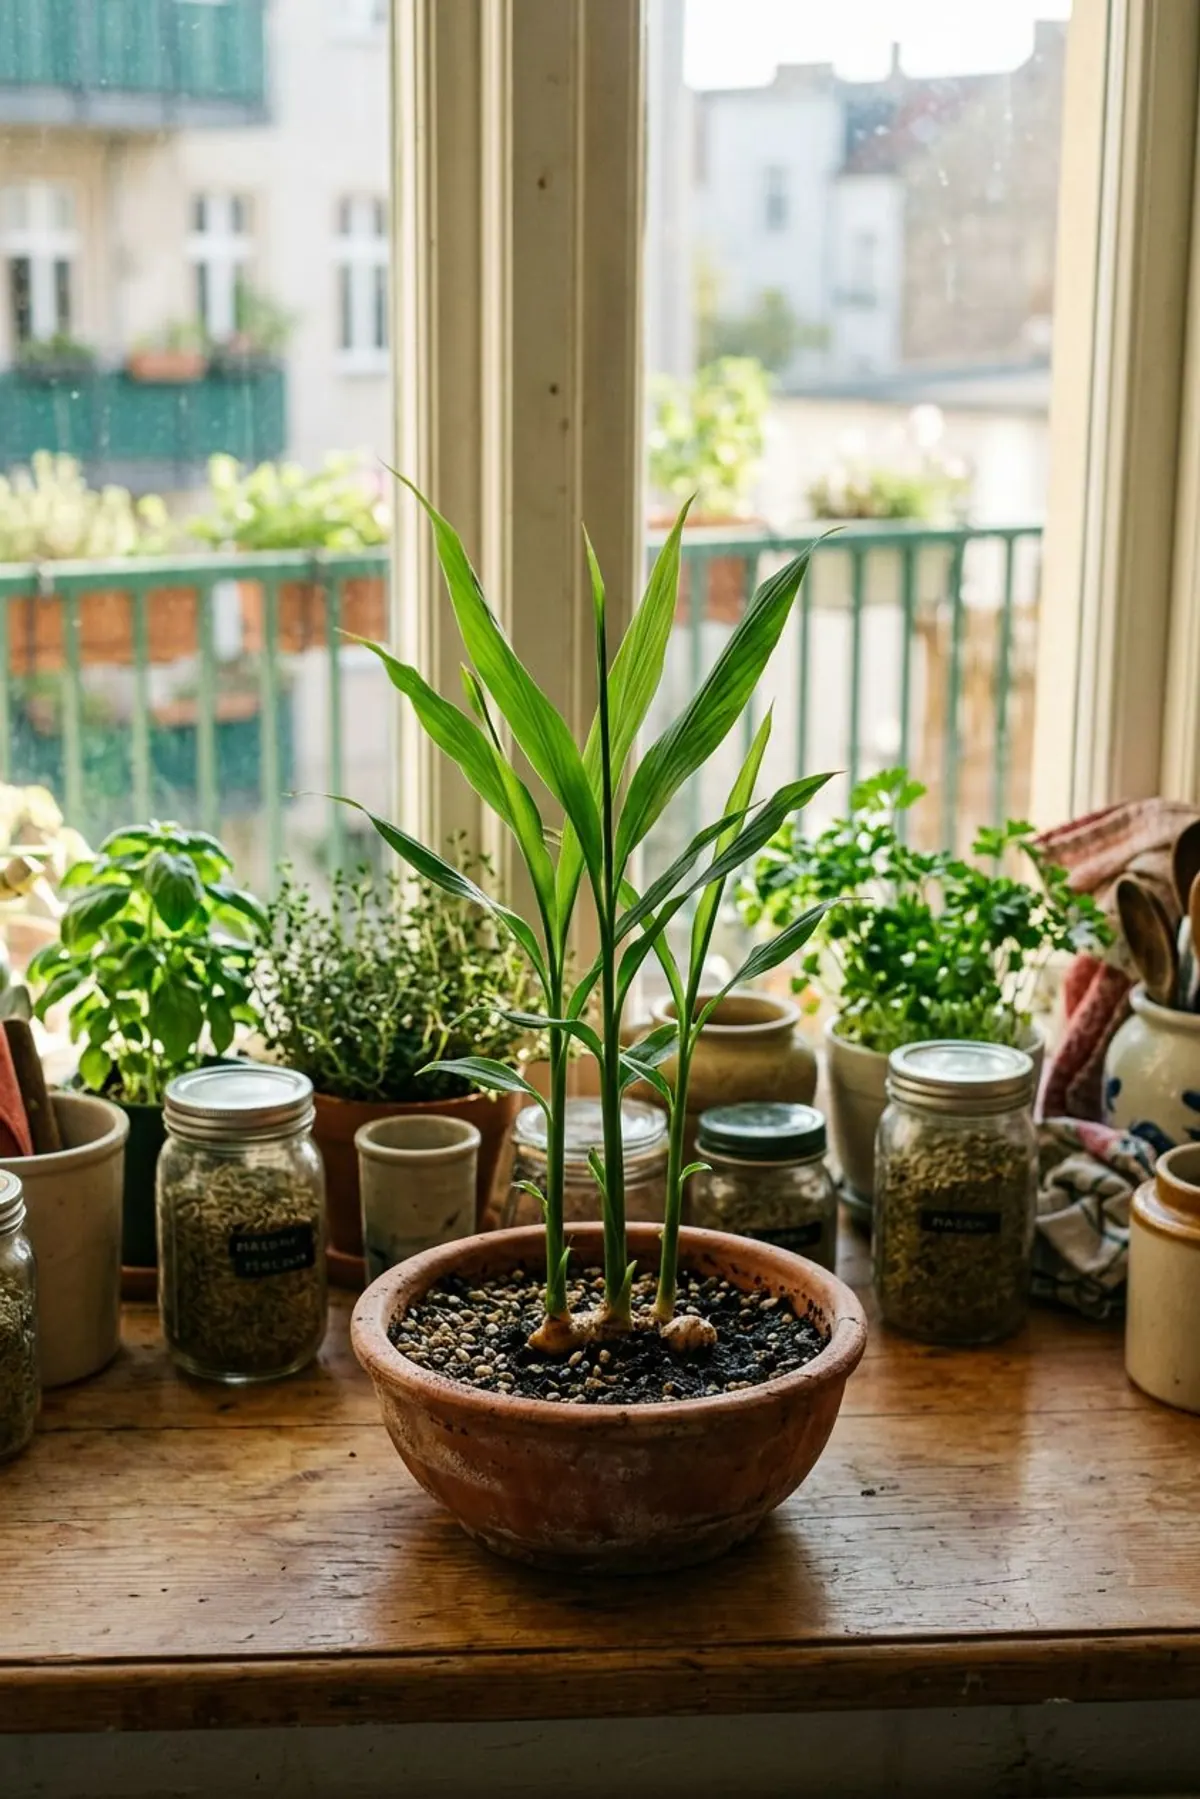
- Plant it flat, eyes up, in a pot at least 12 inches wide, covered with about 2 inches of soil
- Keep it at 70 to 80F and the soil moist but never wet; sprouts can take 3 to 8 weeks
- Small pieces of baby ginger can be cut after about 4 months; the full harvest is at 8 to 10 months, when the foliage yellows
- Water is fine for starting a shoot, but the plant needs soil to make a real harvest
In this post8 sections
How to grow ginger indoors: the honest timeline
Ginger is slow, and most pins skip that. UVM Extension gives sprouting at 3 to 8 weeks and a full harvest at 8 to 10 months. The Old Farmer's Almanac says you can cut baby ginger from the pot's outer edges after about 4 months while the main plant keeps growing.
| When | What to expect | Source |
|---|---|---|
| Weeks 0 to 8 | Planting, then first shoots; green growth may take 3 to 4 weeks to appear | UVM, Almanac |
| About month 4 | Cut small pieces of baby ginger from the outer edges | Almanac |
| Months 8 to 10 | Foliage yellows and dries; dig up the plant for the full harvest | UVM |
Choose the right piece of store-bought ginger
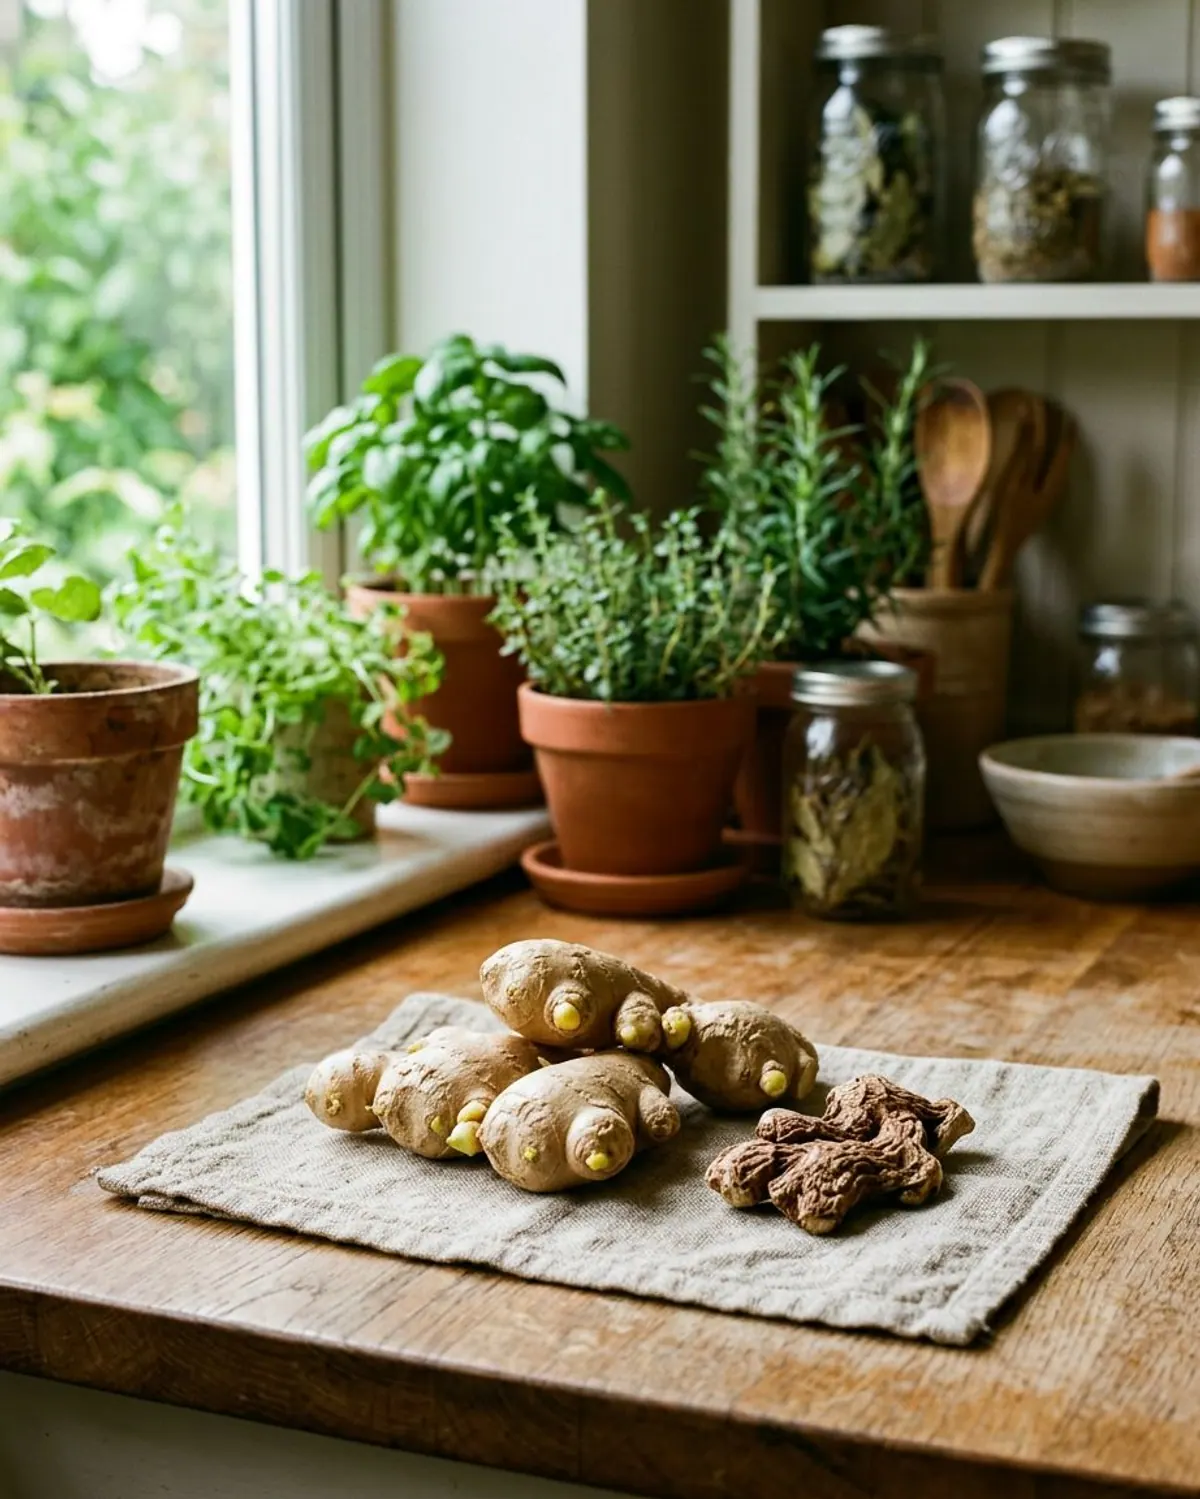
Look for firm, fleshy pieces several inches long with several buds, also called eyes. UVM Extension says to avoid shriveled pieces. The Old Farmer's Almanac adds that green showing on a bud is a good sign, and that sometimes ginger is treated not to sprout, so an organic rhizome is worth trying.
What to look for at the store
Step by step: planting store-bought ginger
-
Step 1: Soak it overnight
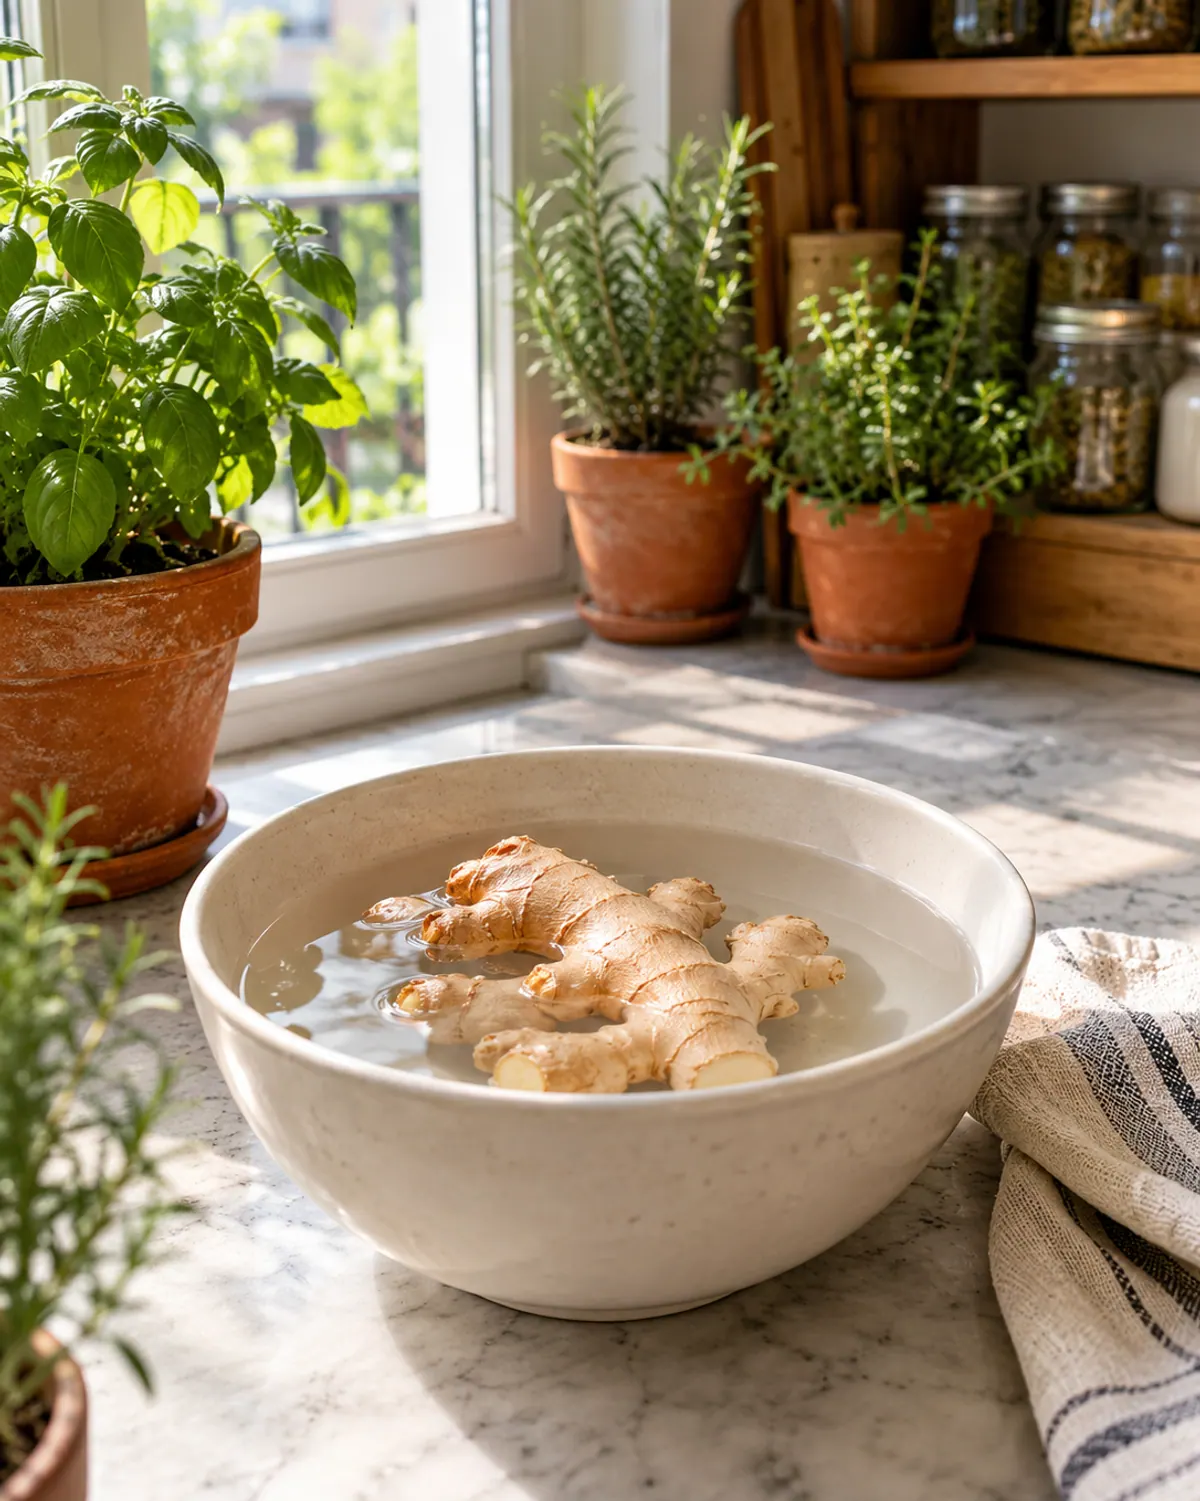
If the root looks dry, soak it in lukewarm water overnight, as the Almanac suggests. UVM does not mention soaking, so it is optional for a plump piece.
-
Step 2: Cut it into pieces
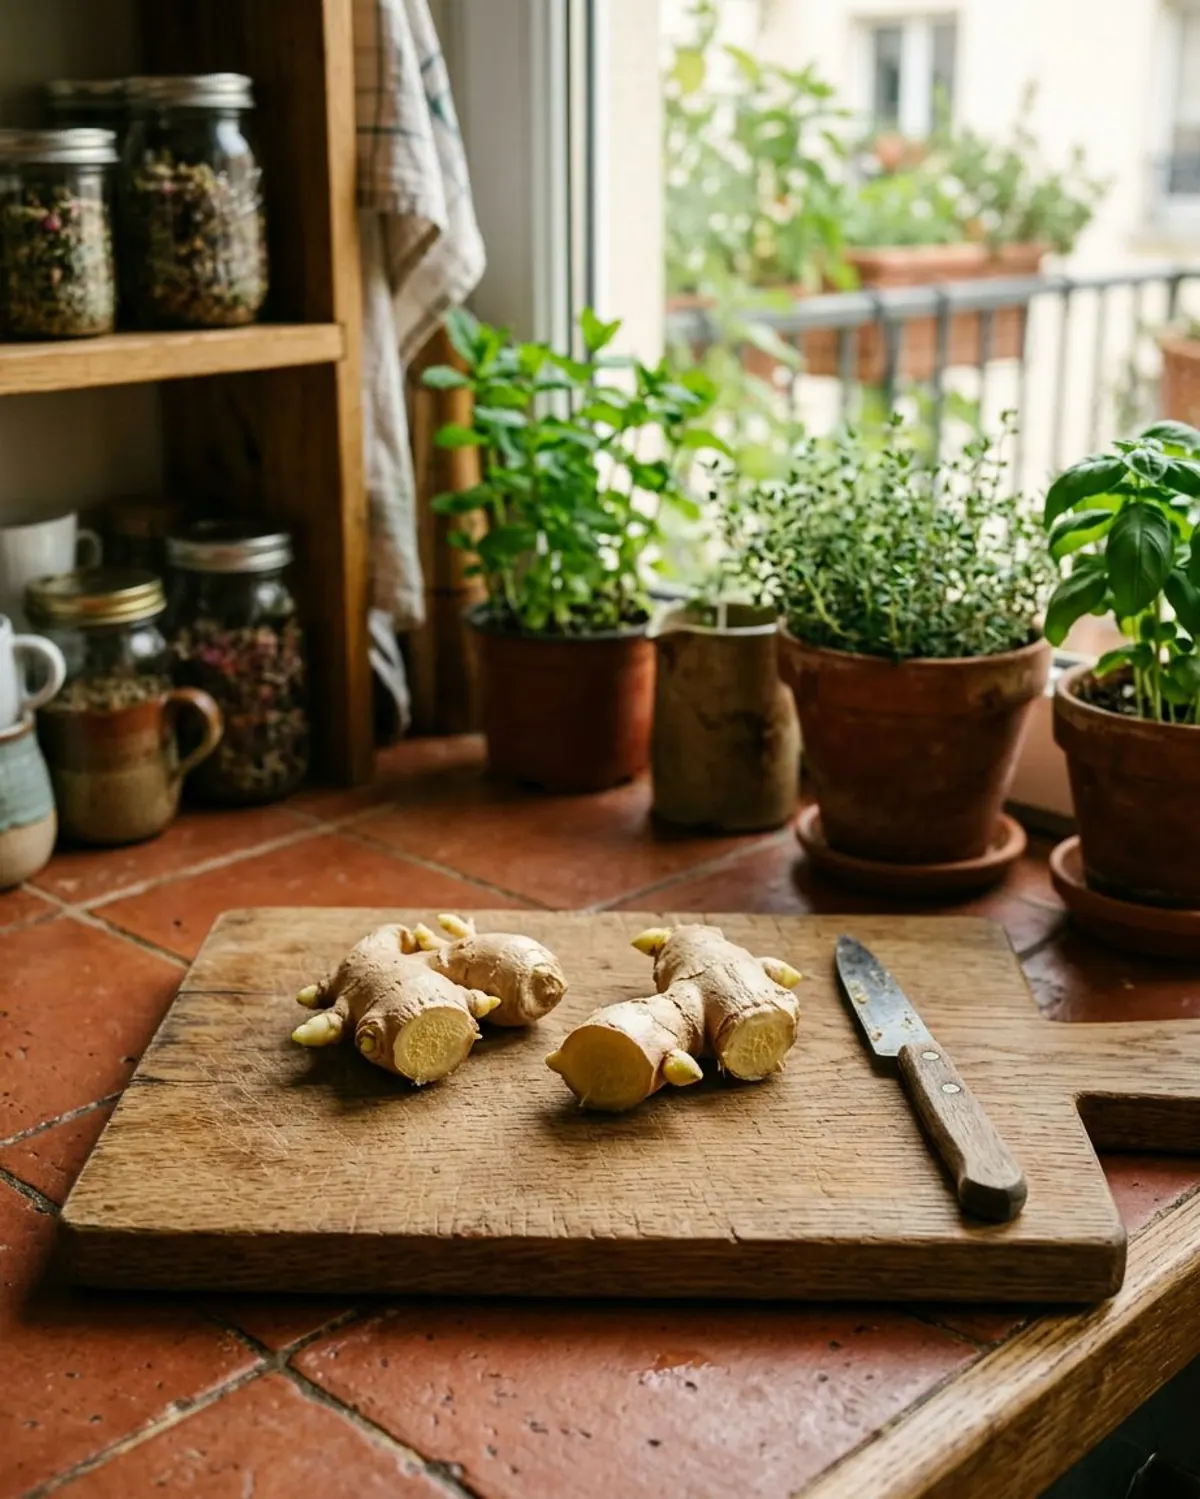
UVM says to cut the rhizome into 2 to 3 inch pieces, each with at least 2 to 3 buds. Let the cut ends dry for a day before planting so they scab over.
-
Step 3: Fill a wide, shallow pot
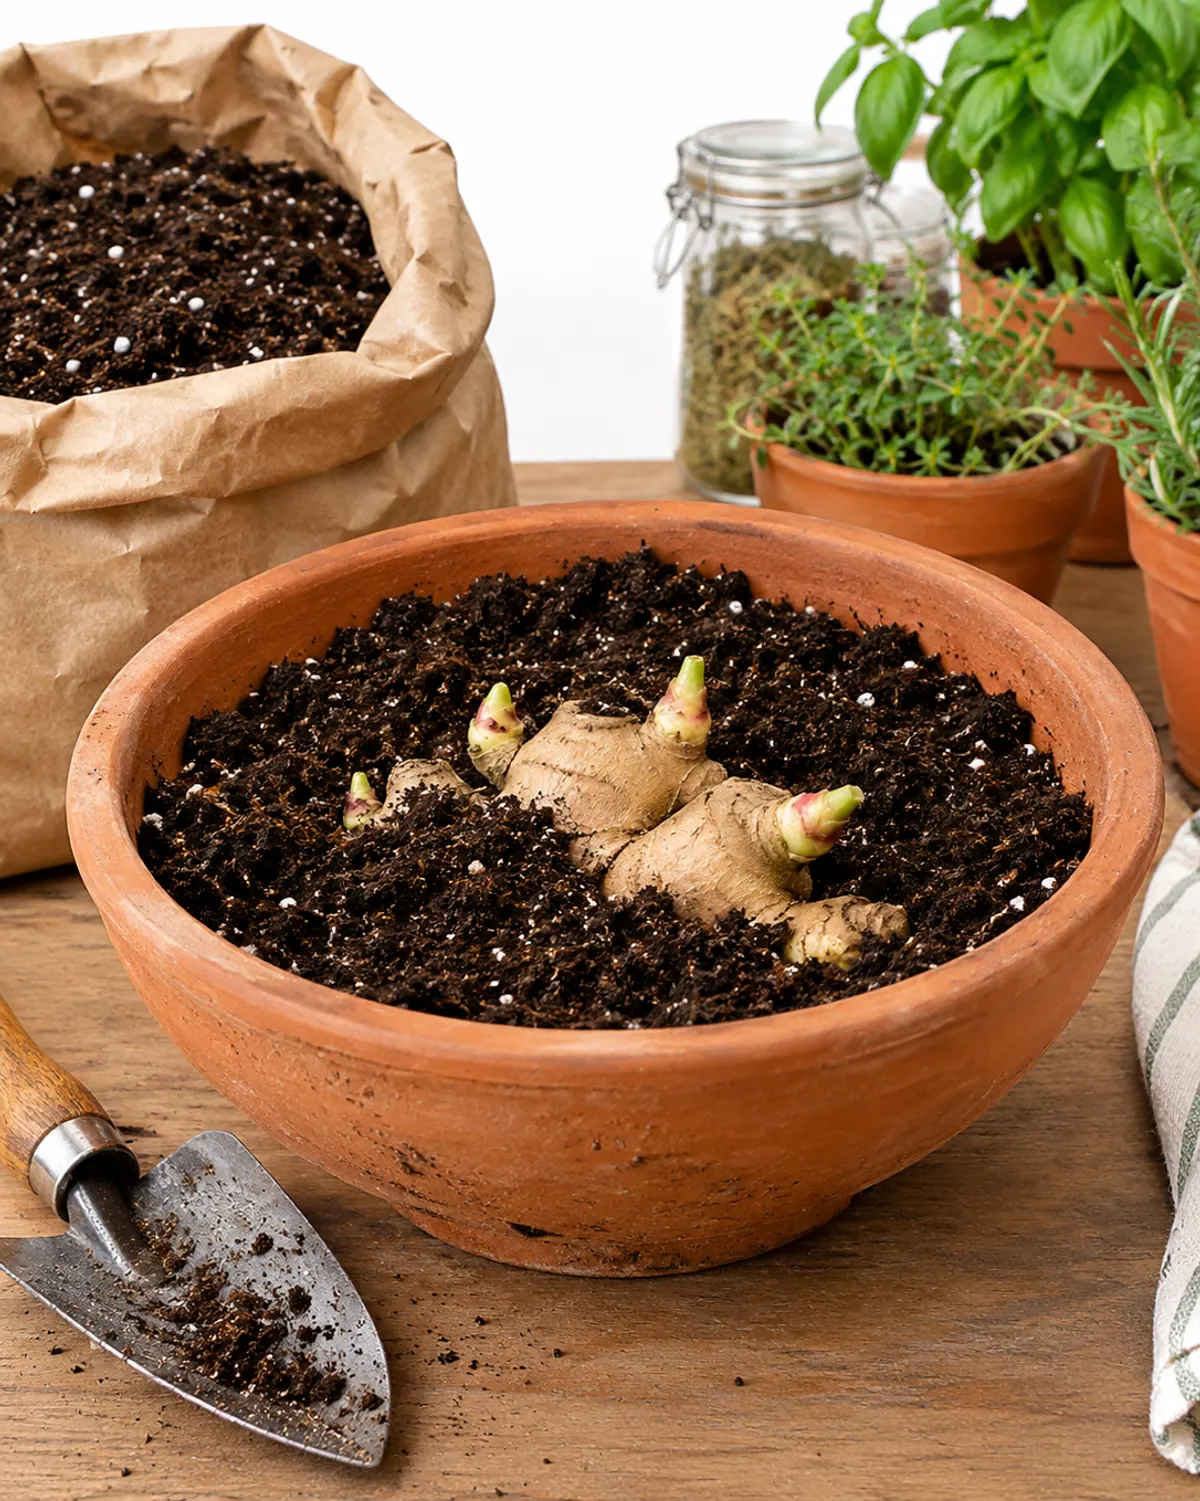
Use a pot at least 12 inches wide with rich, well-draining potting soil, filled almost to the top. A shallow bowl-shaped pot suits the sideways-growing roots.
-
Step 4: Plant eyes up
Lay each piece flat with the buds facing up and cover with about 2 inches of soil (UVM). The Almanac says barely cover them, so keep the soil shallow over the buds.
-
Step 5: Water lightly and keep it warm
Water sparingly until sprouts appear, then keep soil moist but never wet. Rot is the usual way a piece fails.
-
Step 6: Be patient, then move to light
Once shoots show, move the pot to a sunny window or under a grow light.
Warmth, light and water
Ginger wants warm soil. UVM Extension recommends 70 to 80F for sprouting, a heat mat in a cool room, and grow temperatures above 68F, never below 50F. The Old Farmer's Almanac says growth is best in the 70s and that plants go dormant below 50F.
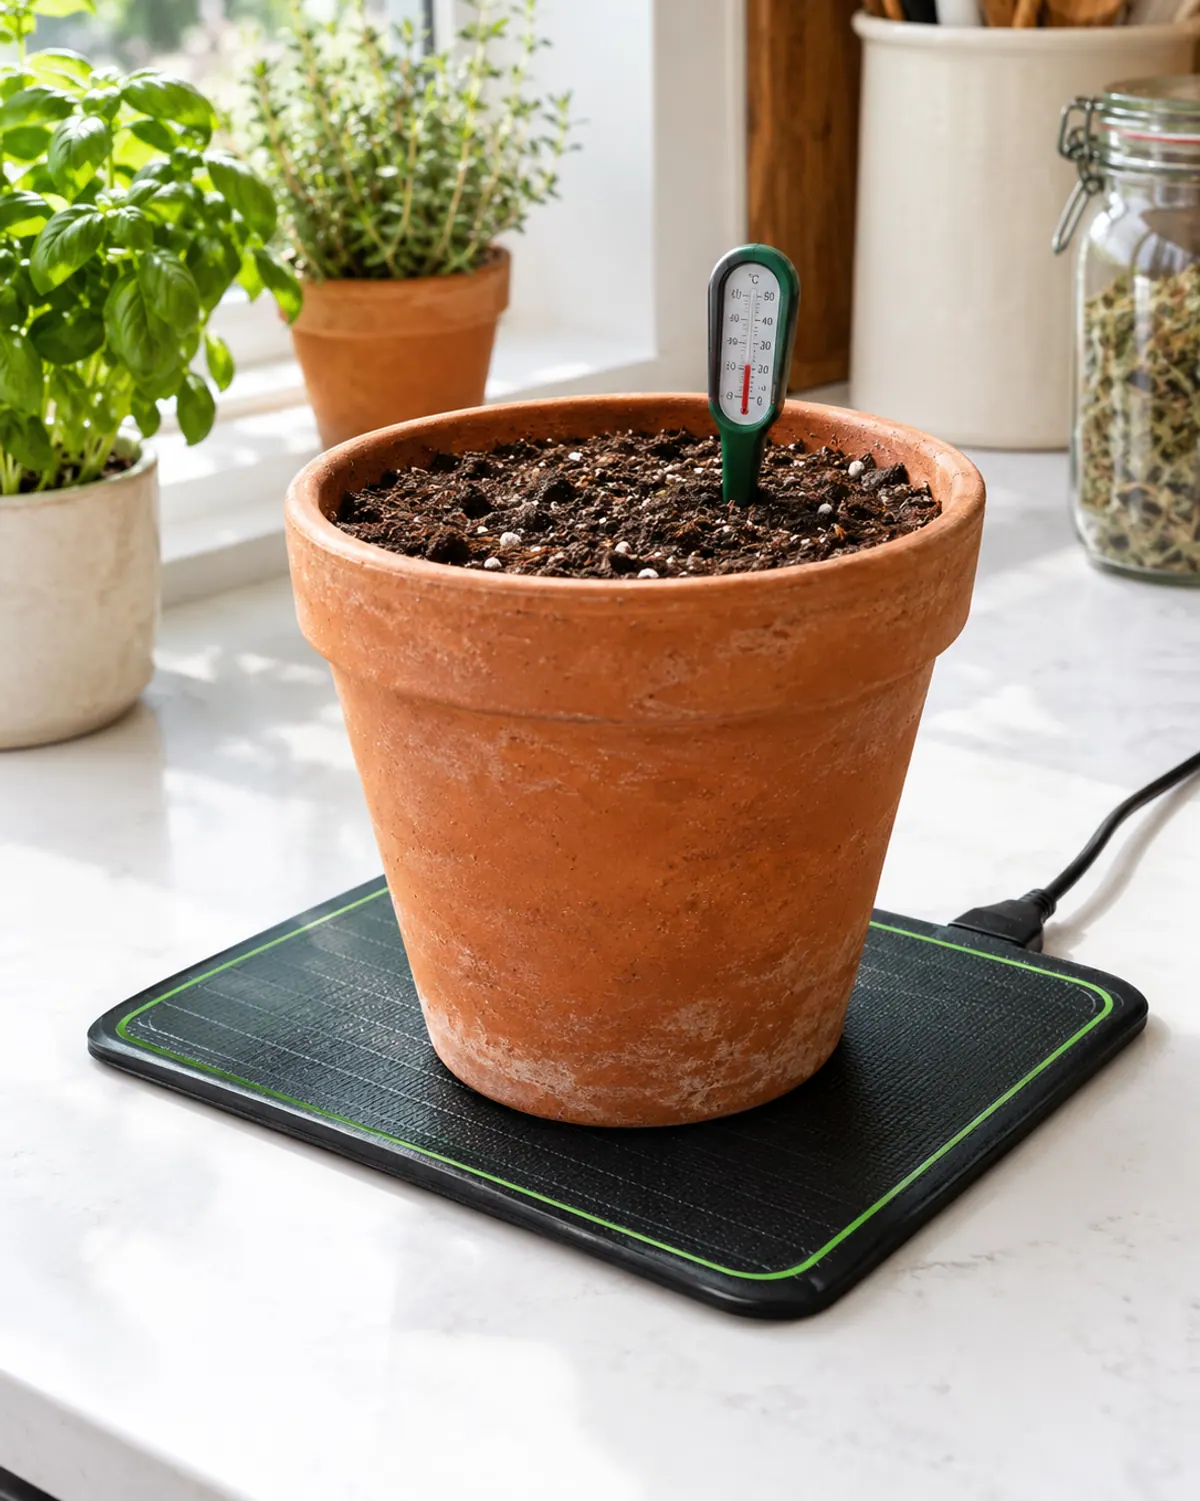
Remove the mat once sprouts appear, as UVM advises. Keep the plant out of cold drafts and away from a chilly window glass overnight in winter.
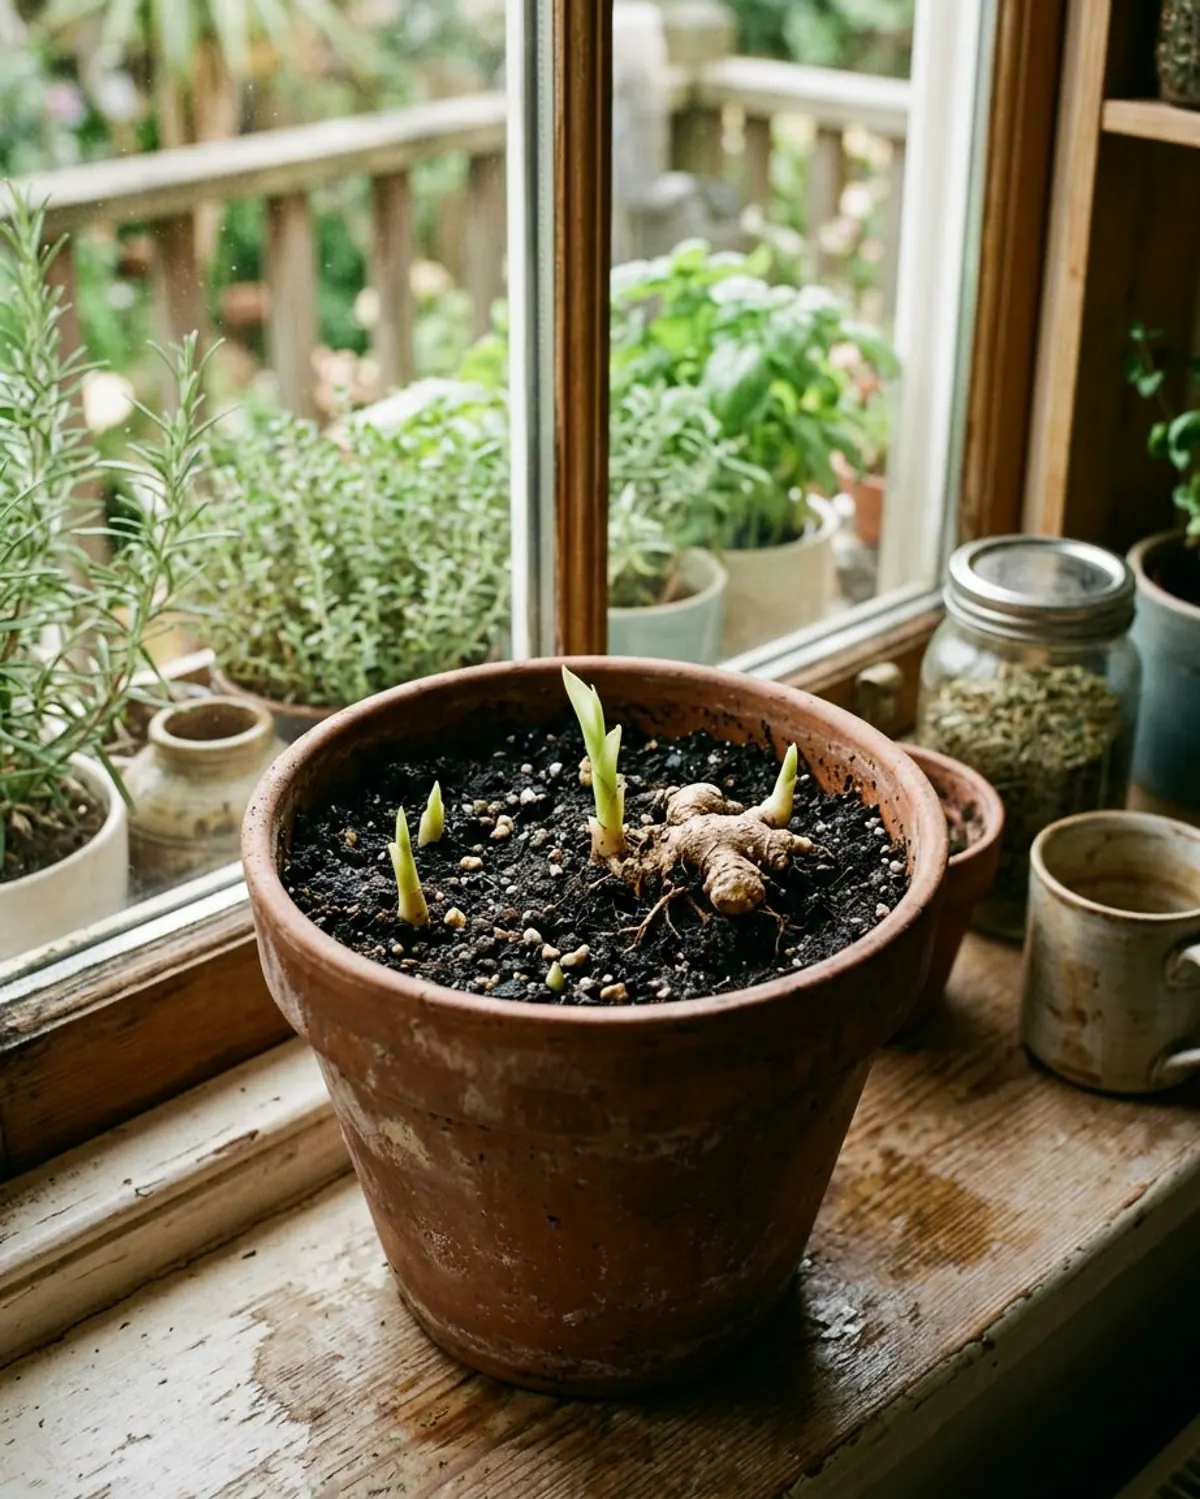
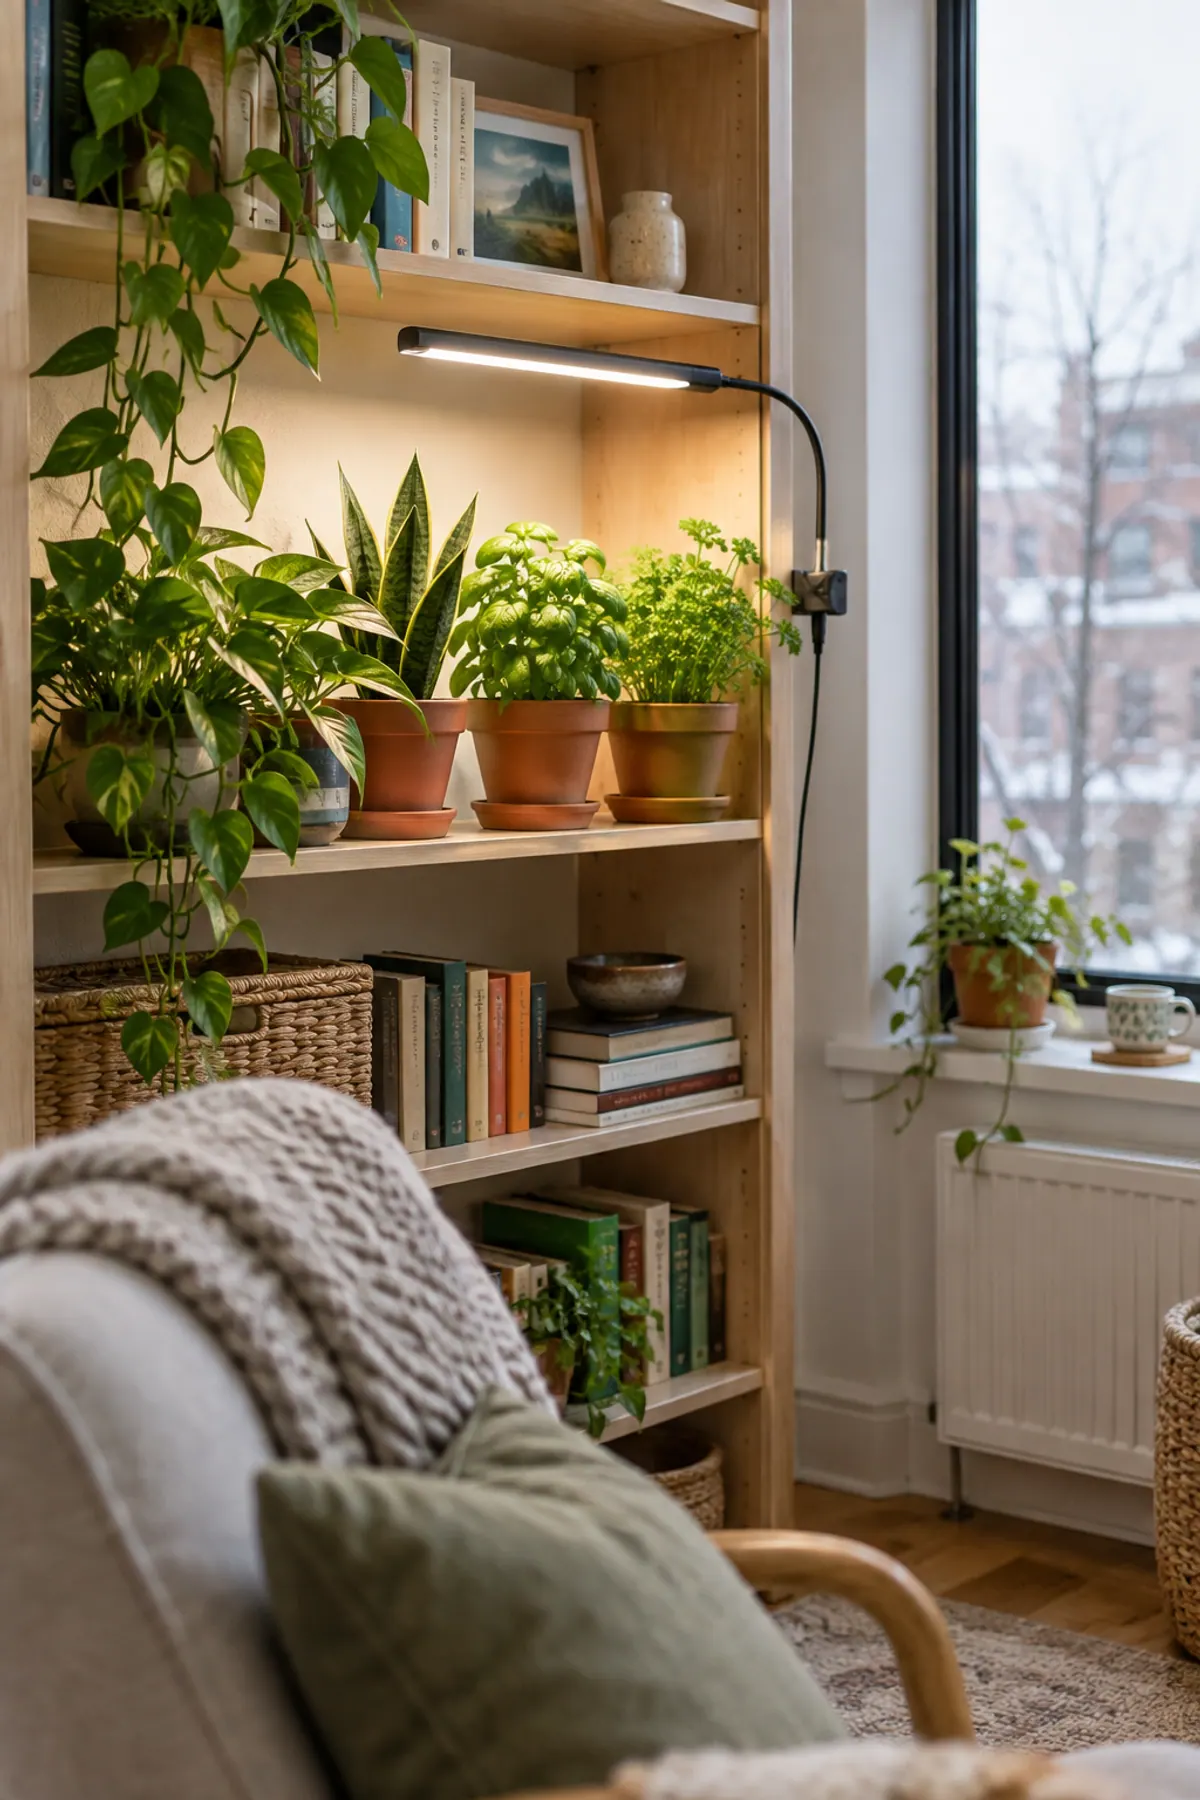
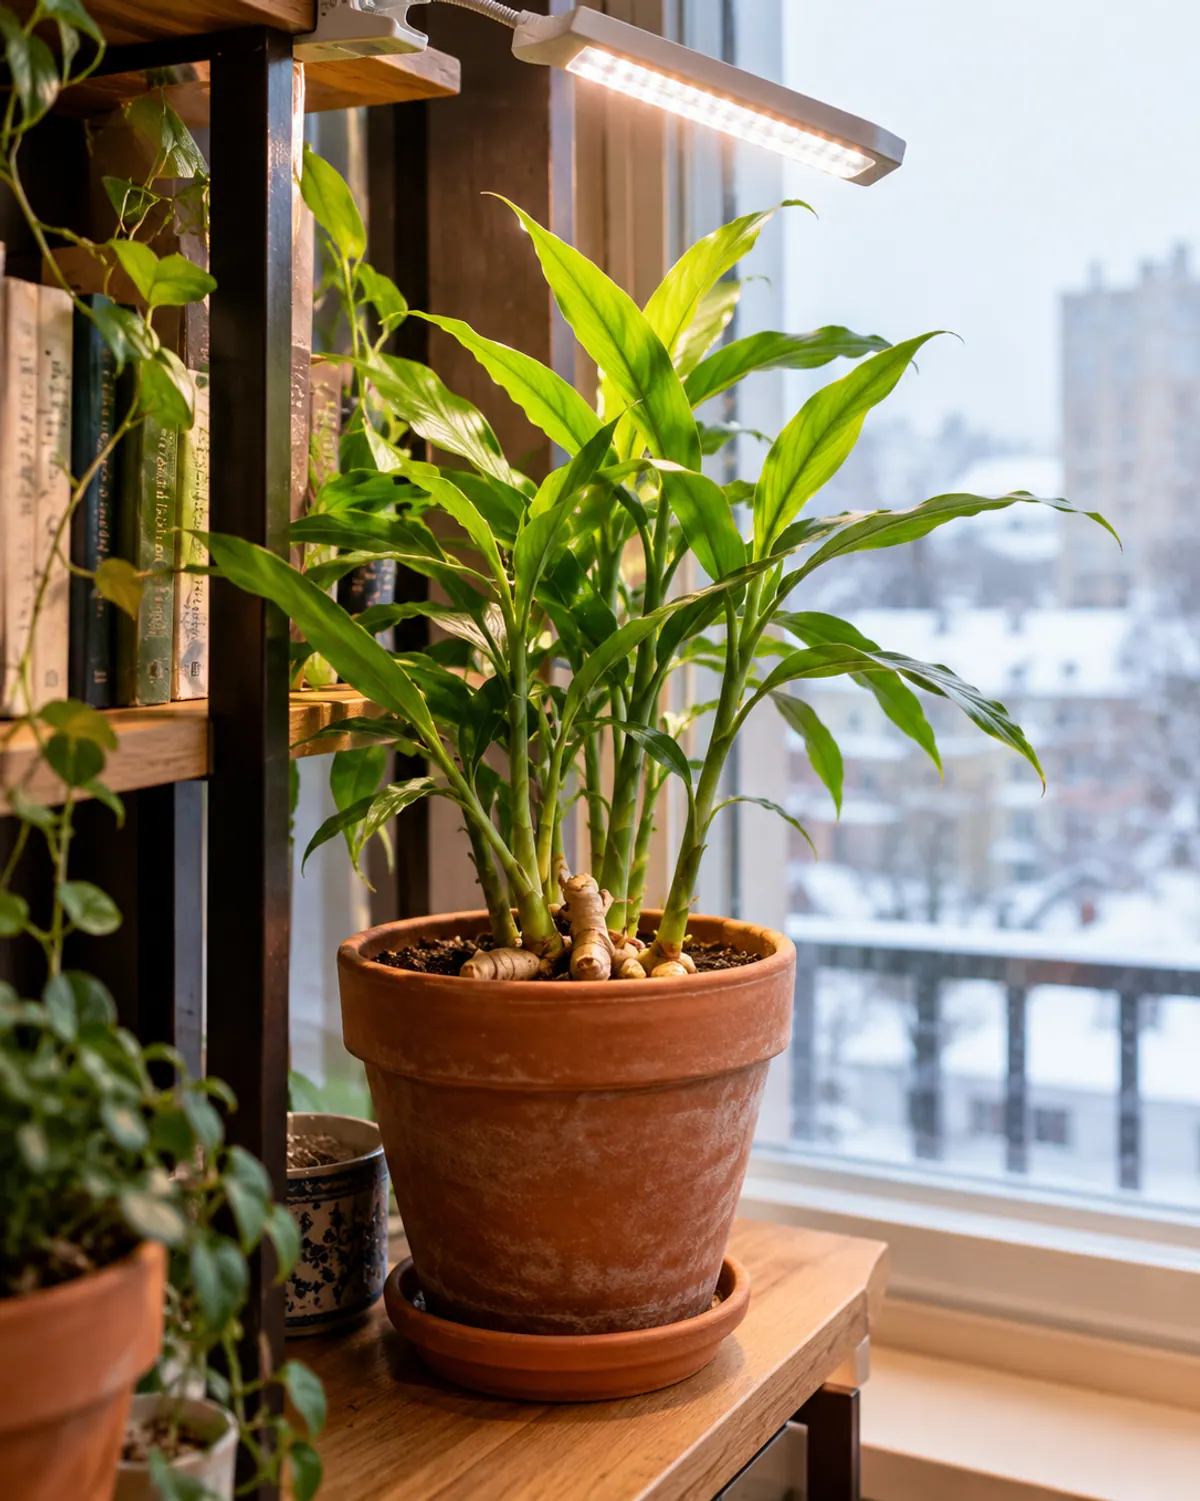
Once leaves open, give the plant bright light. UVM says to move it to a sunny window and use a grow light if needed; the Almanac says to keep it out of direct sun. Because those two differ, start in bright, indirect light and see how the leaves look. Our grow light guide covers lamps for dark winter rooms.
Can you grow ginger in water?
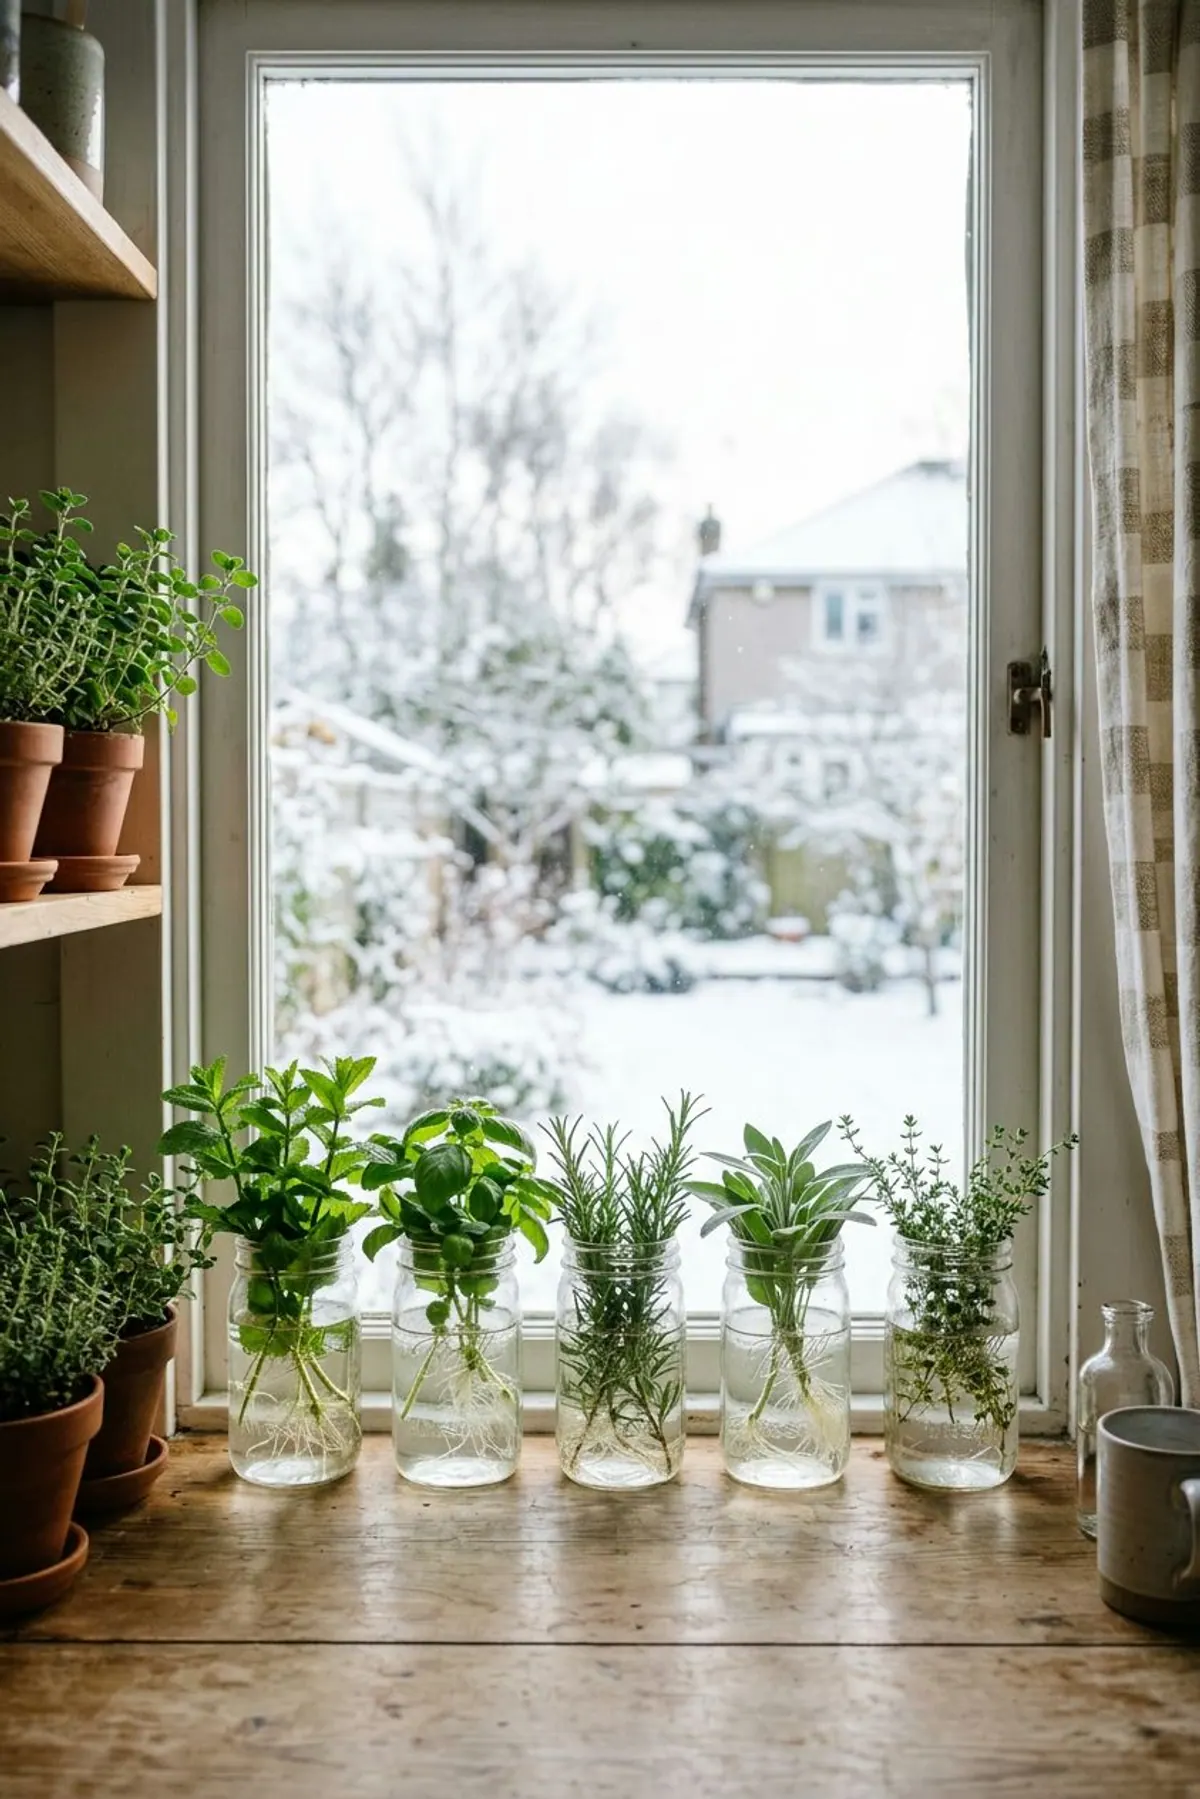
The extension pages we read do not cover growing ginger in water, so this is our practical suggestion, not tested guidance. Set a plump piece in a jar with water just touching the bottom, in a warm spot, and change the water often. It may produce a shoot, and some pins show this.
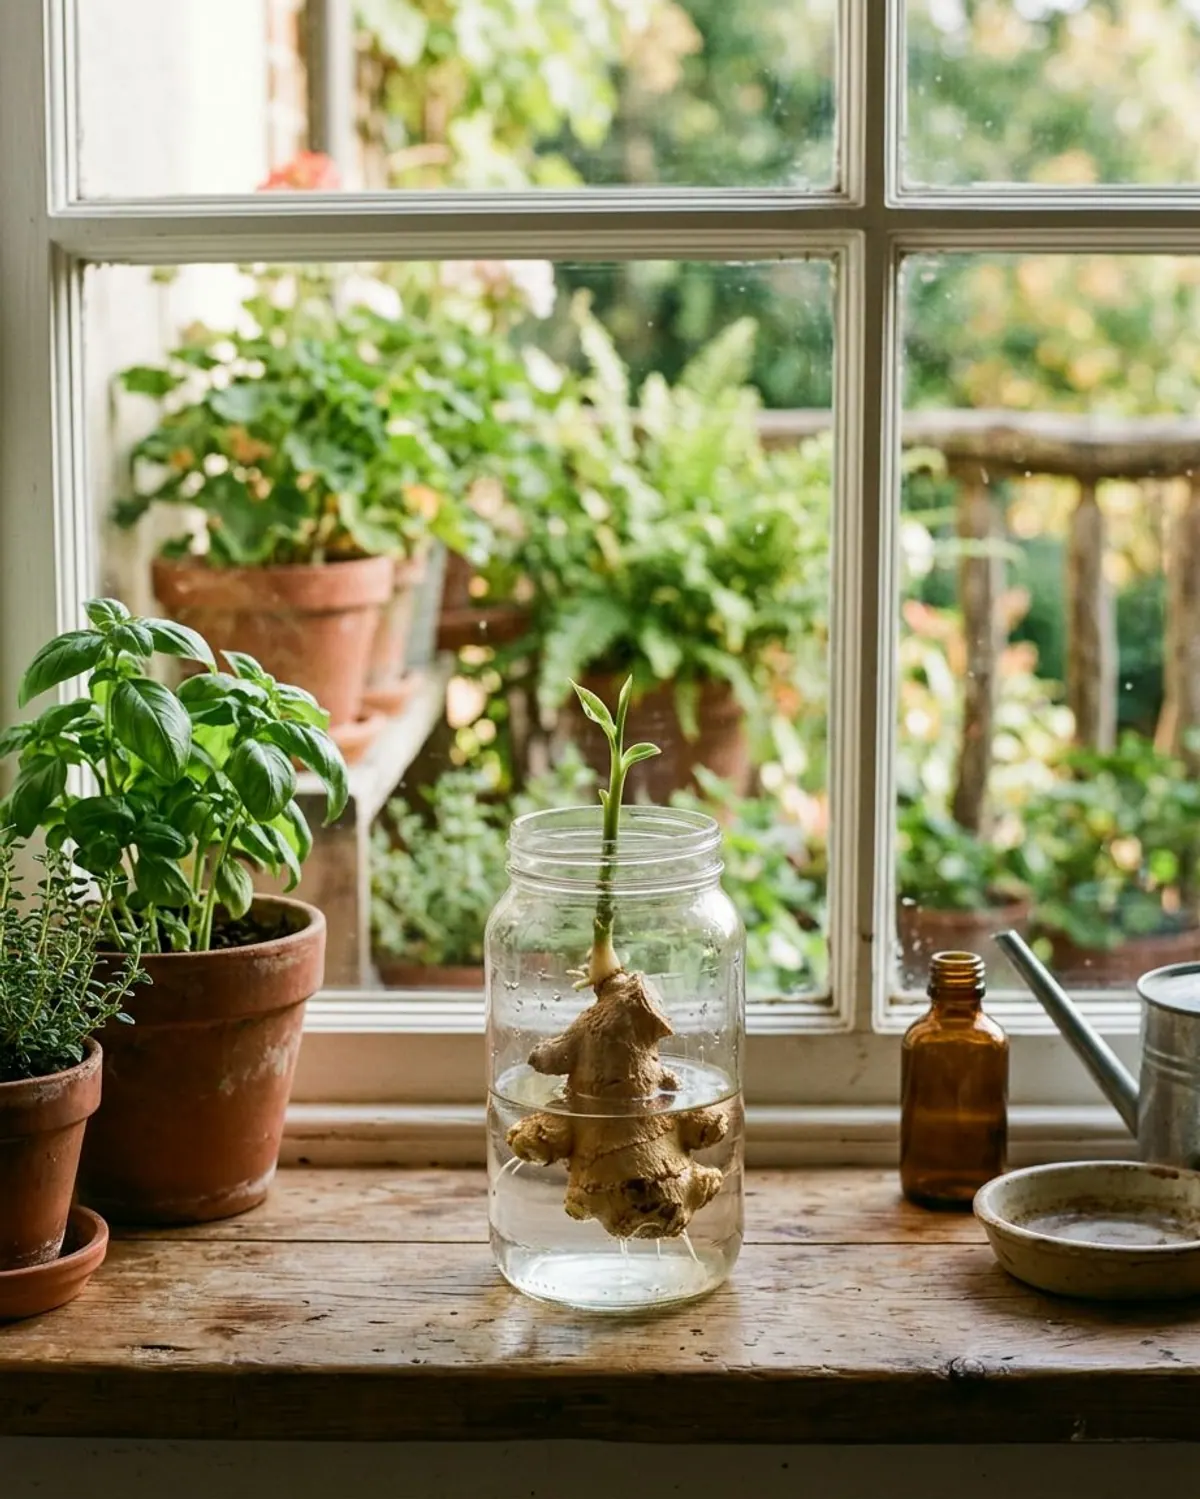
Ginger needs soil nutrients to build a thick rhizome, so move the sprouted piece into a pot. Pull it from the water if it turns soft or smells sour.
Harvesting indoor ginger
For baby ginger, the Old Farmer's Almanac says to cut pieces from the outside edges after about 4 months and cover the cut ends with soil. For a mature harvest, UVM Extension says to wait 8 to 10 months until the foliage yellows and dries, then dig up the plant, brush off the soil and cut the stalk.
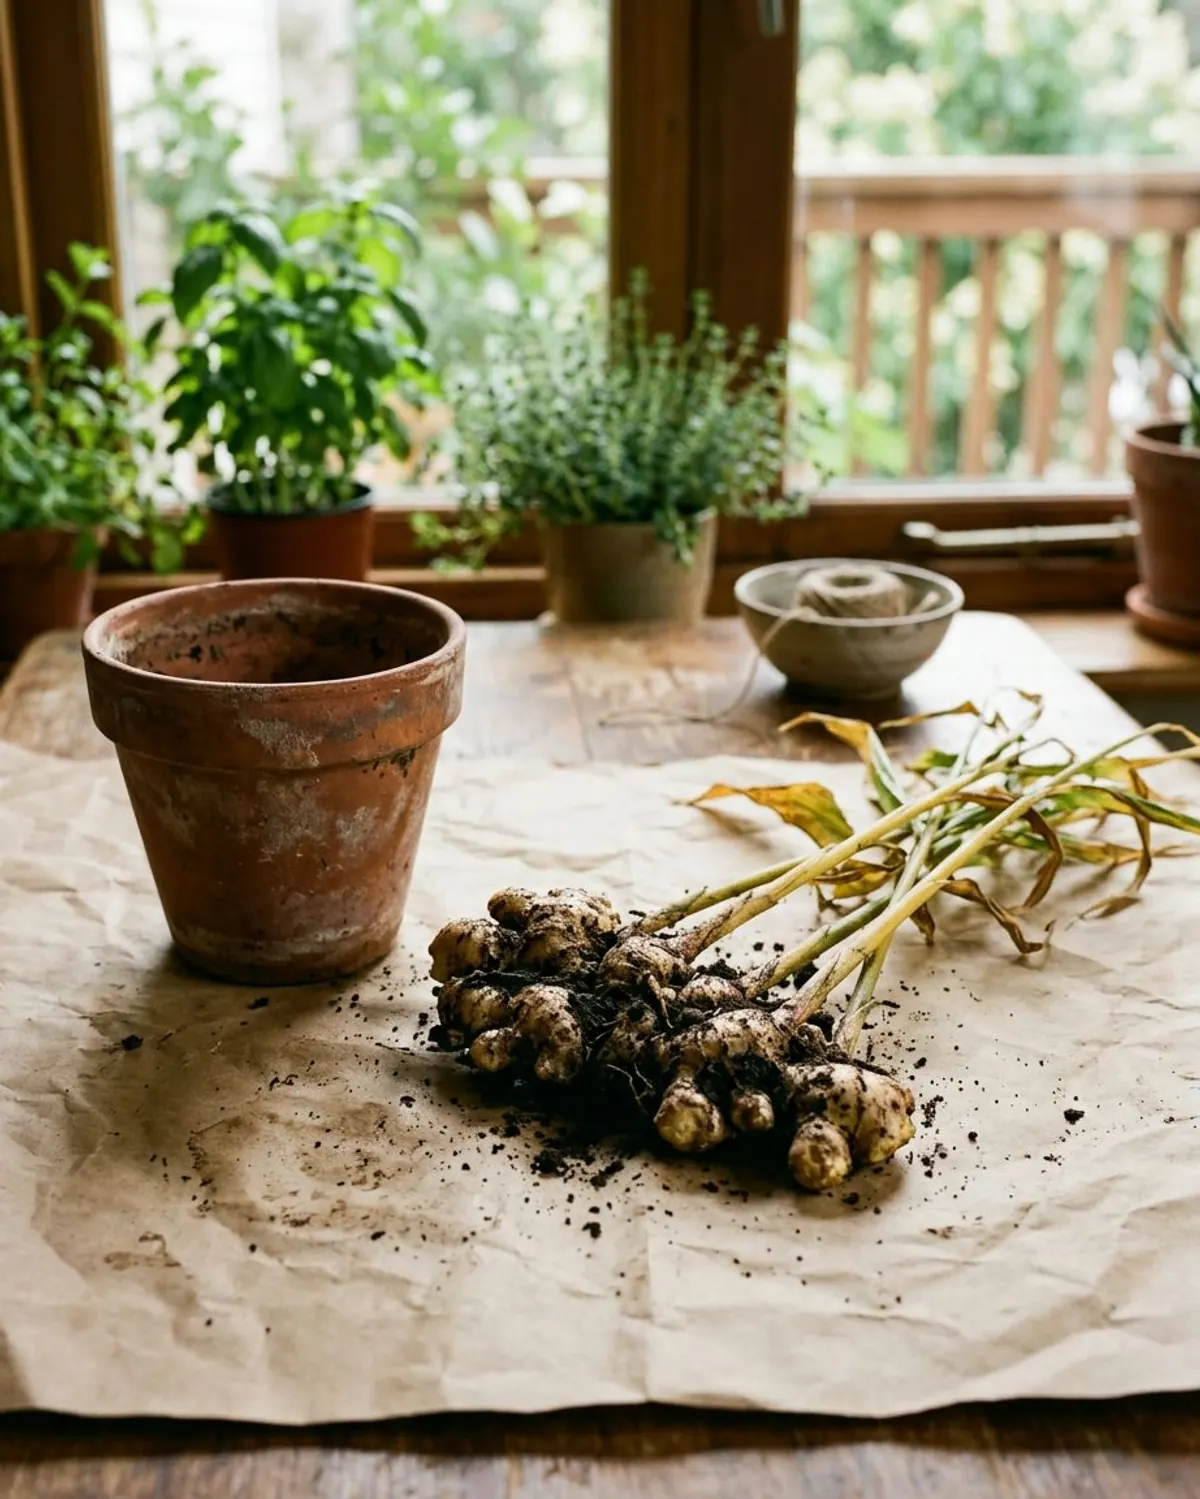
Save a piece or two to replant. UVM says to rinse and dry the rest, then refrigerate whole for up to 3 months or freeze pieces for up to 6 months. Ginger is a food; this is not medical advice, and anyone who is pregnant or on medication should ask a doctor before using ginger in large amounts.
Common problems
No shoots after a month is normal. The Old Farmer's Almanac says shoots may take about a week but greenery can take 3 to 4 weeks, so do not give up early. Yellow or mushy pieces mean too much water or cold soil. Stalks can reach 2 to 4 feet and rarely flower, so pick a spot with some height.
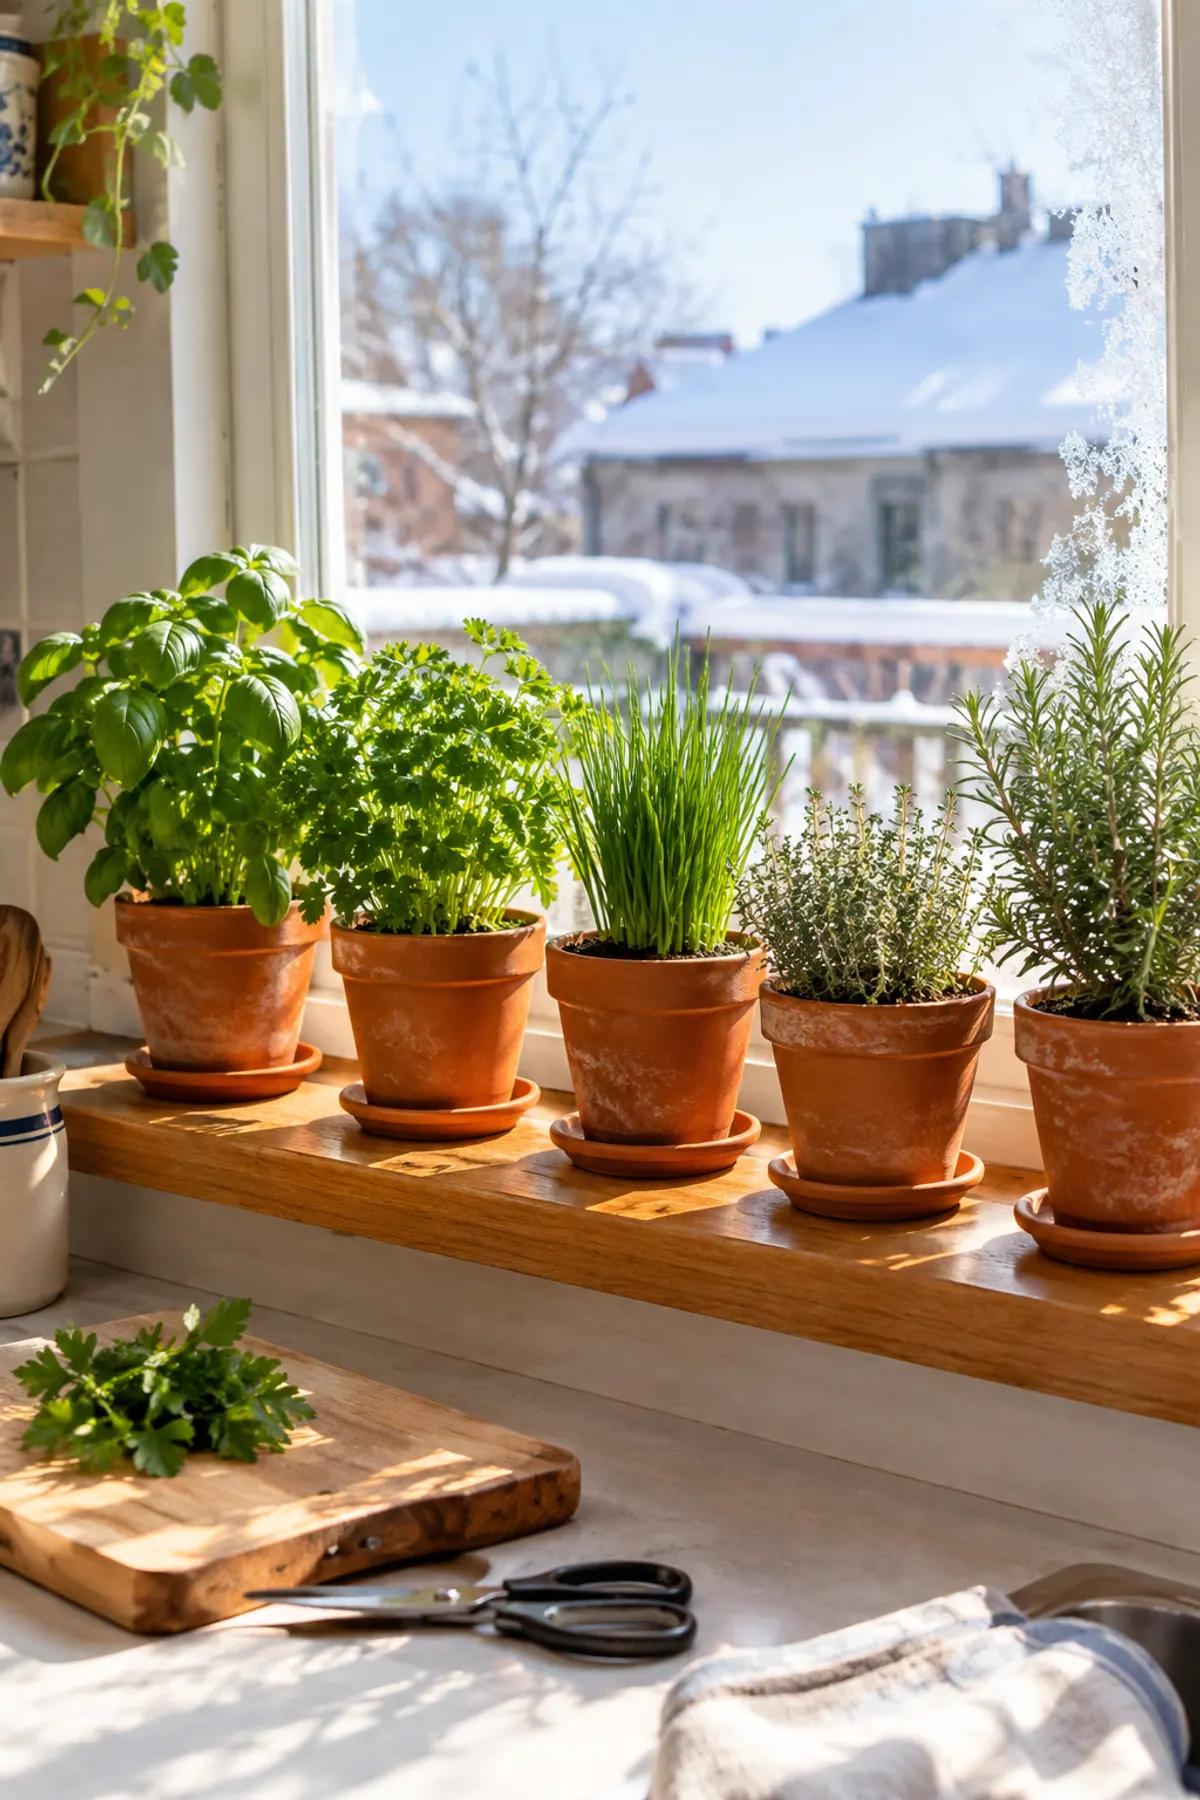
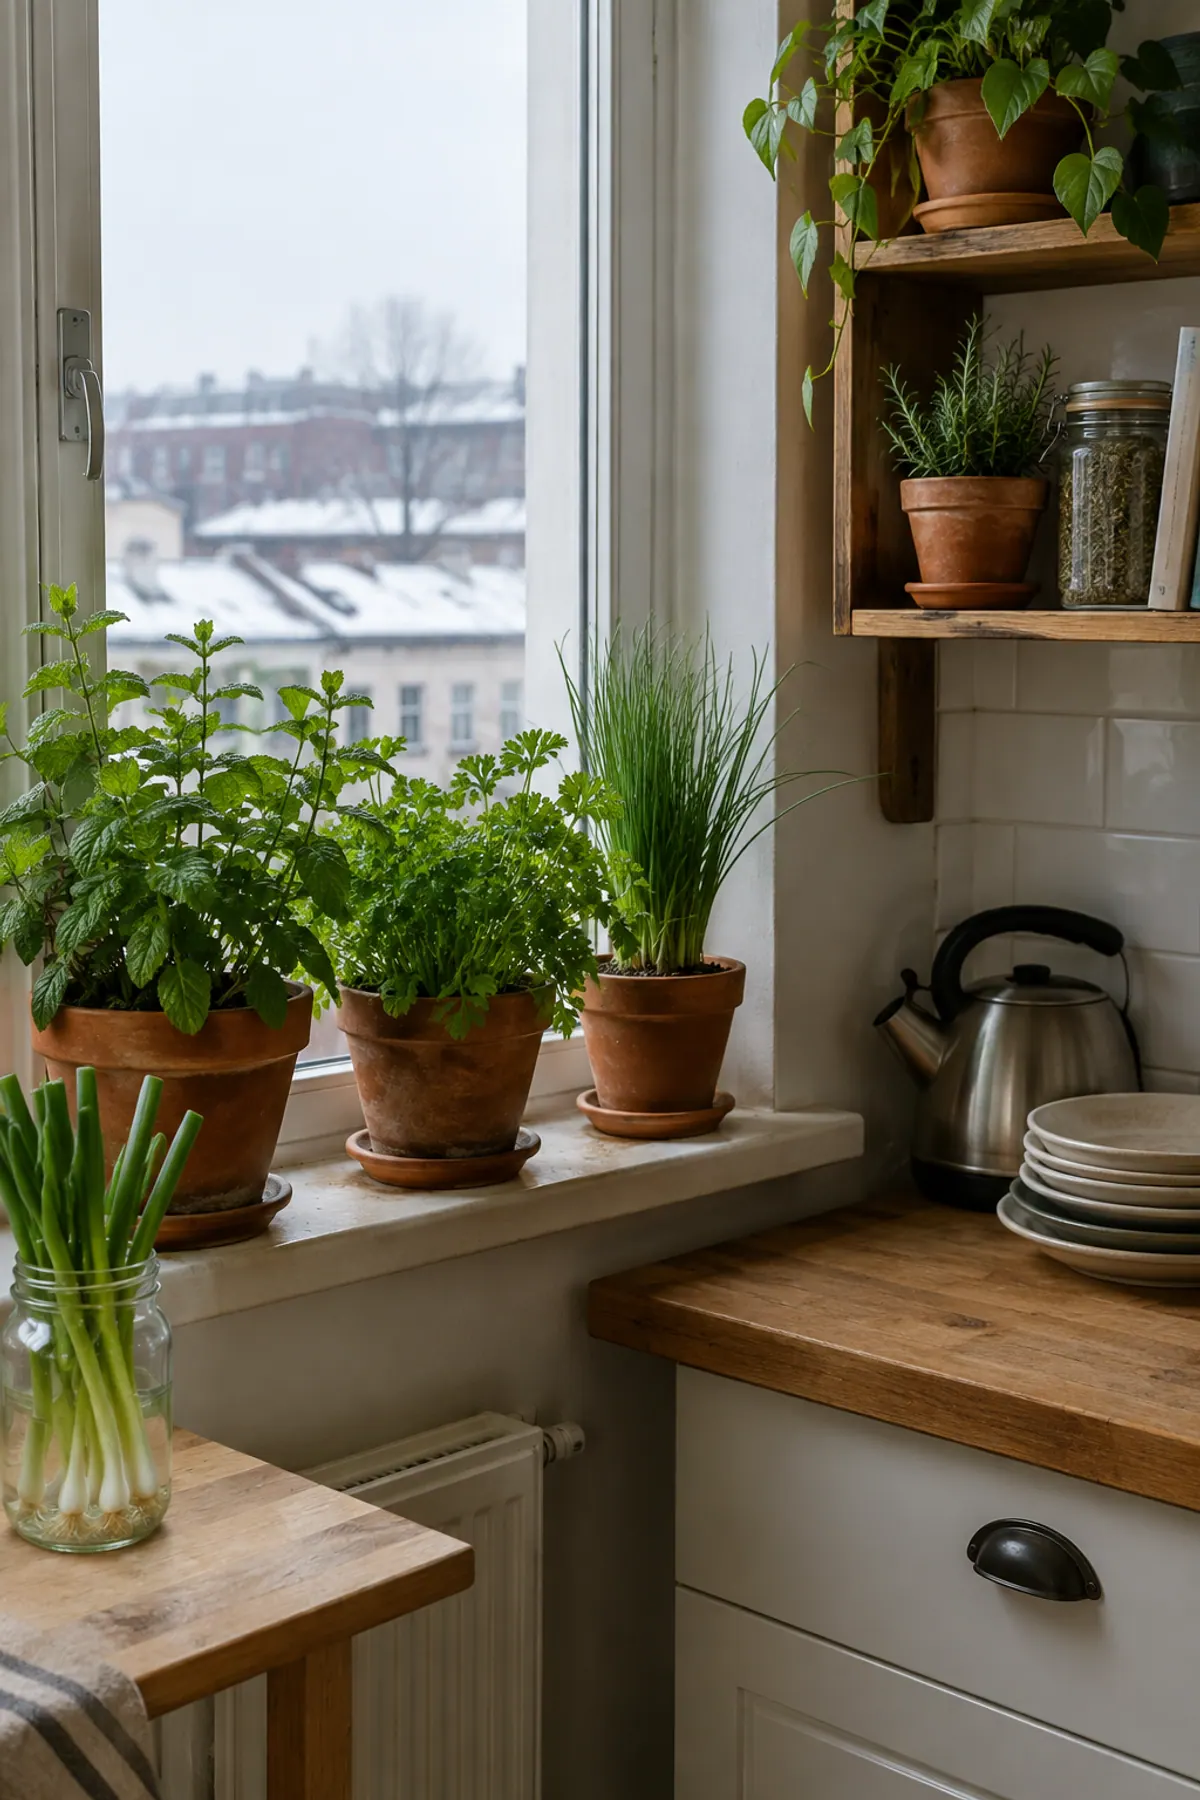
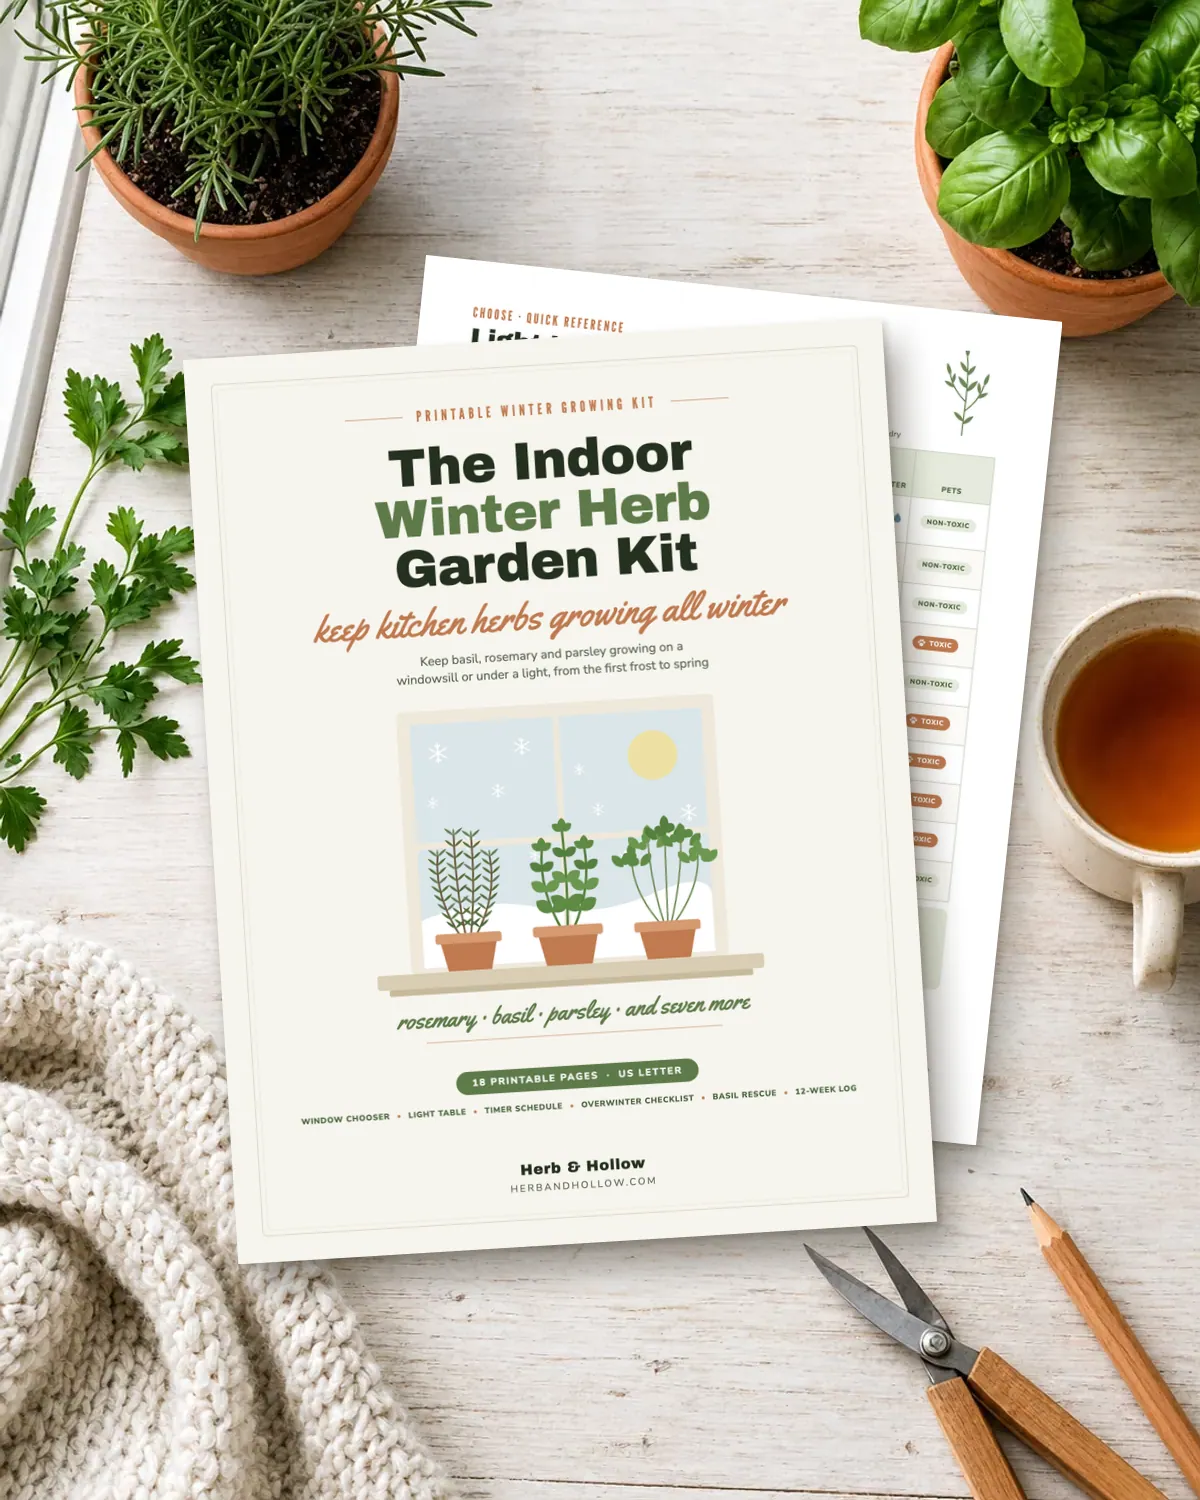
A winter garden plan helps, since ginger sits beside basil, mint and rosemary on the same sill. See our indoor herb garden guide, herbs that grow in water and herbs for low light. The Indoor Winter Herb Garden Kit ($6) has a window chooser and light and care tables for 10 herbs, and the Small-Space Garden Binder ($25) bundles all nine of our printables.
Supplies for growing ginger indoors
-
Wide shallow planter with drainage holes, 12 inch
Typically $12 to $30
Gives rhizomes room to spread sideways
Check price on Amazon for Wide shallow planter with drainage holes, 12 inch -
Seedling heat mat with thermostat
Typically $15 to $30
Keeps soil in the 70s for sprouting
Check price on Amazon for Seedling heat mat with thermostat -
Organic potting soil
Typically $10 to $20
Rich and well-draining
Check price on Amazon for Organic potting soil -
Clip-on LED grow light
Typically $15 to $35
Adds daylight in winter
Check price on Amazon for Clip-on LED grow light
Frequently asked questions
Can you grow ginger from store-bought ginger?
Yes, if the piece is plump with visible buds. Organic is safer because some ginger is treated not to sprout. Plant it eyes up in a wide pot and expect shoots in 3 to 8 weeks.
How long does ginger take to grow indoors?
UVM Extension says 8 to 10 months for a full harvest, when the foliage yellows and dries. The Almanac says baby ginger can be cut from the edges after about 4 months.
Do you need to soak ginger before planting?
The Almanac says to soak dry-looking rhizomes overnight in lukewarm water. UVM does not mention soaking, so it is optional for plump pieces.
What size pot does ginger need?
A wide, shallow pot at least 12 inches across, per UVM. Ginger roots grow sideways more than down.
Can I grow ginger in water only?
Water can start a shoot, but extension pages we read do not cover it. For a real harvest, move the sprouted piece into soil.

Save it for later
Pin this to your Herb Garden board so it's there when you need it.
Save to Pinterest